Physical Address
304 North Cardinal St.
Dorchester Center, MA 02124
Physical Address
304 North Cardinal St.
Dorchester Center, MA 02124
Discover 18 kitchen island ideas for small kitchens — from $29 IKEA carts to built-in peninsulas, with real dimensions, prices, and pro tips.
The first island I ever recommended in a 9×11 kitchen felt almost irresponsible. My client had exactly 48 inches between her stove and the opposite wall, a toddler underfoot most mornings. She firmly believed islands were for people with larger kitchens. I told her to start with a $189 rolling cart and give it two weeks.
Three months later, she had a custom peninsula and couldn’t imagine cooking without it.
That’s the thing about kitchen island ideas for small kitchens. They reward creative thinking about your specific space rather than waiting for a bigger one. The right island can be a $29 IKEA cart or a $2,000 built-in peninsula. Some add a prep sink. Some fold flat against the wall when not in use. All of them solve real problems in compact kitchens.
These 18 ideas come with specific product names, real dimensions, and honest notes about what works in which kitchen. Start where your kitchen is right now.
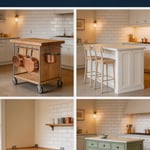
The rolling cart is where most kitchen island ideas for small kitchens begin. It gives you extra prep surface when you need it and tucks to the corner when you don’t. The question isn’t whether a cart works — it’s which one is built for real cooking.
The IKEA RÅSKOG ($29.99) is the right starting point if you’re renting or unsure whether island life works for your kitchen. It’s lightweight and holds a surprising amount on three open tiers — but the 22-lb-per-shelf limit means no heavy chopping.
For real cooking use, the Crosley Furniture Seaside Kitchen Cart ($189–$229) is the better call. It has a solid hardwood butcher block top, a drawer, a cabinet below, and all-locking casters at standard 36-inch counter height. A cart even 2 inches lower than your countertops causes immediate lower back fatigue.
If you cook seriously, the John Boos CUCRT8 ($599–$699) is a different category. That 1.5-inch maple top handles anything, and the 400-lb load capacity lets you park a stand mixer on it without hesitation. Lock all four casters during active prep. Unlock only the two front ones when repositioning — this stops the cart from creeping sideways during vigorous chopping.
—
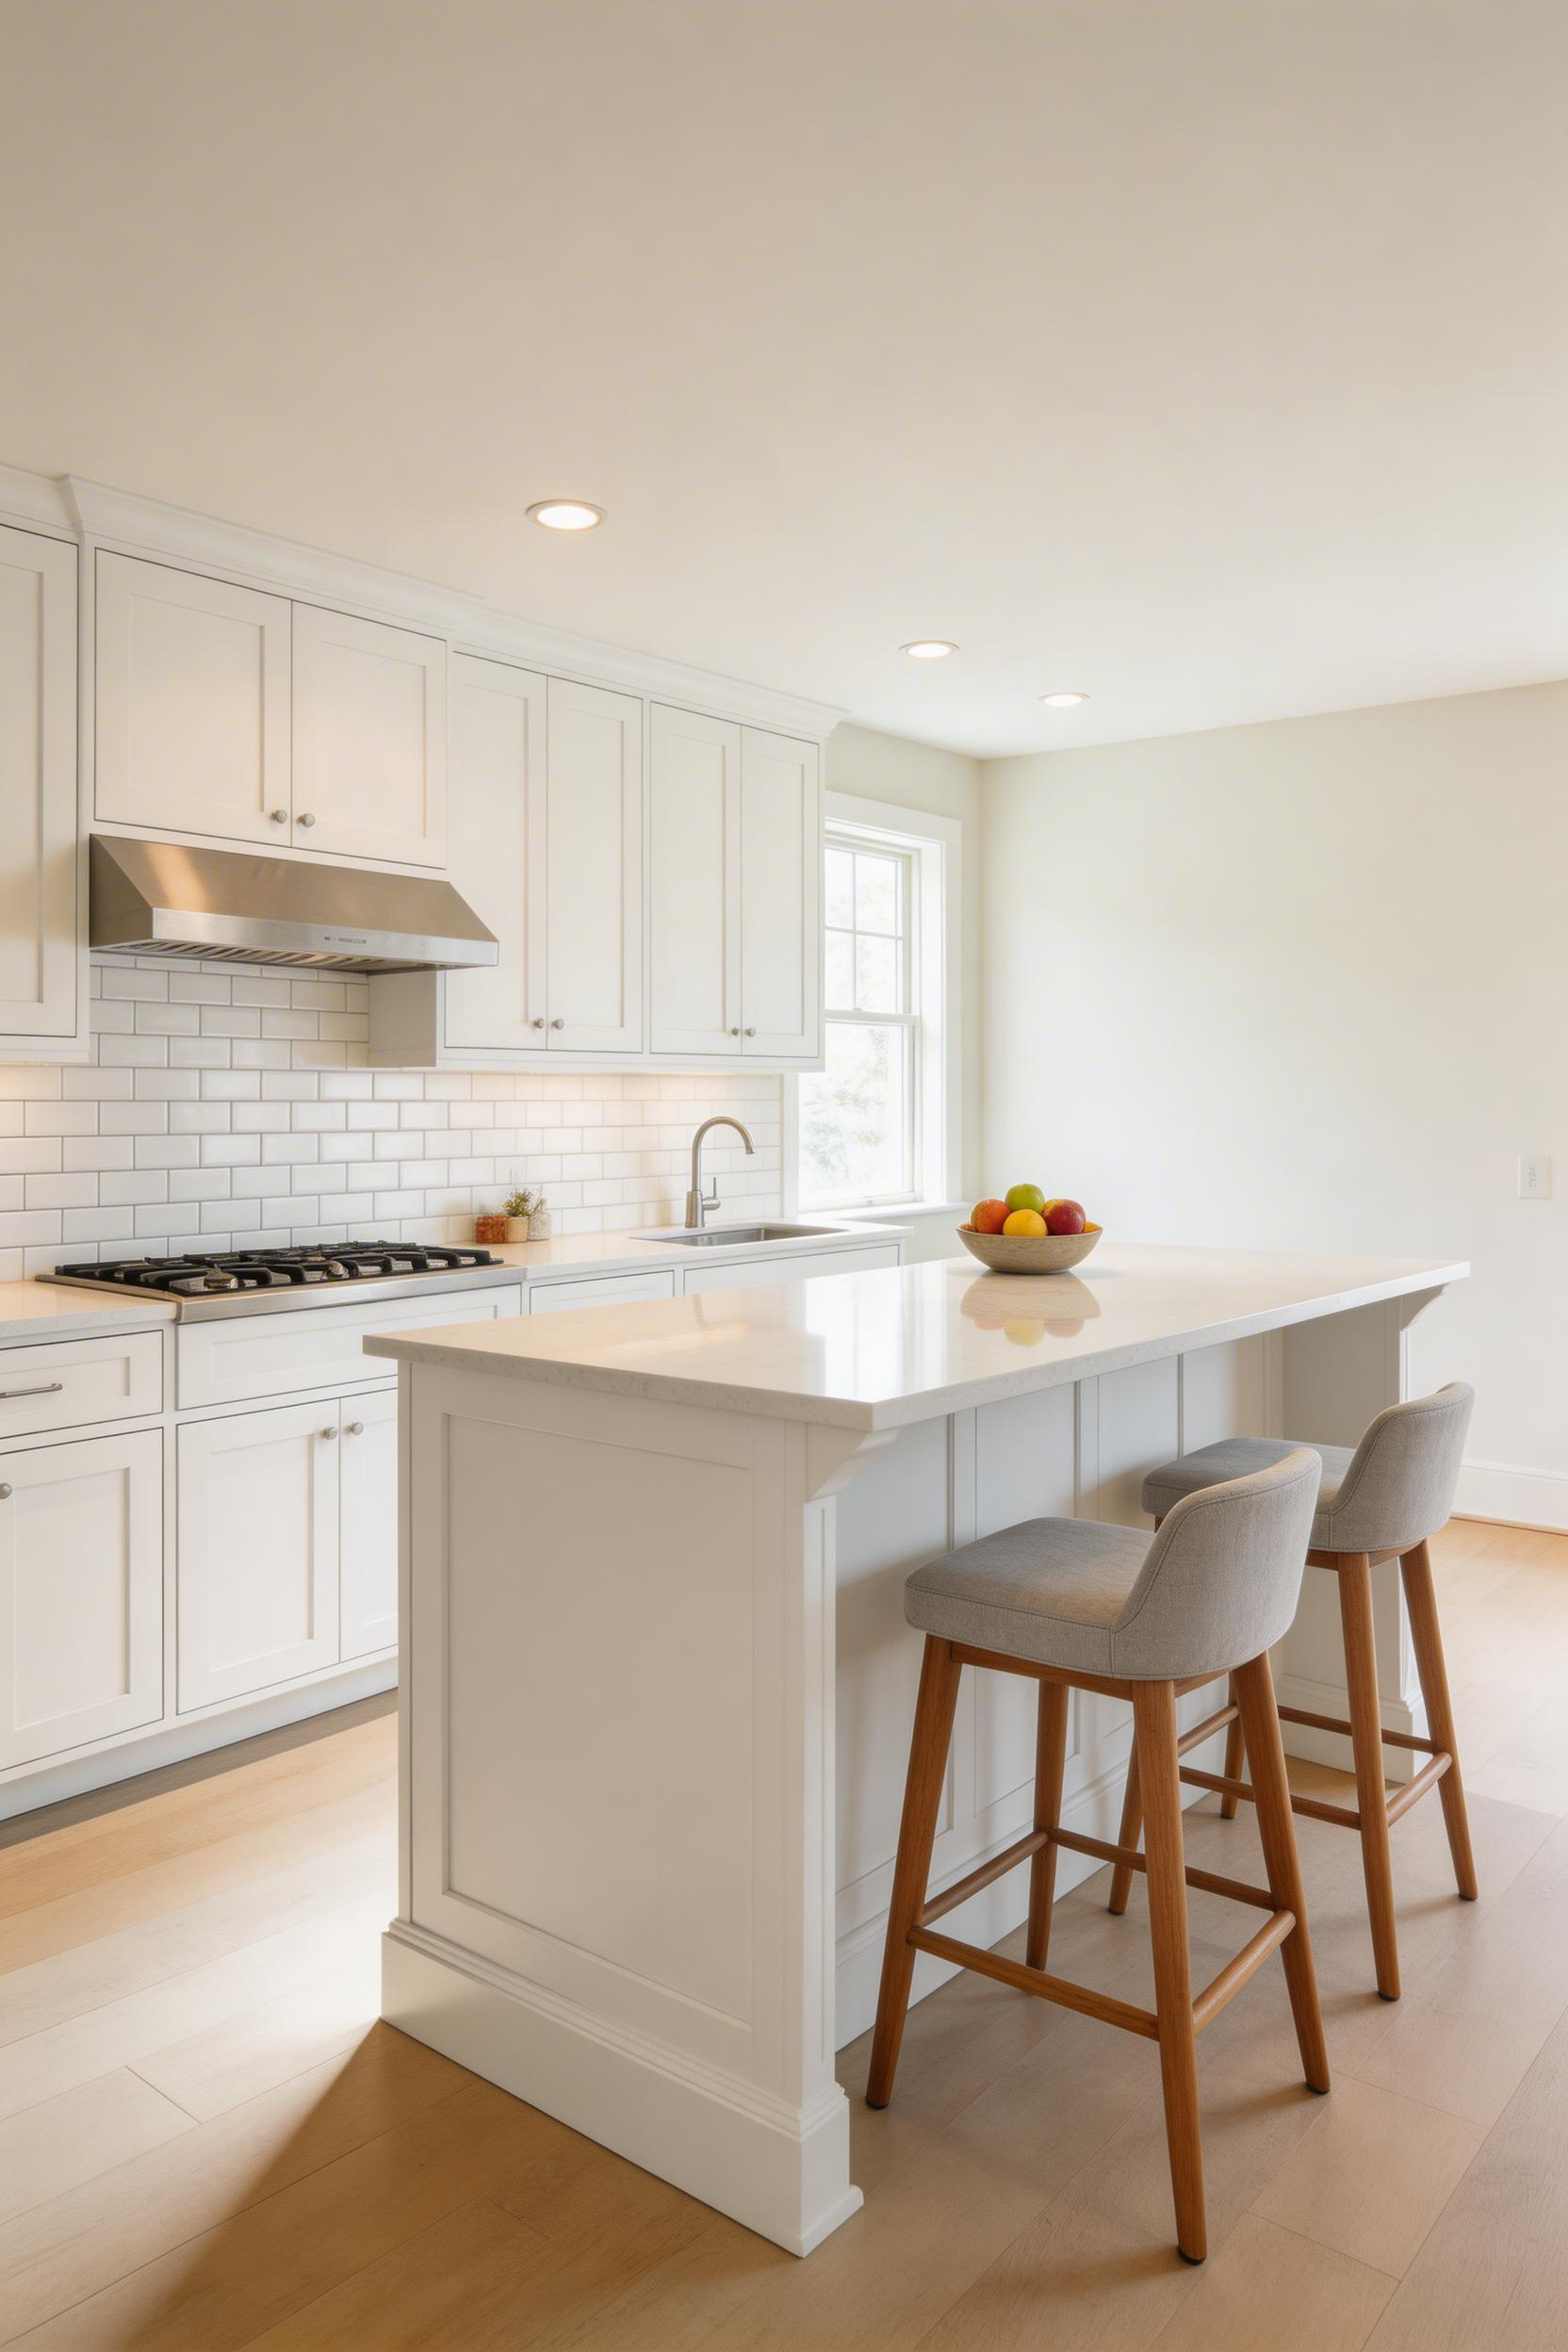
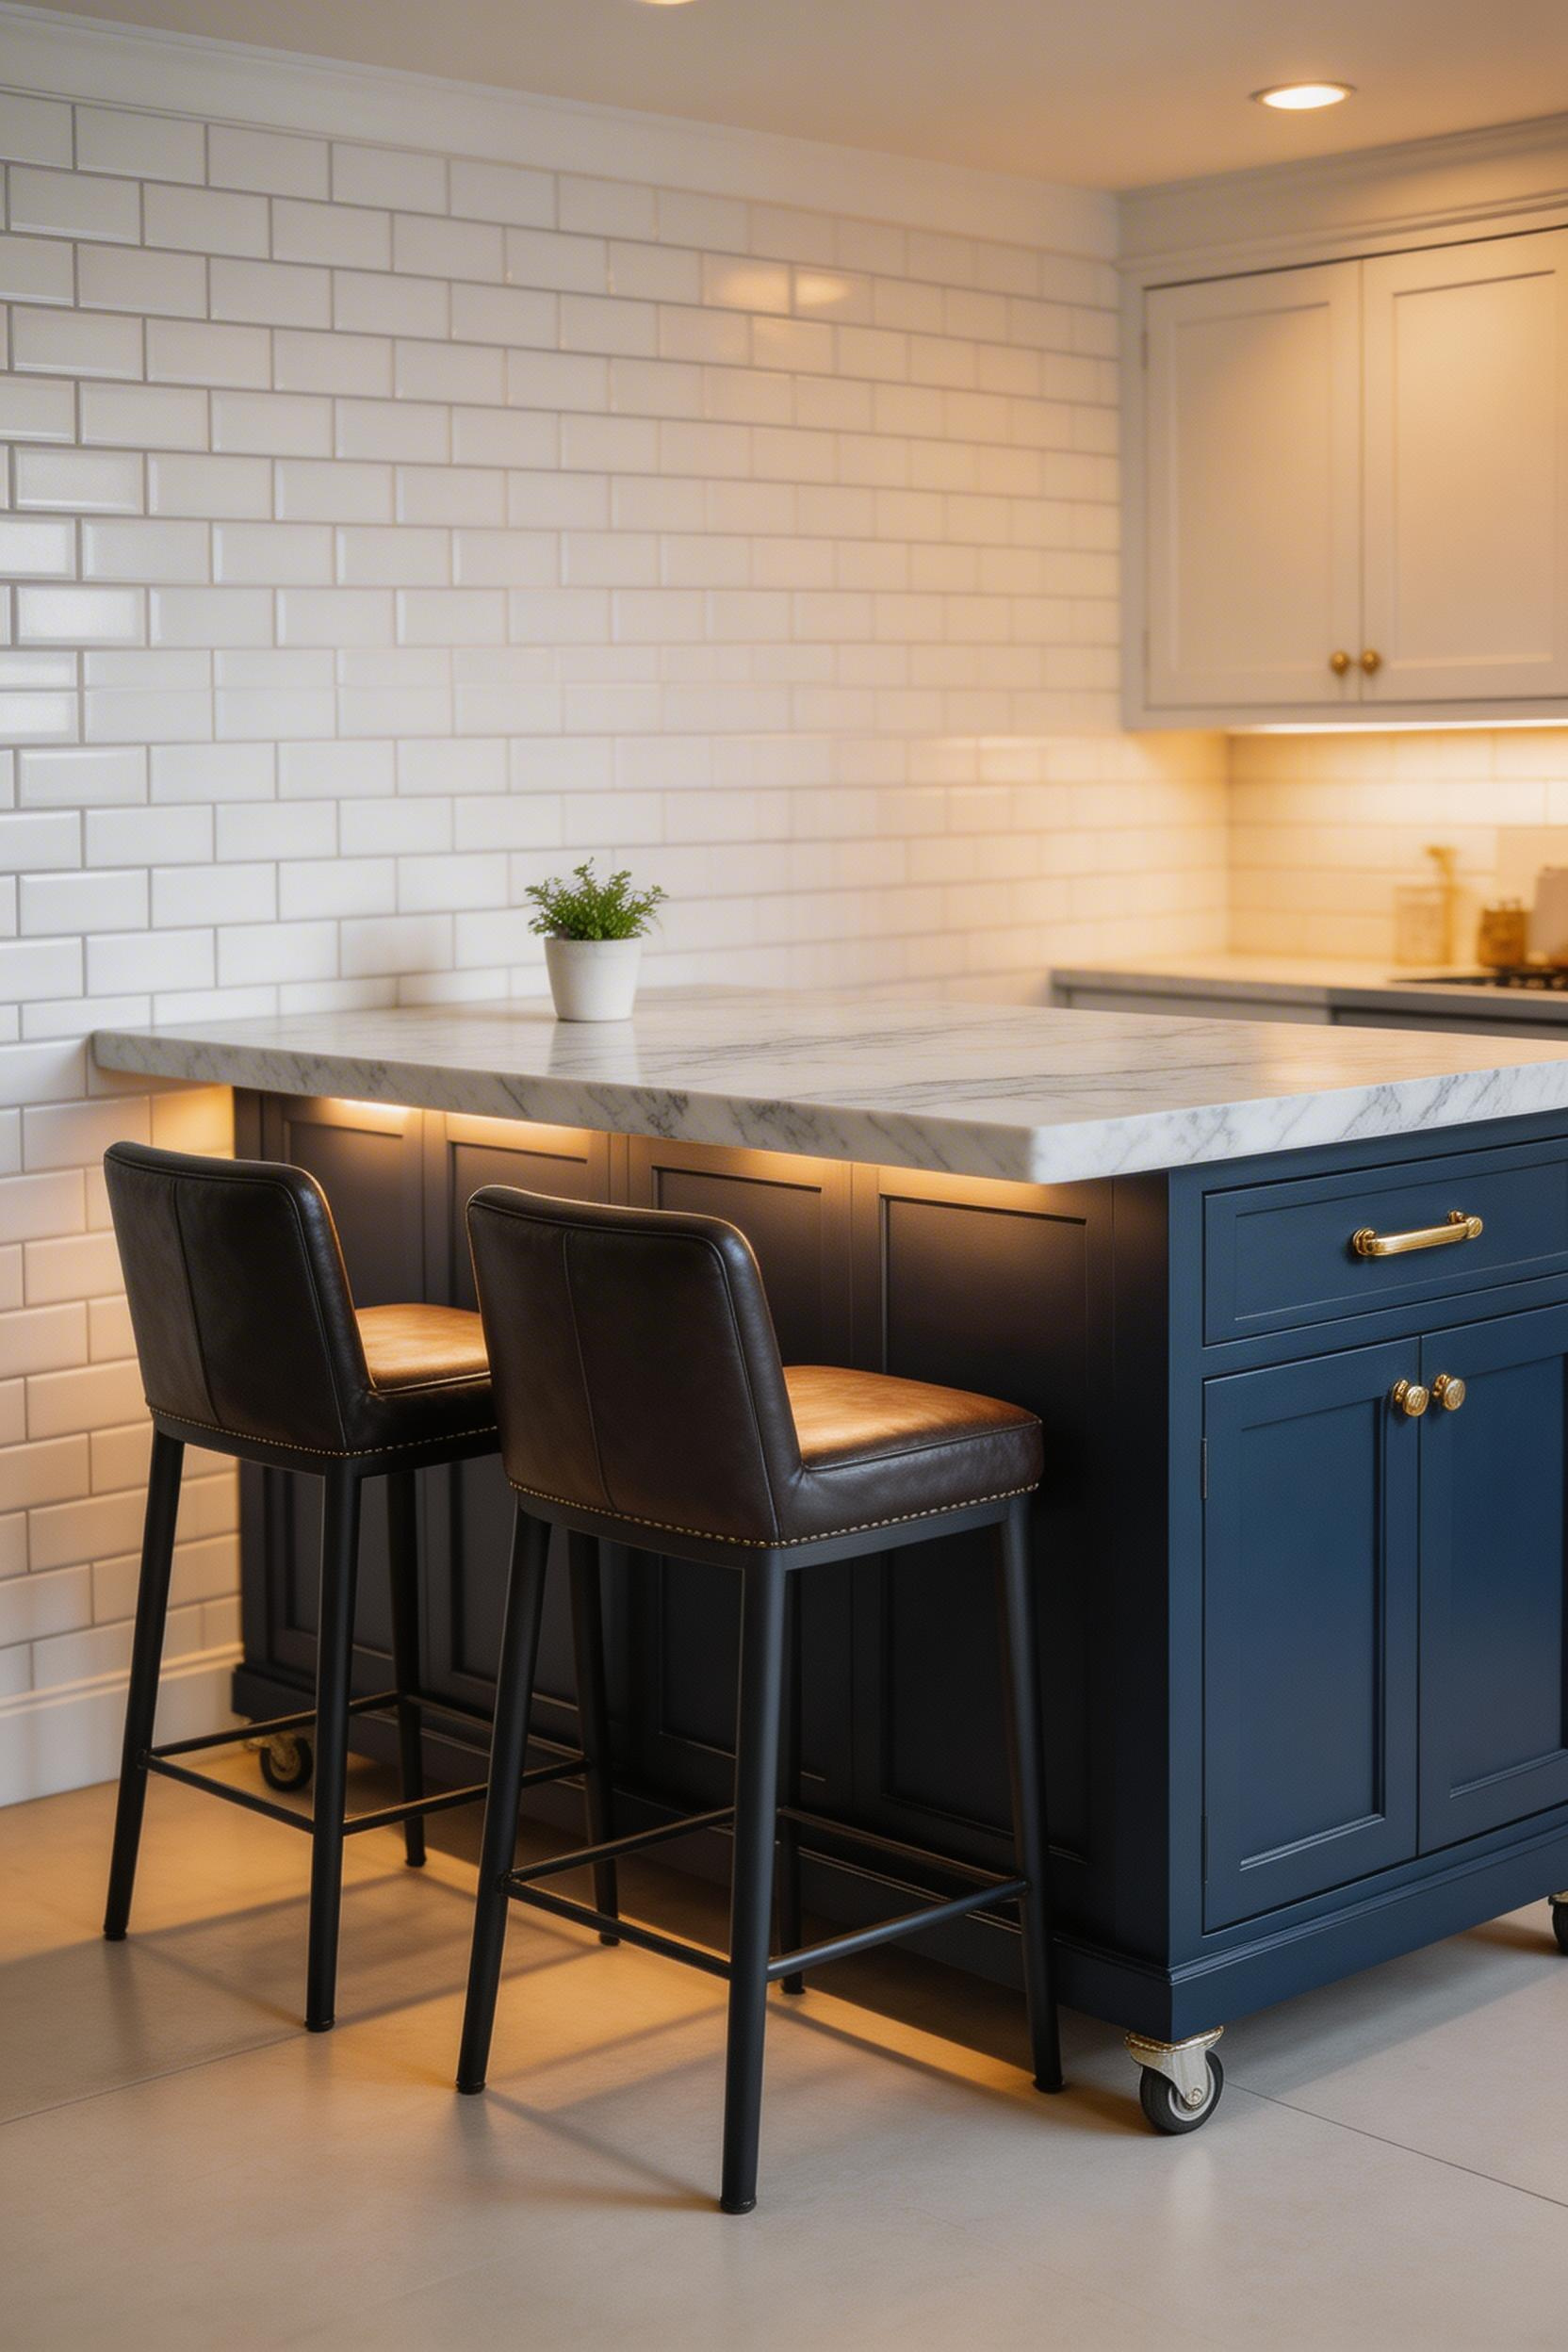
Getting seating at a small kitchen island turns a cramped cooking space into a casual gathering spot. But the dimensions have to be right, or the seating never gets used.
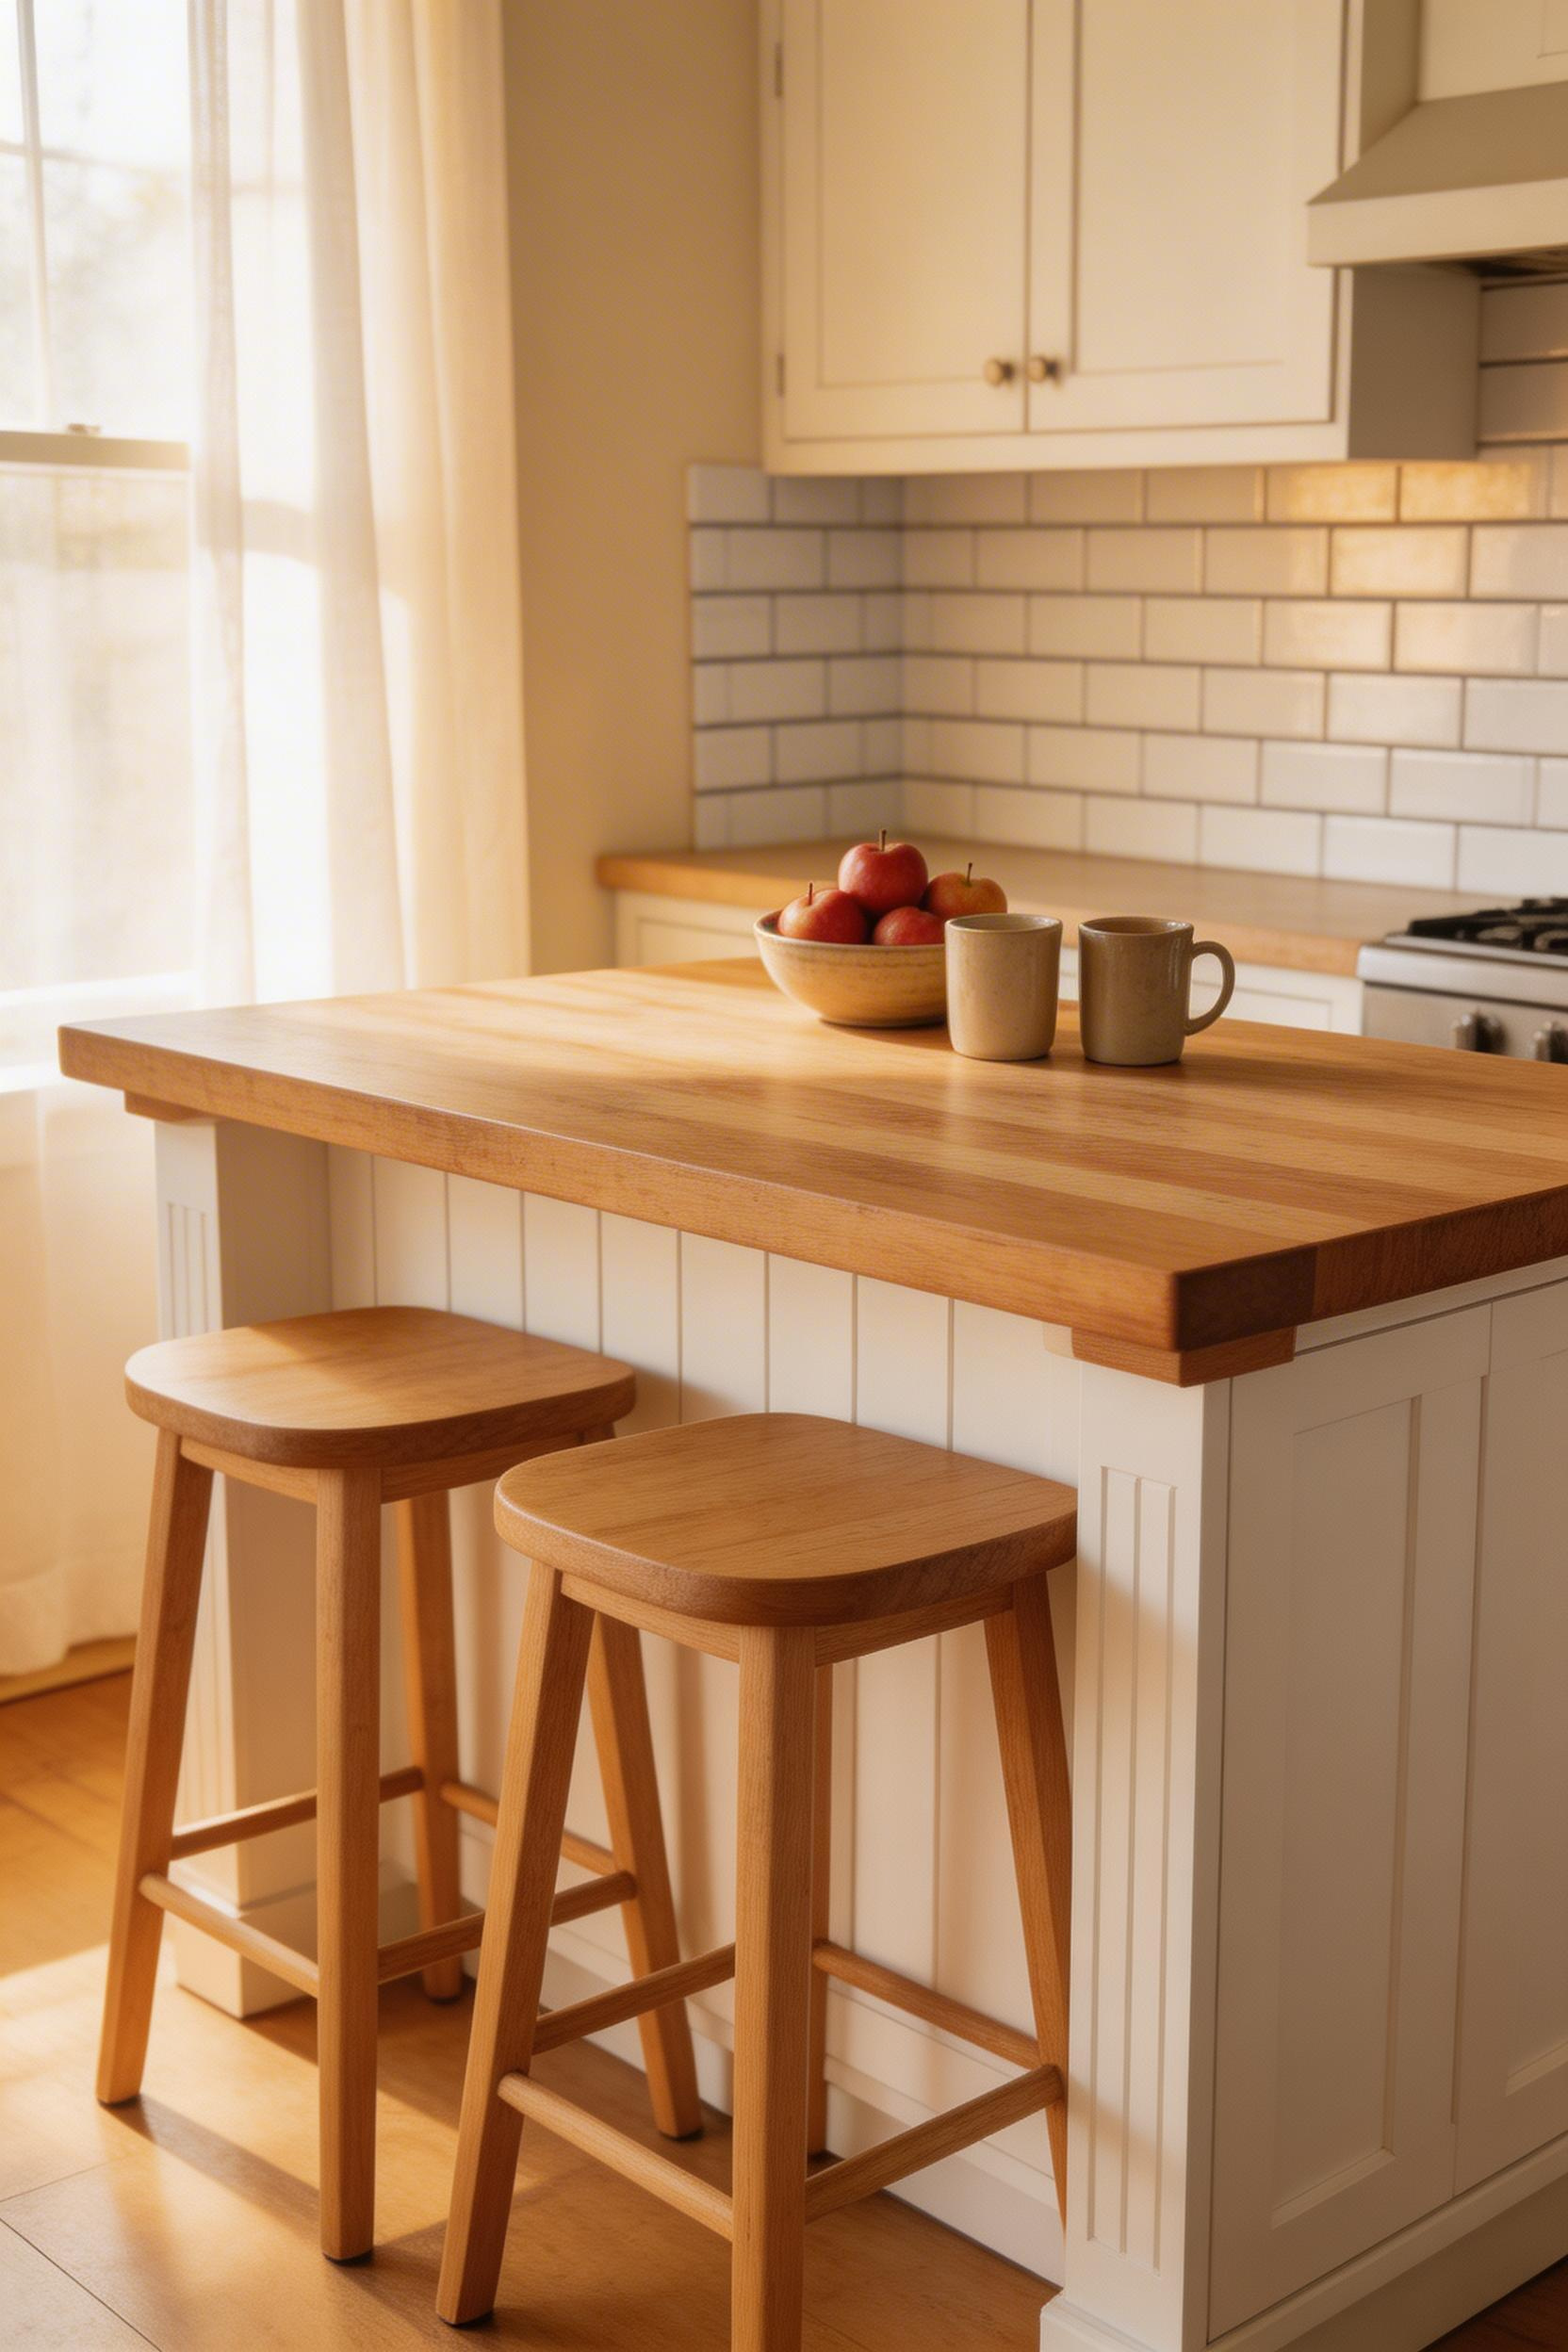
For any kitchen island ideas for small kitchens that include seating, start with the NKBA minimums. You need 36 inches of clearance on all sides, and 42 on the primary work side. The island needs at least 36 inches of length and 24 inches of depth for two stools. The overhang must be at least 12 inches for knee clearance, with 15 inches preferred.
Counter-height stools (24–26 inch seat height) pair with 36-inch islands. Bar-height stools (28–30 inches) pair with 42-inch islands. Getting this pairing wrong is the most common mistake people make.
Backless saddle stools ($40–$80 each) slide fully under the island overhang when not in use. In a small kitchen, those recovered floor inches are visible and meaningful. Mount a narrow towel bar on the seating side. It keeps guests away from hot prep surfaces and marks where the cooking zone ends.
—
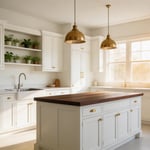
If your kitchen opens into a living area, this is one of the kitchen island ideas for small kitchens that also solves a layout problem. The countertop material wraps down the side to the floor, and the effect reads as architectural rather than decorative.
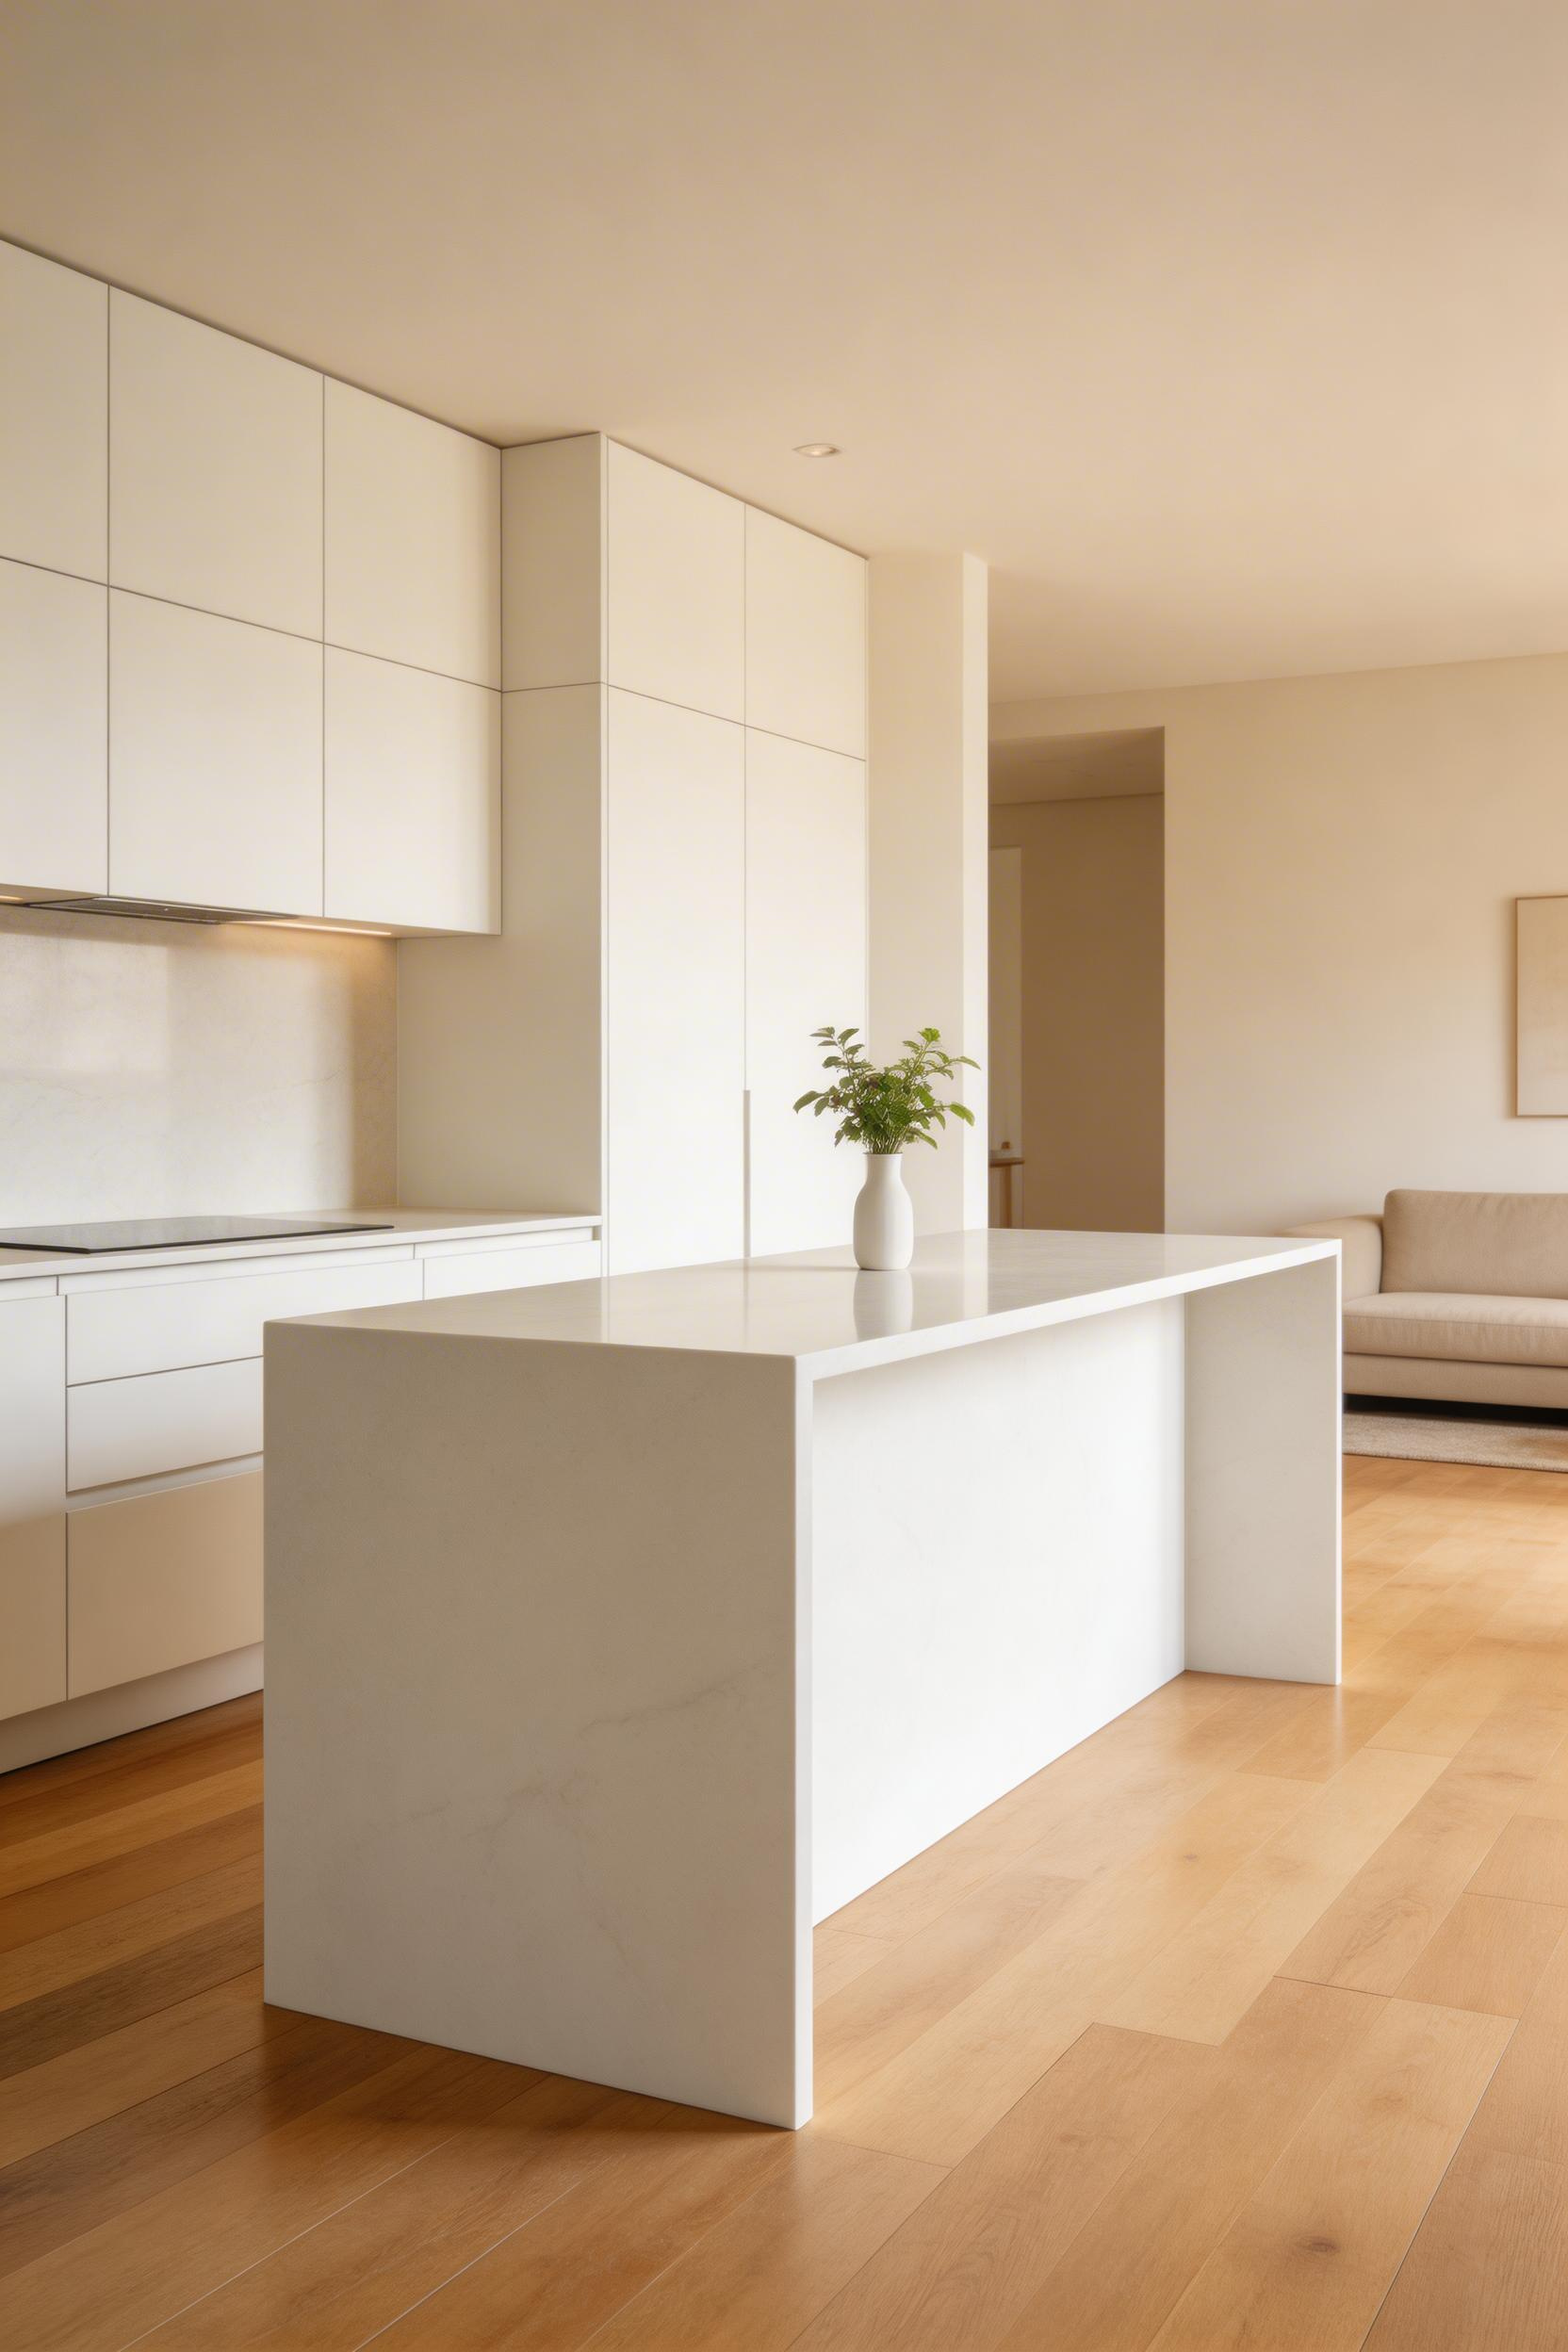
In a small kitchen, 18 inches of depth is the practical minimum for a waterfall island used as a prep surface. That’s slimmer than a standard 24-inch island, which matters when measuring clearance corridors.
A full quartz waterfall on a 36×18-inch island runs $1,200–$2,000 installed — worthwhile for an owned home where you’re staying five or more years. For a rented space or a tighter budget, the IKEA KALLAX shelving unit with a laminate top achieves the same visual for $280–$350 total. Laminate from Formica or Wilsonart costs $20–$40 per square foot and looks very close to quartz from normal viewing distances.
Run the waterfall on the room-facing side only. One-sided waterfalls cut material cost by 40% while delivering the same drama from the living area. Nobody on the kitchen side is thinking about waterfalls.
—
A drop-leaf island is as close as furniture gets to being two things at once. Folded down, it’s a slim cart. One leaf up, it’s a working island. Both leaves up, it seats four.

The IKEA NORDEN table ($249) is the gold-standard small-kitchen island hack. It’s not sold as an island, but thousands of people use it as one. It spans 73 inches with both leaves extended and 35 inches folded — a huge range from one piece. Two solid birch drawers provide real storage. Add kitchen casters ($25–$40 for a set of four) and it rolls.
The Winsome Wood Suzanne island ($189–$229) is purpose-built for this role — a 35.4×21.5-inch base on locking casters with a drop-leaf extending to 47.5 inches. Less improvised than the NORDEN hack but requires no creative assembly.
Leaf hardware matters more than price suggests. Corbel brackets should be rated for at least 50 lbs per leaf. A stand mixer and bag of flour together weigh about 30 lbs, so the margin matters. Stick two adhesive-backed cabinet bumpers to the underside of each leaf near the outer edge to eliminate rattle when you set heavy items close to the edge.
—
Dead corner space is the most underused real estate in a small kitchen. An L-shaped island activates it by tucking into the corner and requiring clearance on only two sides instead of four.
The L-island eliminates two of the four clearance requirements of a standard freestanding island. Both remaining corridors need at least 36 inches — ideally 42 on the cooking side.
You don’t need custom cabinetry. IKEA SEKTION base cabinets start at $79 each — two 18×24-inch runs at 90 degrees, topped with a standard countertop, gives you a functional L-island for $350–$700 in materials. Hampton Bay base cabinets from Home Depot are a comparable option in the same price range.
The modular approach means you can start with one arm of the L and add the second as budget allows. Position the island at 90 degrees to your longest wall. Diagonal placements waste significantly more corridor space in a square room. Diagonal looks clever in floor plans but wastes significantly more corridor space in a square room.
—
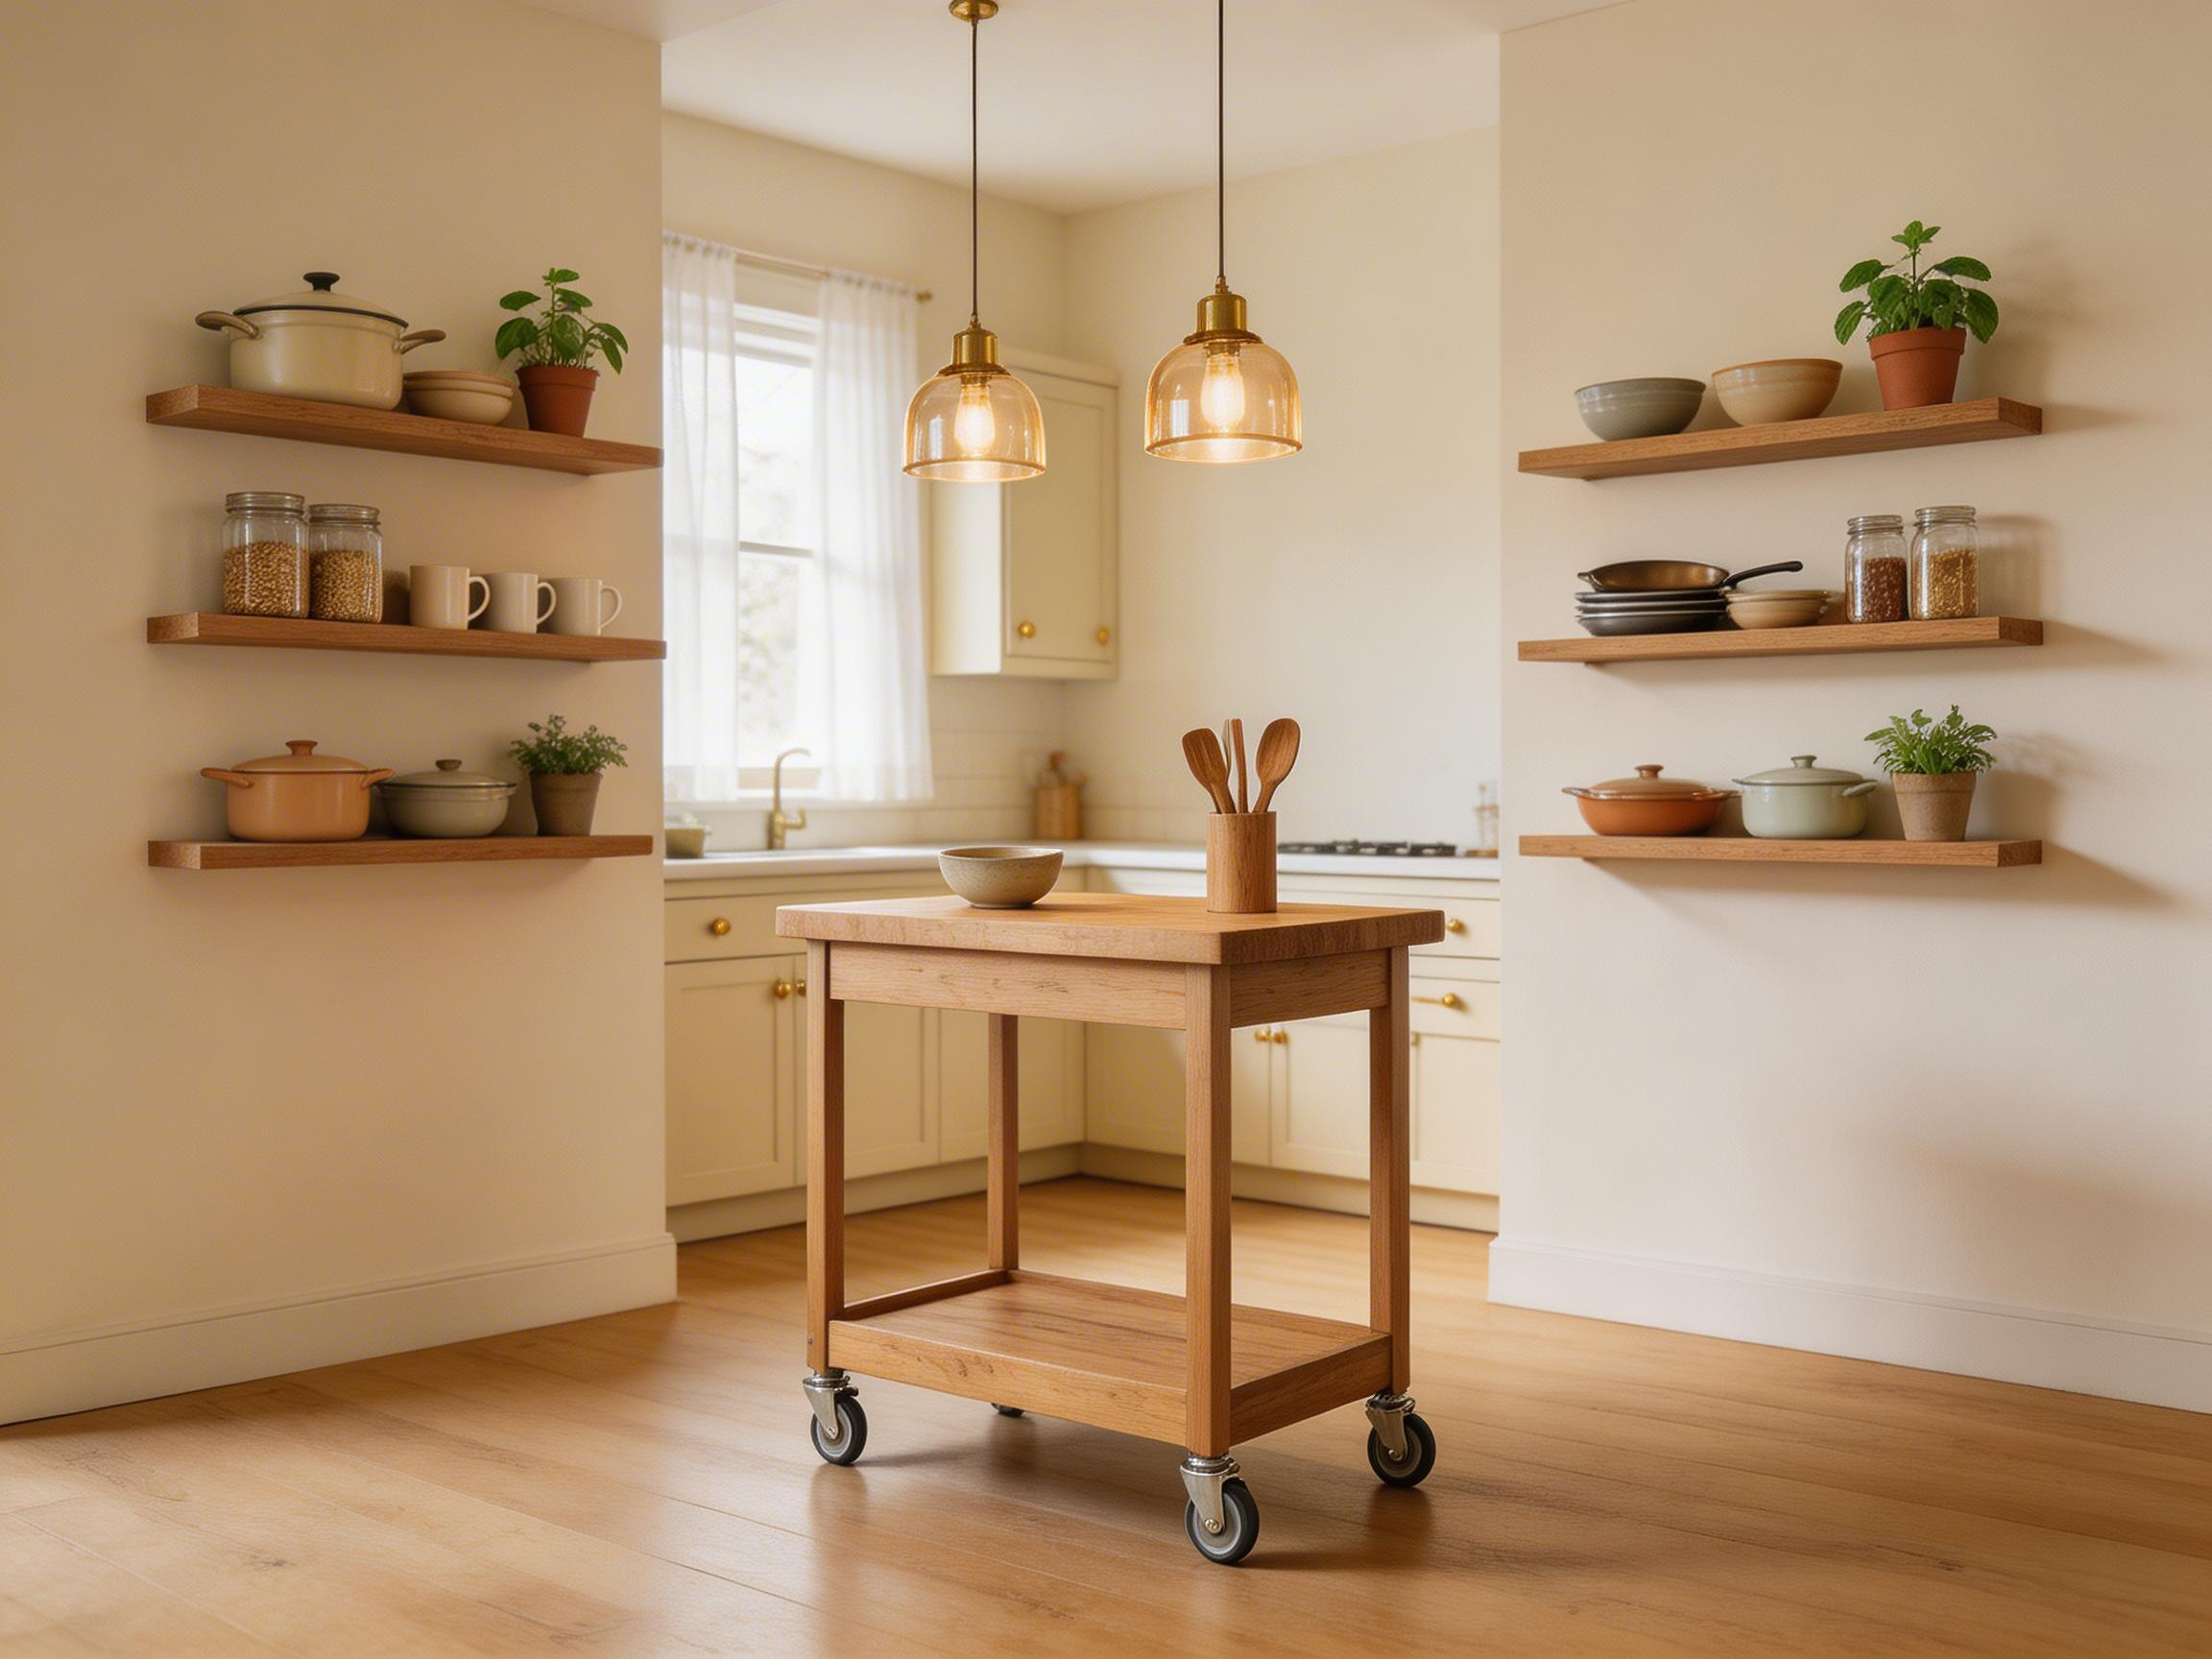
Among kitchen island ideas for small kitchens under 100 square feet, the open-shelf pedestal approach is the one that avoids adding visual mass to the room. An open-shelf island on hairpin legs or a pedestal base lets the eye travel through the space rather than stopping at a wall of cabinet doors.
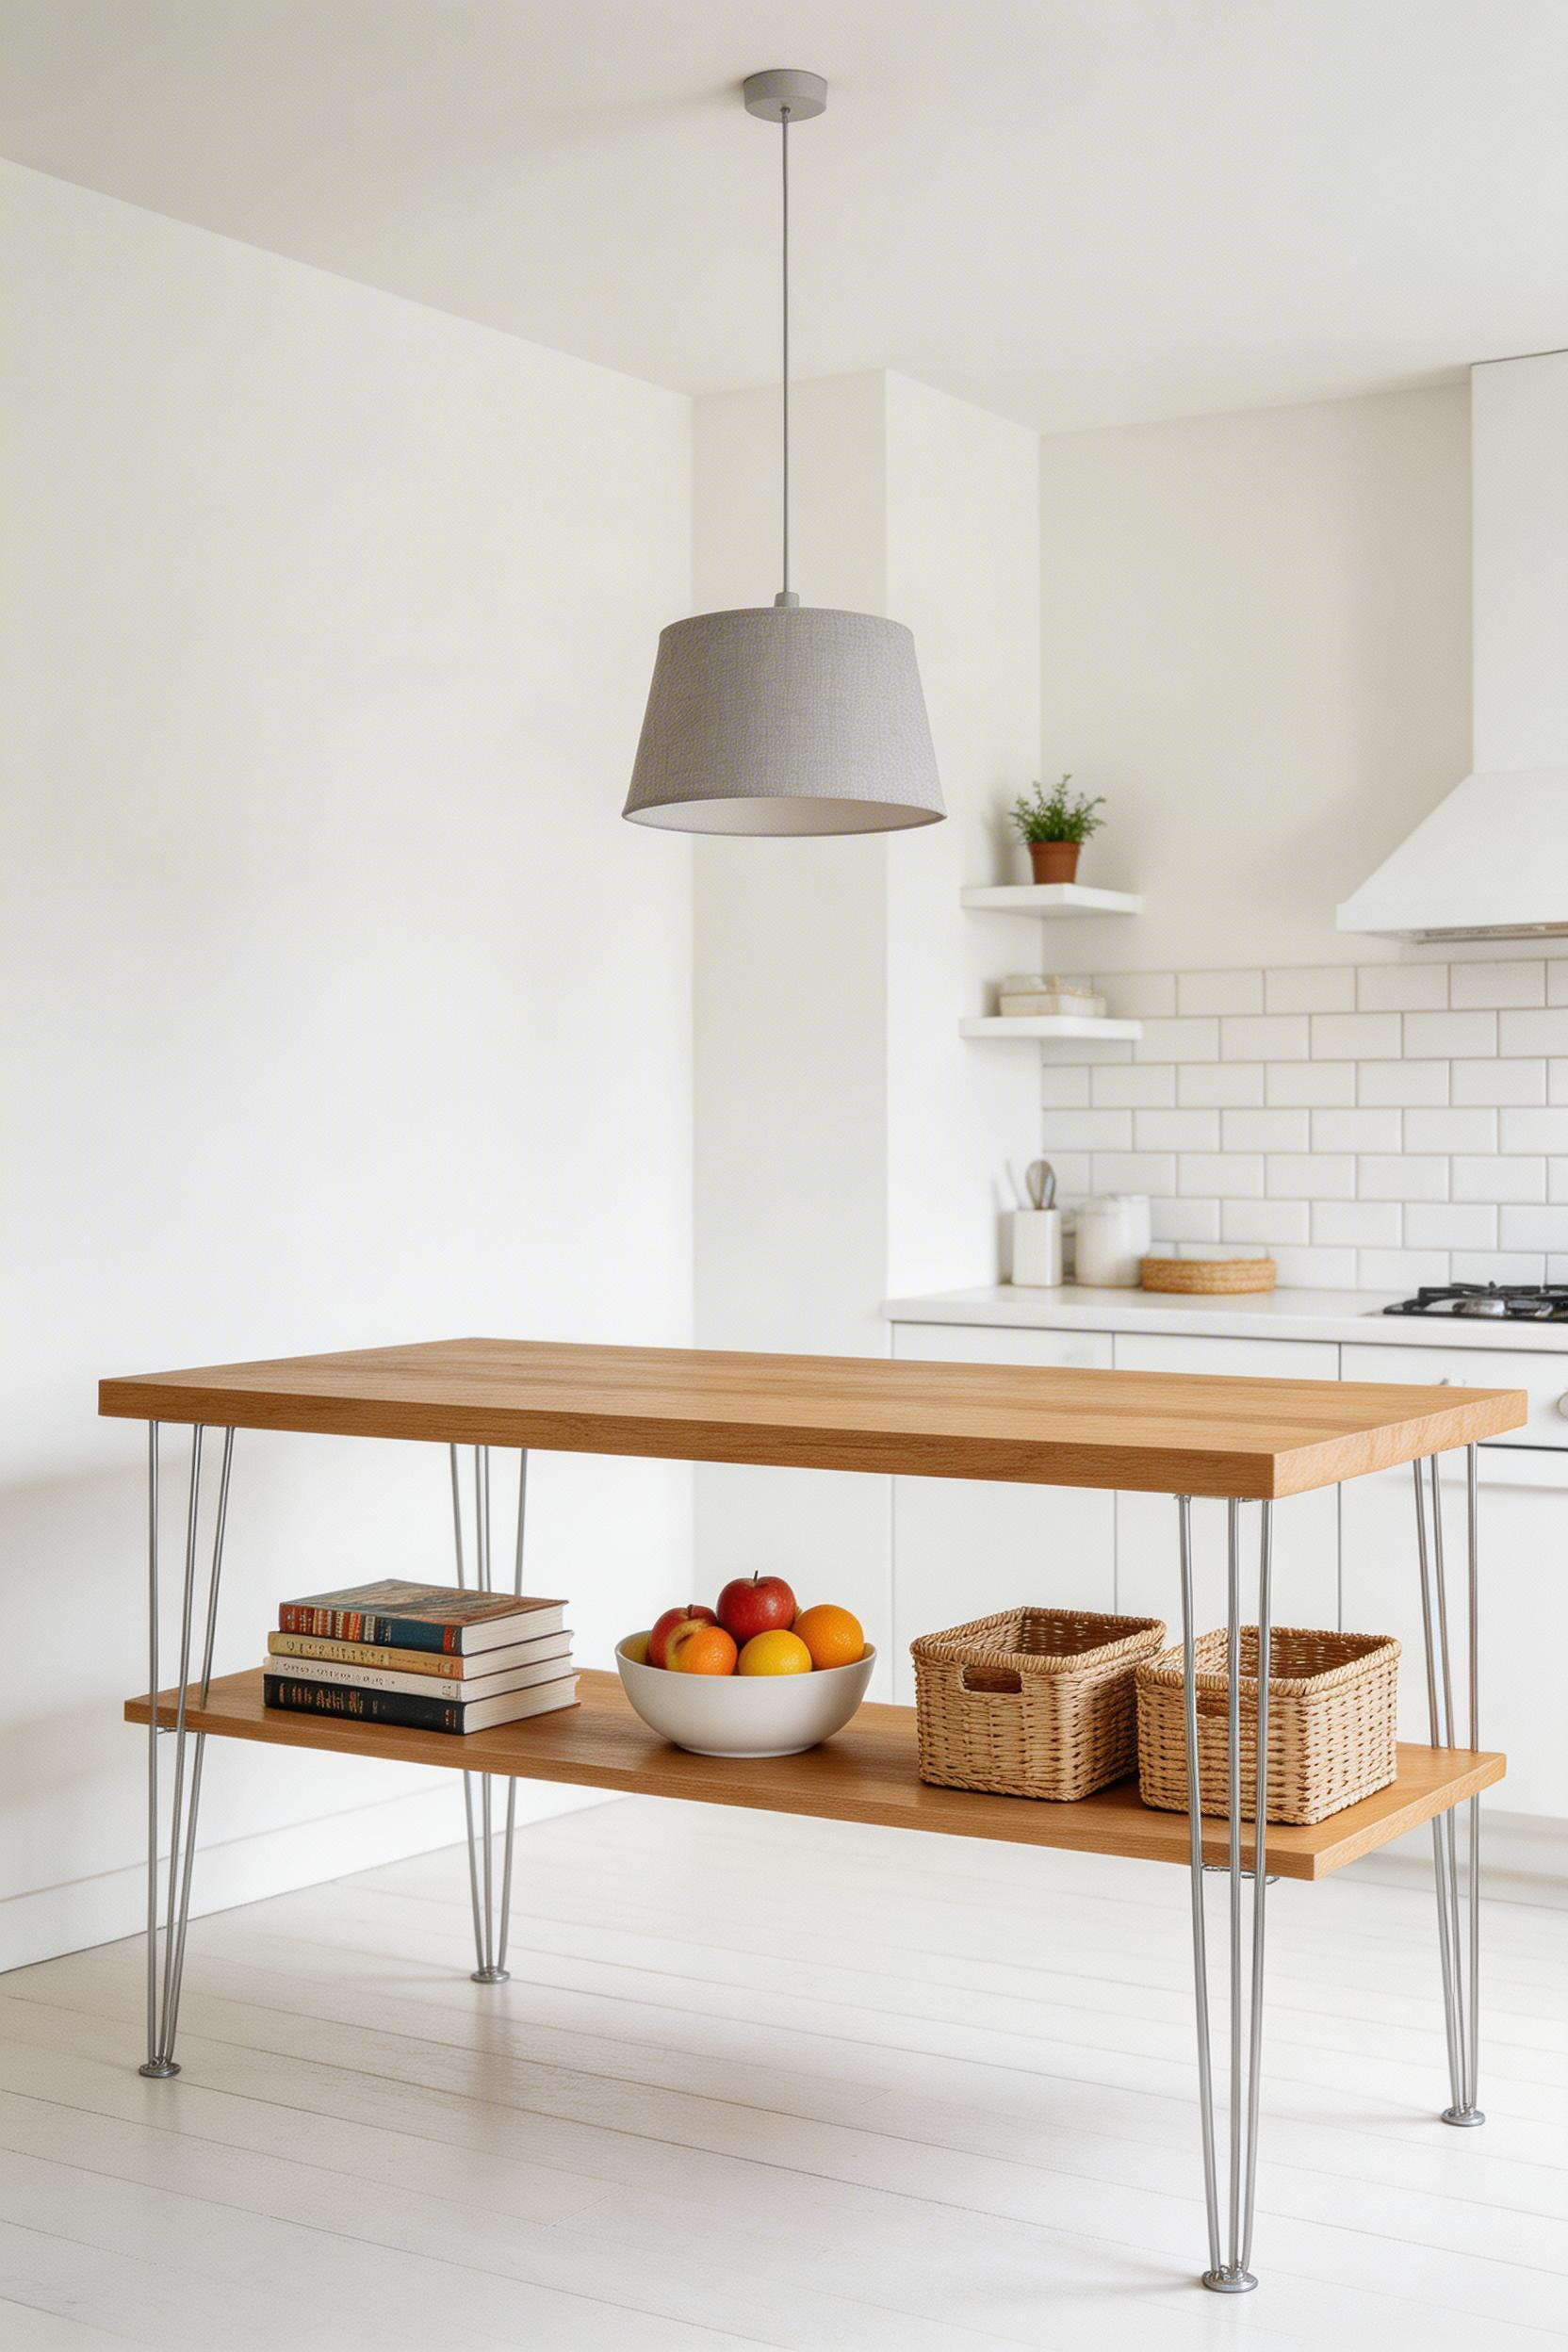
Open shelving below an island reduces its visual mass by roughly 40 percent compared to a cabinet-base design. In a small room, that’s significant. The effect is stronger in lower-ceiling kitchens — when the island appears to float, it adds perceived vertical space.
Hairpin legs should sit 2 inches in from each corner for maximum stability. Use matching containers on the open shelves — woven baskets in the same color, identical glass jars, or linen bins. A uniform container style makes even slightly messy storage look intentional. Keep shelved content to items that look good and get used daily: cookbooks, a fruit bowl, stacked cutting boards. Grease from nearby cooking settles on open stored items quickly, so keep cleaning supplies and Tupperware in closed storage elsewhere.
—
This is one of the kitchen island ideas for small kitchens that costs the least and looks the most original. No production island cart looks like a hand-painted 1940s dresser with sealed wood and original hardware.
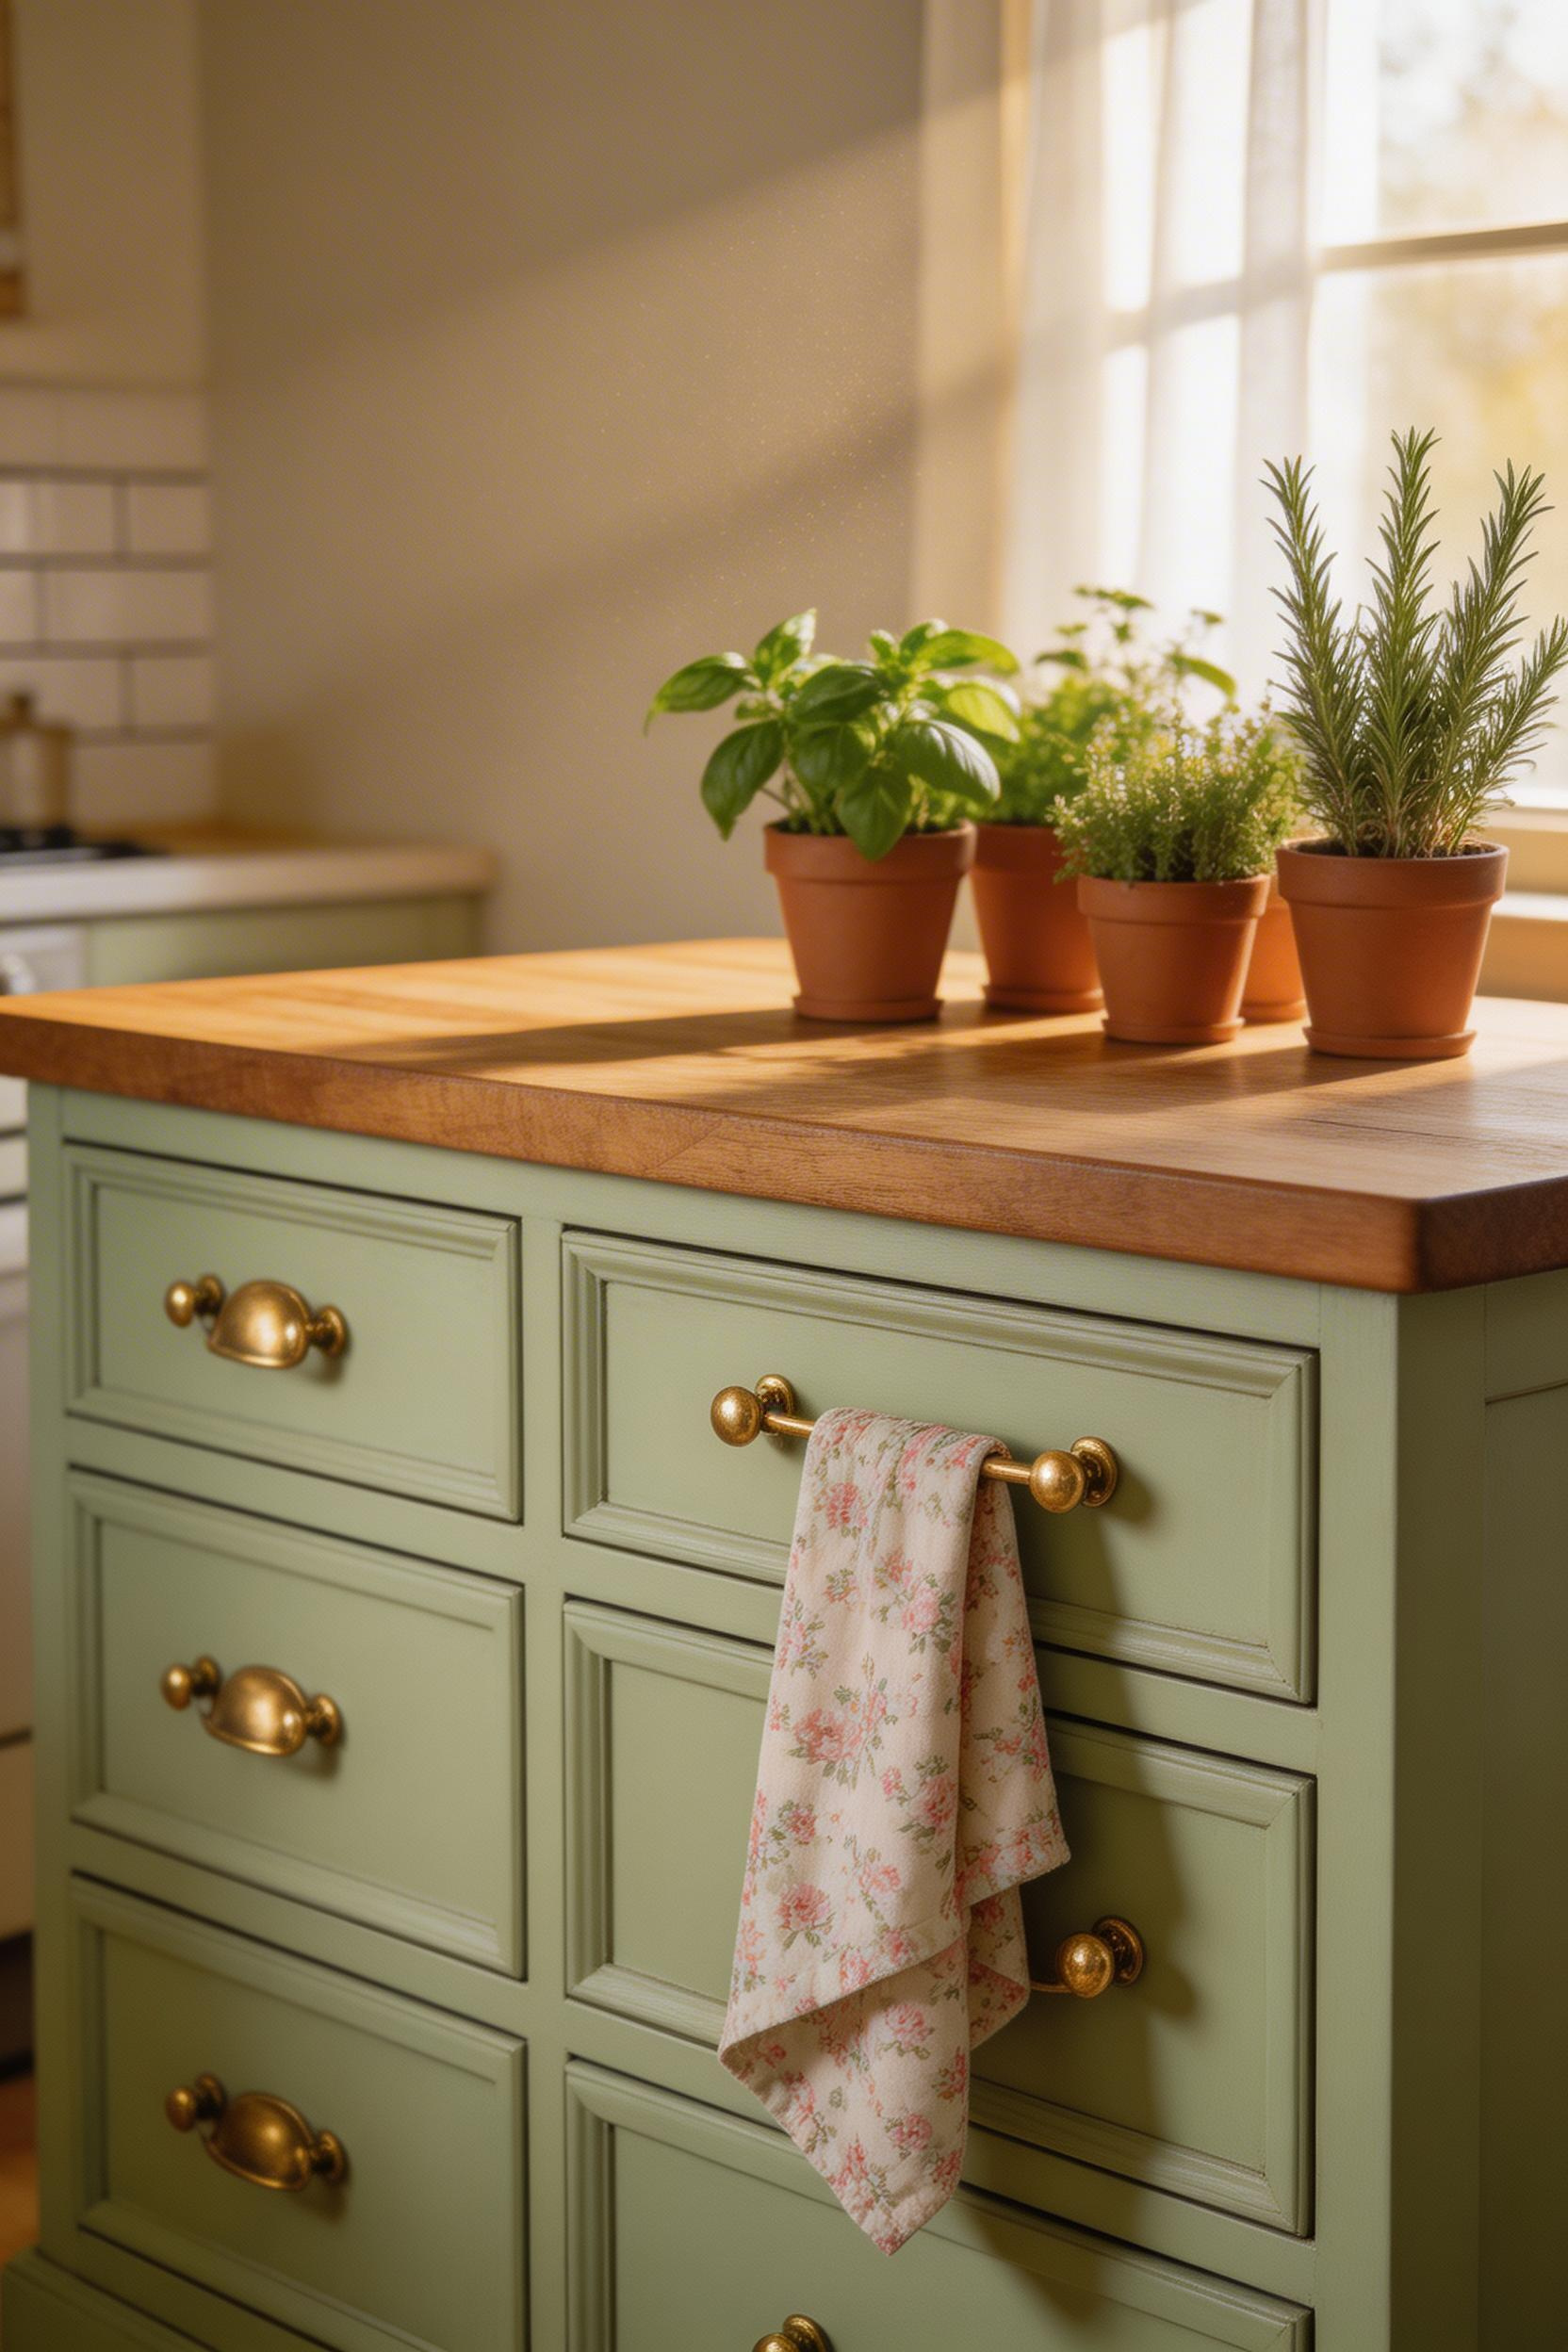
The right dresser is solid wood, 24–30 inches deep, and 34–36 inches tall before adding a countertop. Open the drawers before buying and measure interior depth — vintage dressers often have 4–6 inch shallow drawers. Look for pieces where each drawer is at least 8 inches deep.
Waterlox Original Sealer/Finish ($40/quart) provides the best penetrating seal for the wood top — four coats minimum, sanding lightly between coats. For the body, Annie Sloan Chalk Paint ($45/quart) adheres without sanding and ages beautifully with dark wax over.
Facebook Marketplace is the best sourcing ground — solid wood dressers typically run $40–$150. Estate sales often carry better quality at lower prices. Avoid anything with soft, dented surfaces, drawers that don’t slide smoothly, or stapled backs rather than nailed construction.
—
Adding a sink to a small kitchen island sounds extravagant. But if your main sink sits behind you and you constantly turn away from the cutting board to rinse vegetables, moving water closer to your prep area is a genuine workflow improvement.
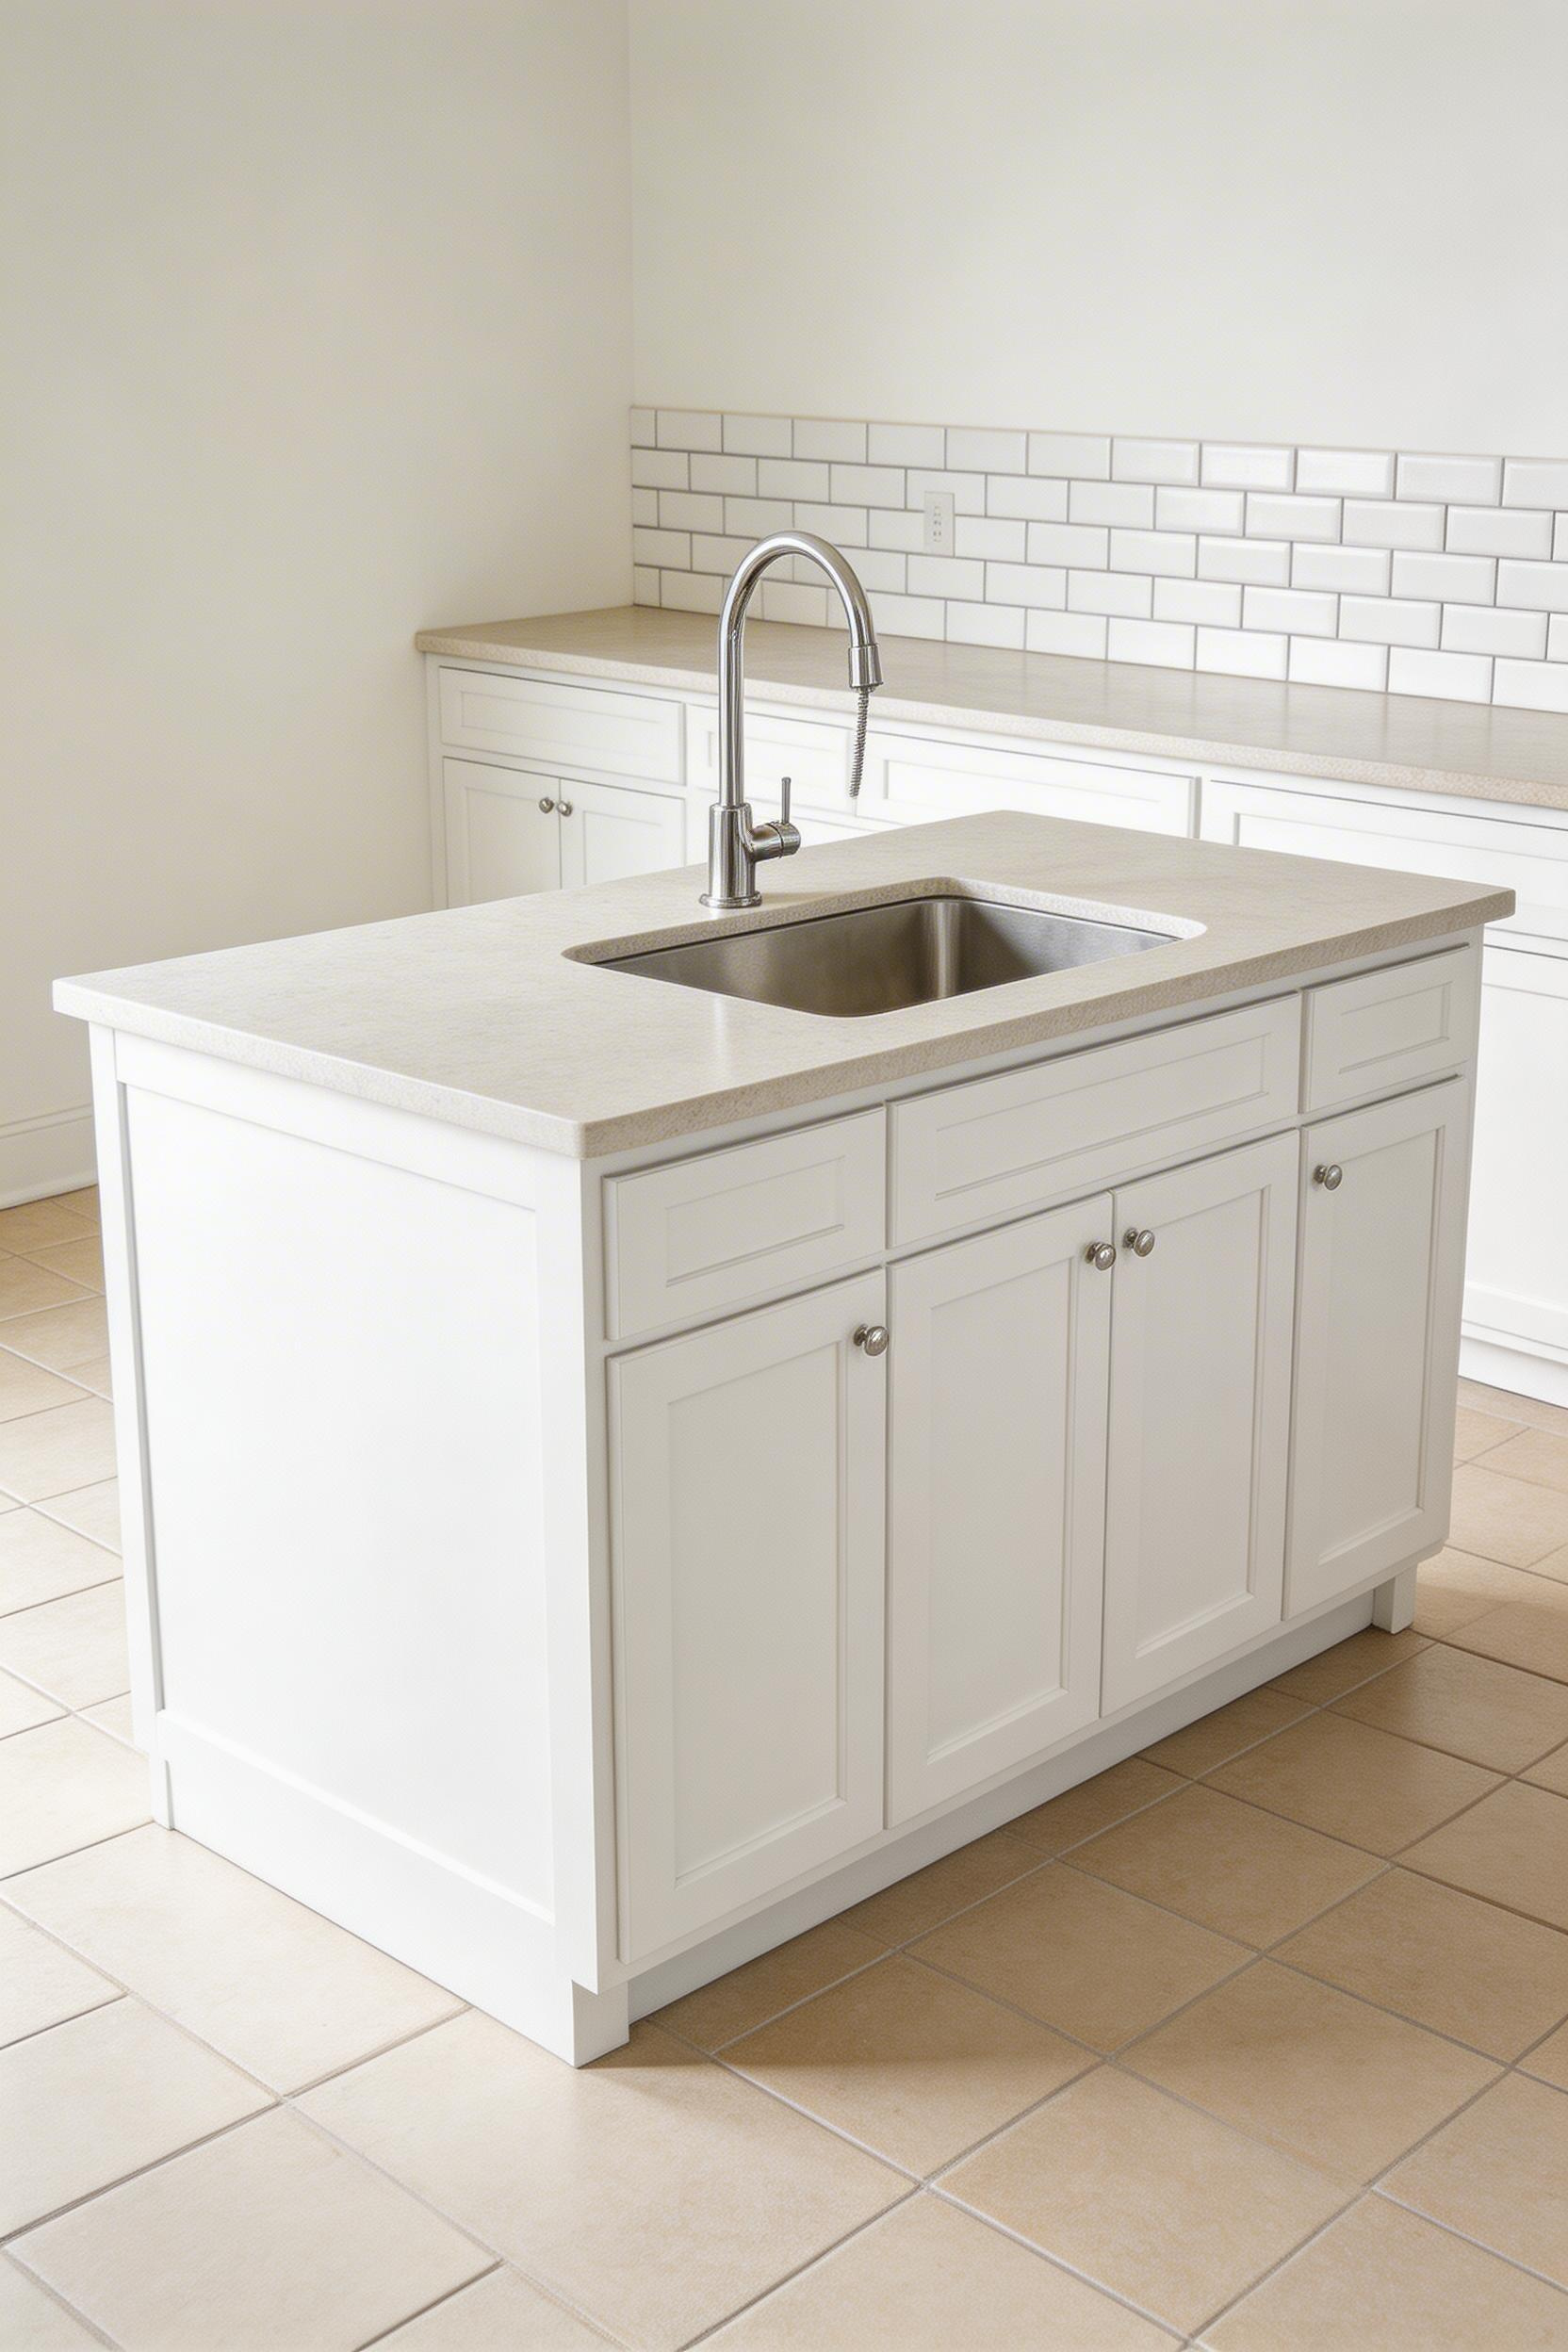
A 15×15-inch prep sink — the KOHLER Vault ($299) is the most popular — requires an island width of at least 24 inches. For most compact kitchen island ideas, the prep sink is the right choice. It handles vegetable rinsing, pasta draining, and fish prep without the footprint of a full 30-inch sink, which requires at least 36 inches of island width.
Running plumbing to an island costs $800–$2,200 depending on distance from existing lines and subfloor type. Concrete slab homes add $300–$600 for saw-cutting. Route supply lines through the interior of the island cabinet rather than under the floor when possible — it avoids concrete cutting entirely and simplifies the job for the plumber.
Install the faucet on the cooking-wall side of the island. A low-arc faucet (the Moen Align pull-down at $219 is designed for island applications) keeps splash contained in a tight space.
—
The galley island is the kitchen island idea for small kitchens where any full-depth island would block the corridor. By keeping the island shallow (18–24 inches) and using overhead space for pot storage, you gain prep surface without sacrificing the floor clearance that makes a galley usable.
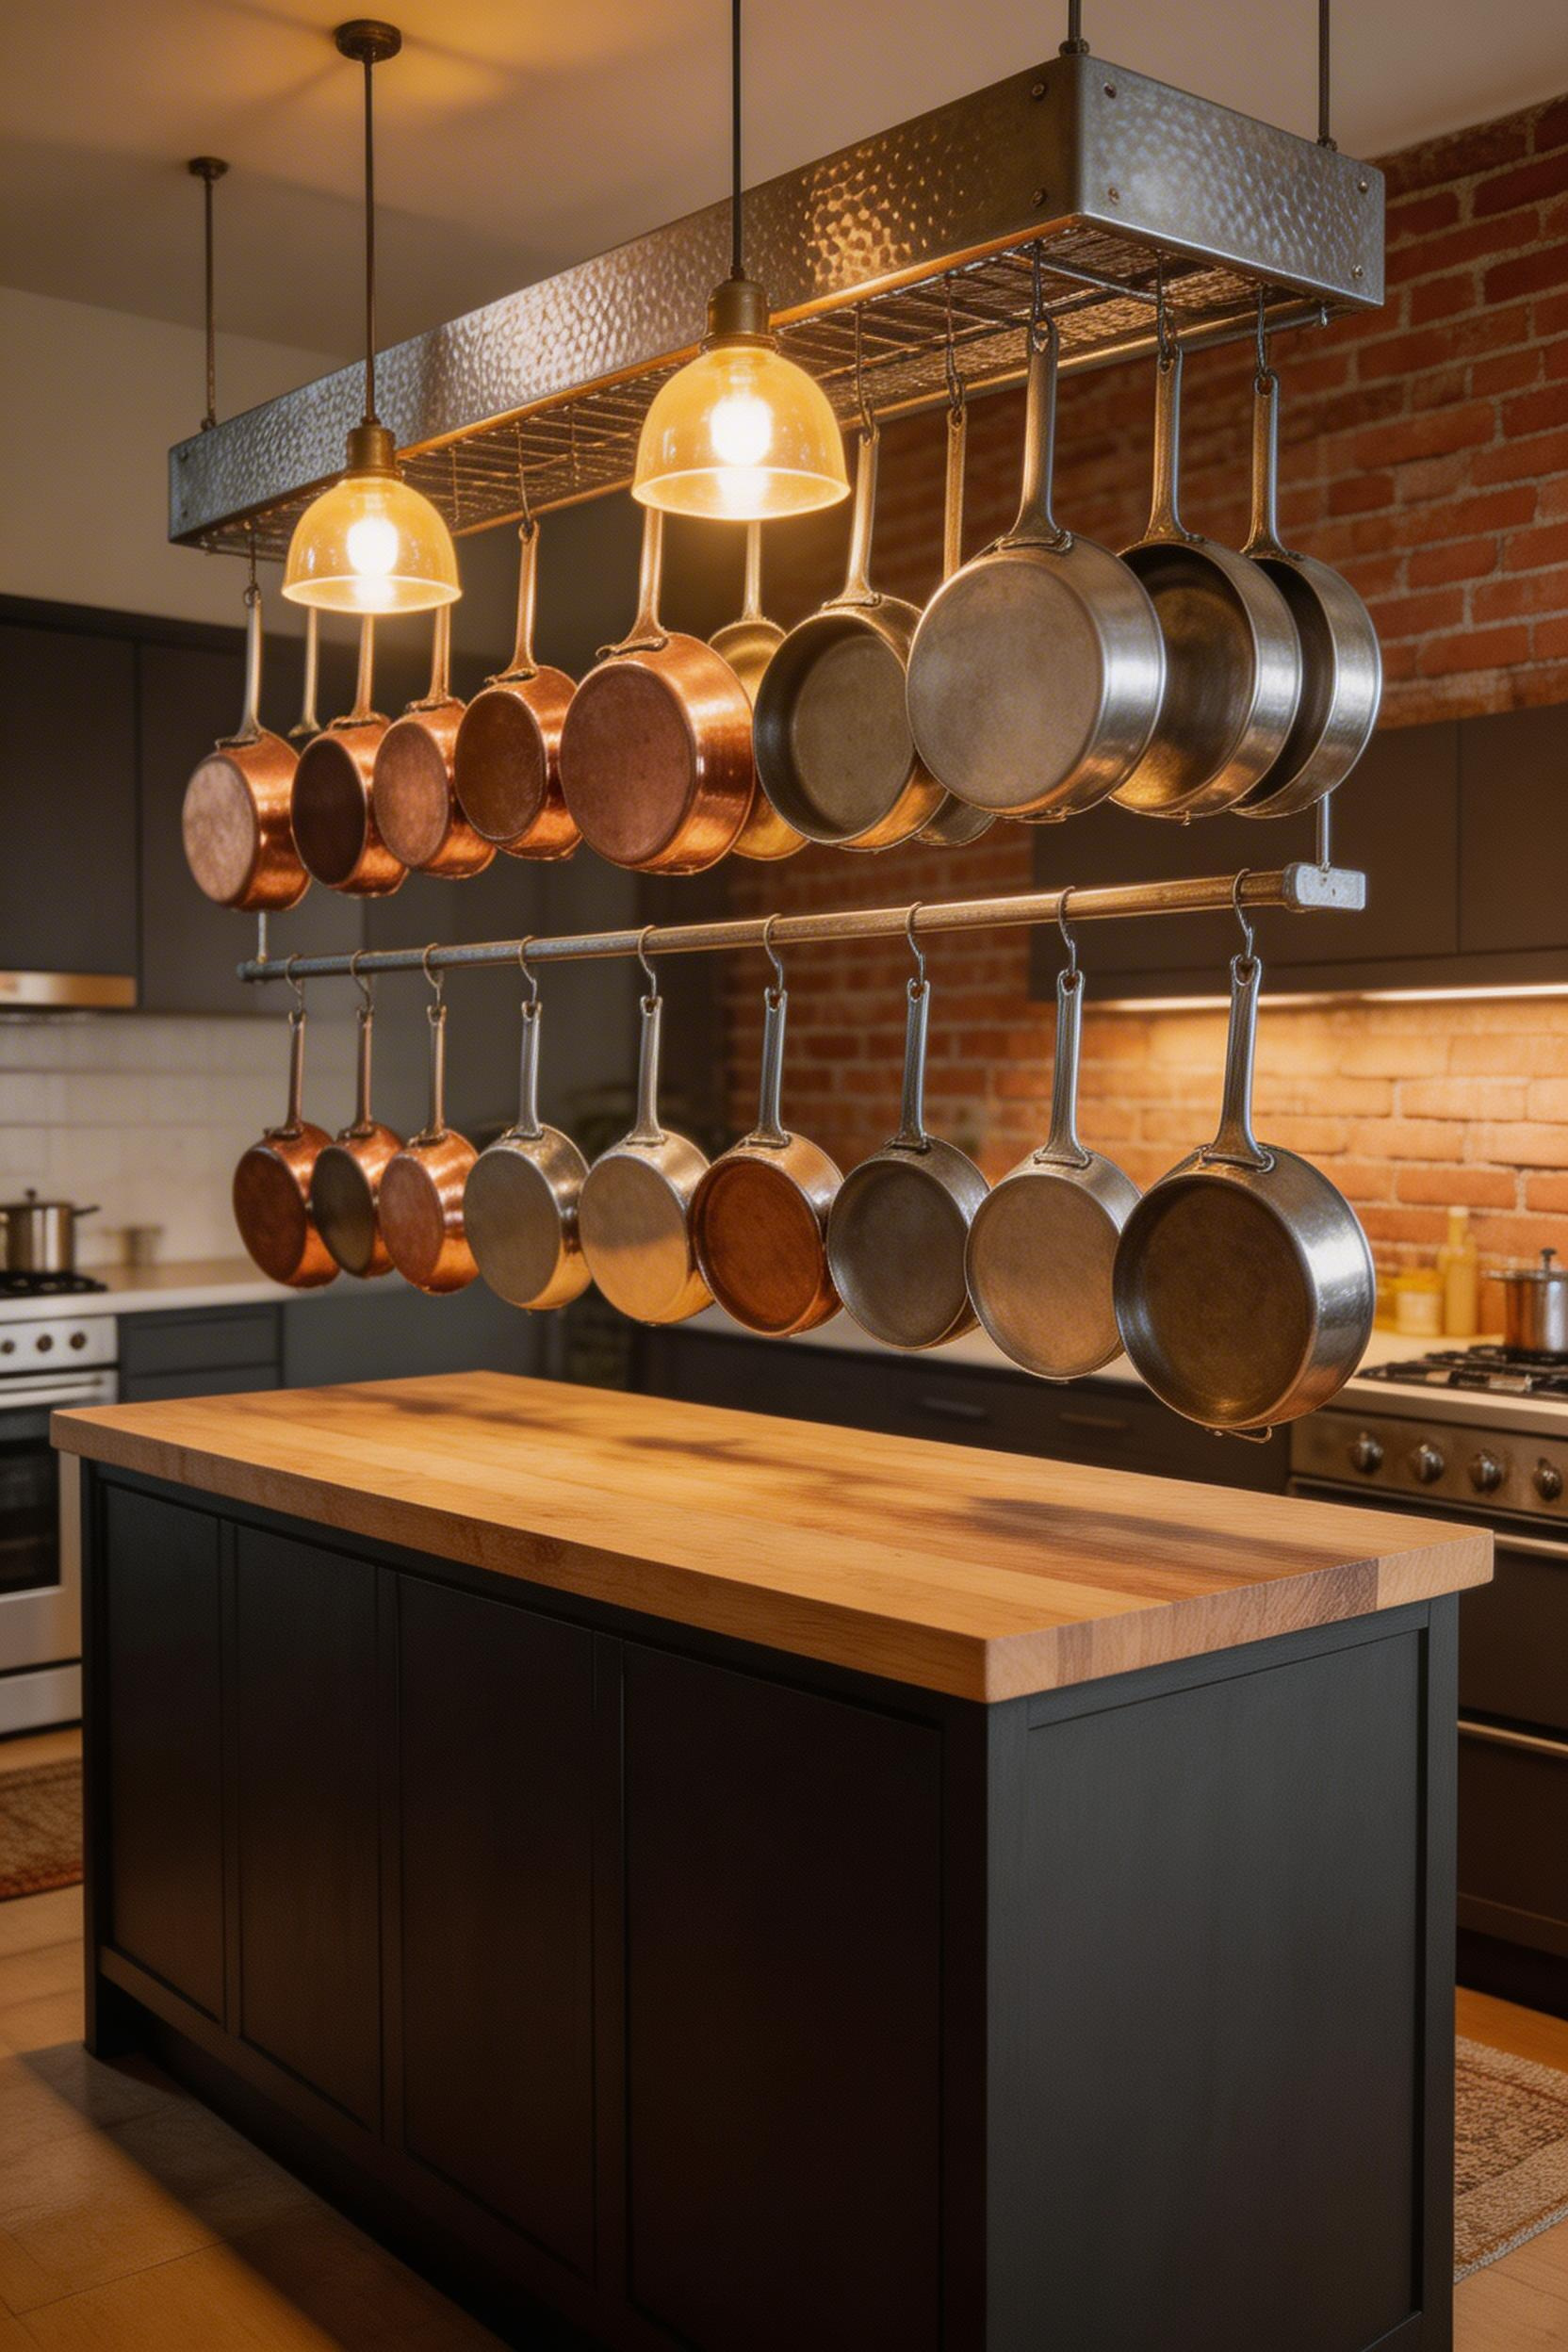
An 18–24 inch deep island provides functional prep surface while keeping corridors clear. The existing corridor must be at least 96 inches wide to accommodate an 18-inch island with 36-inch clearance on each side.
The bottom of the pot rack should sit no lower than 66 inches from the floor — most codes require 7-foot minimum clearance over work surfaces. Wall-mounted pot racks (Enclume Hammered Steel, $149–$189) anchor into studs and work well when the island sits near a wall. The Enclume holds 200 lbs across its mounting span.
Hang only your most-used six pieces. A rack crammed with every pot looks like a supply store backroom. Keep the daily cast iron, a 3-quart saucepan, the Dutch oven, the sauté pan, and two stockpots. Everything else belongs in the under-island drawer where it’s just as accessible and out of sight.
—
The two-tier island solves the mess problem of active prep in an open-plan kitchen. A raised panel on the bar side hides the cutting board from guests seated nearby, which changes the whole dynamic of cooking while entertaining.
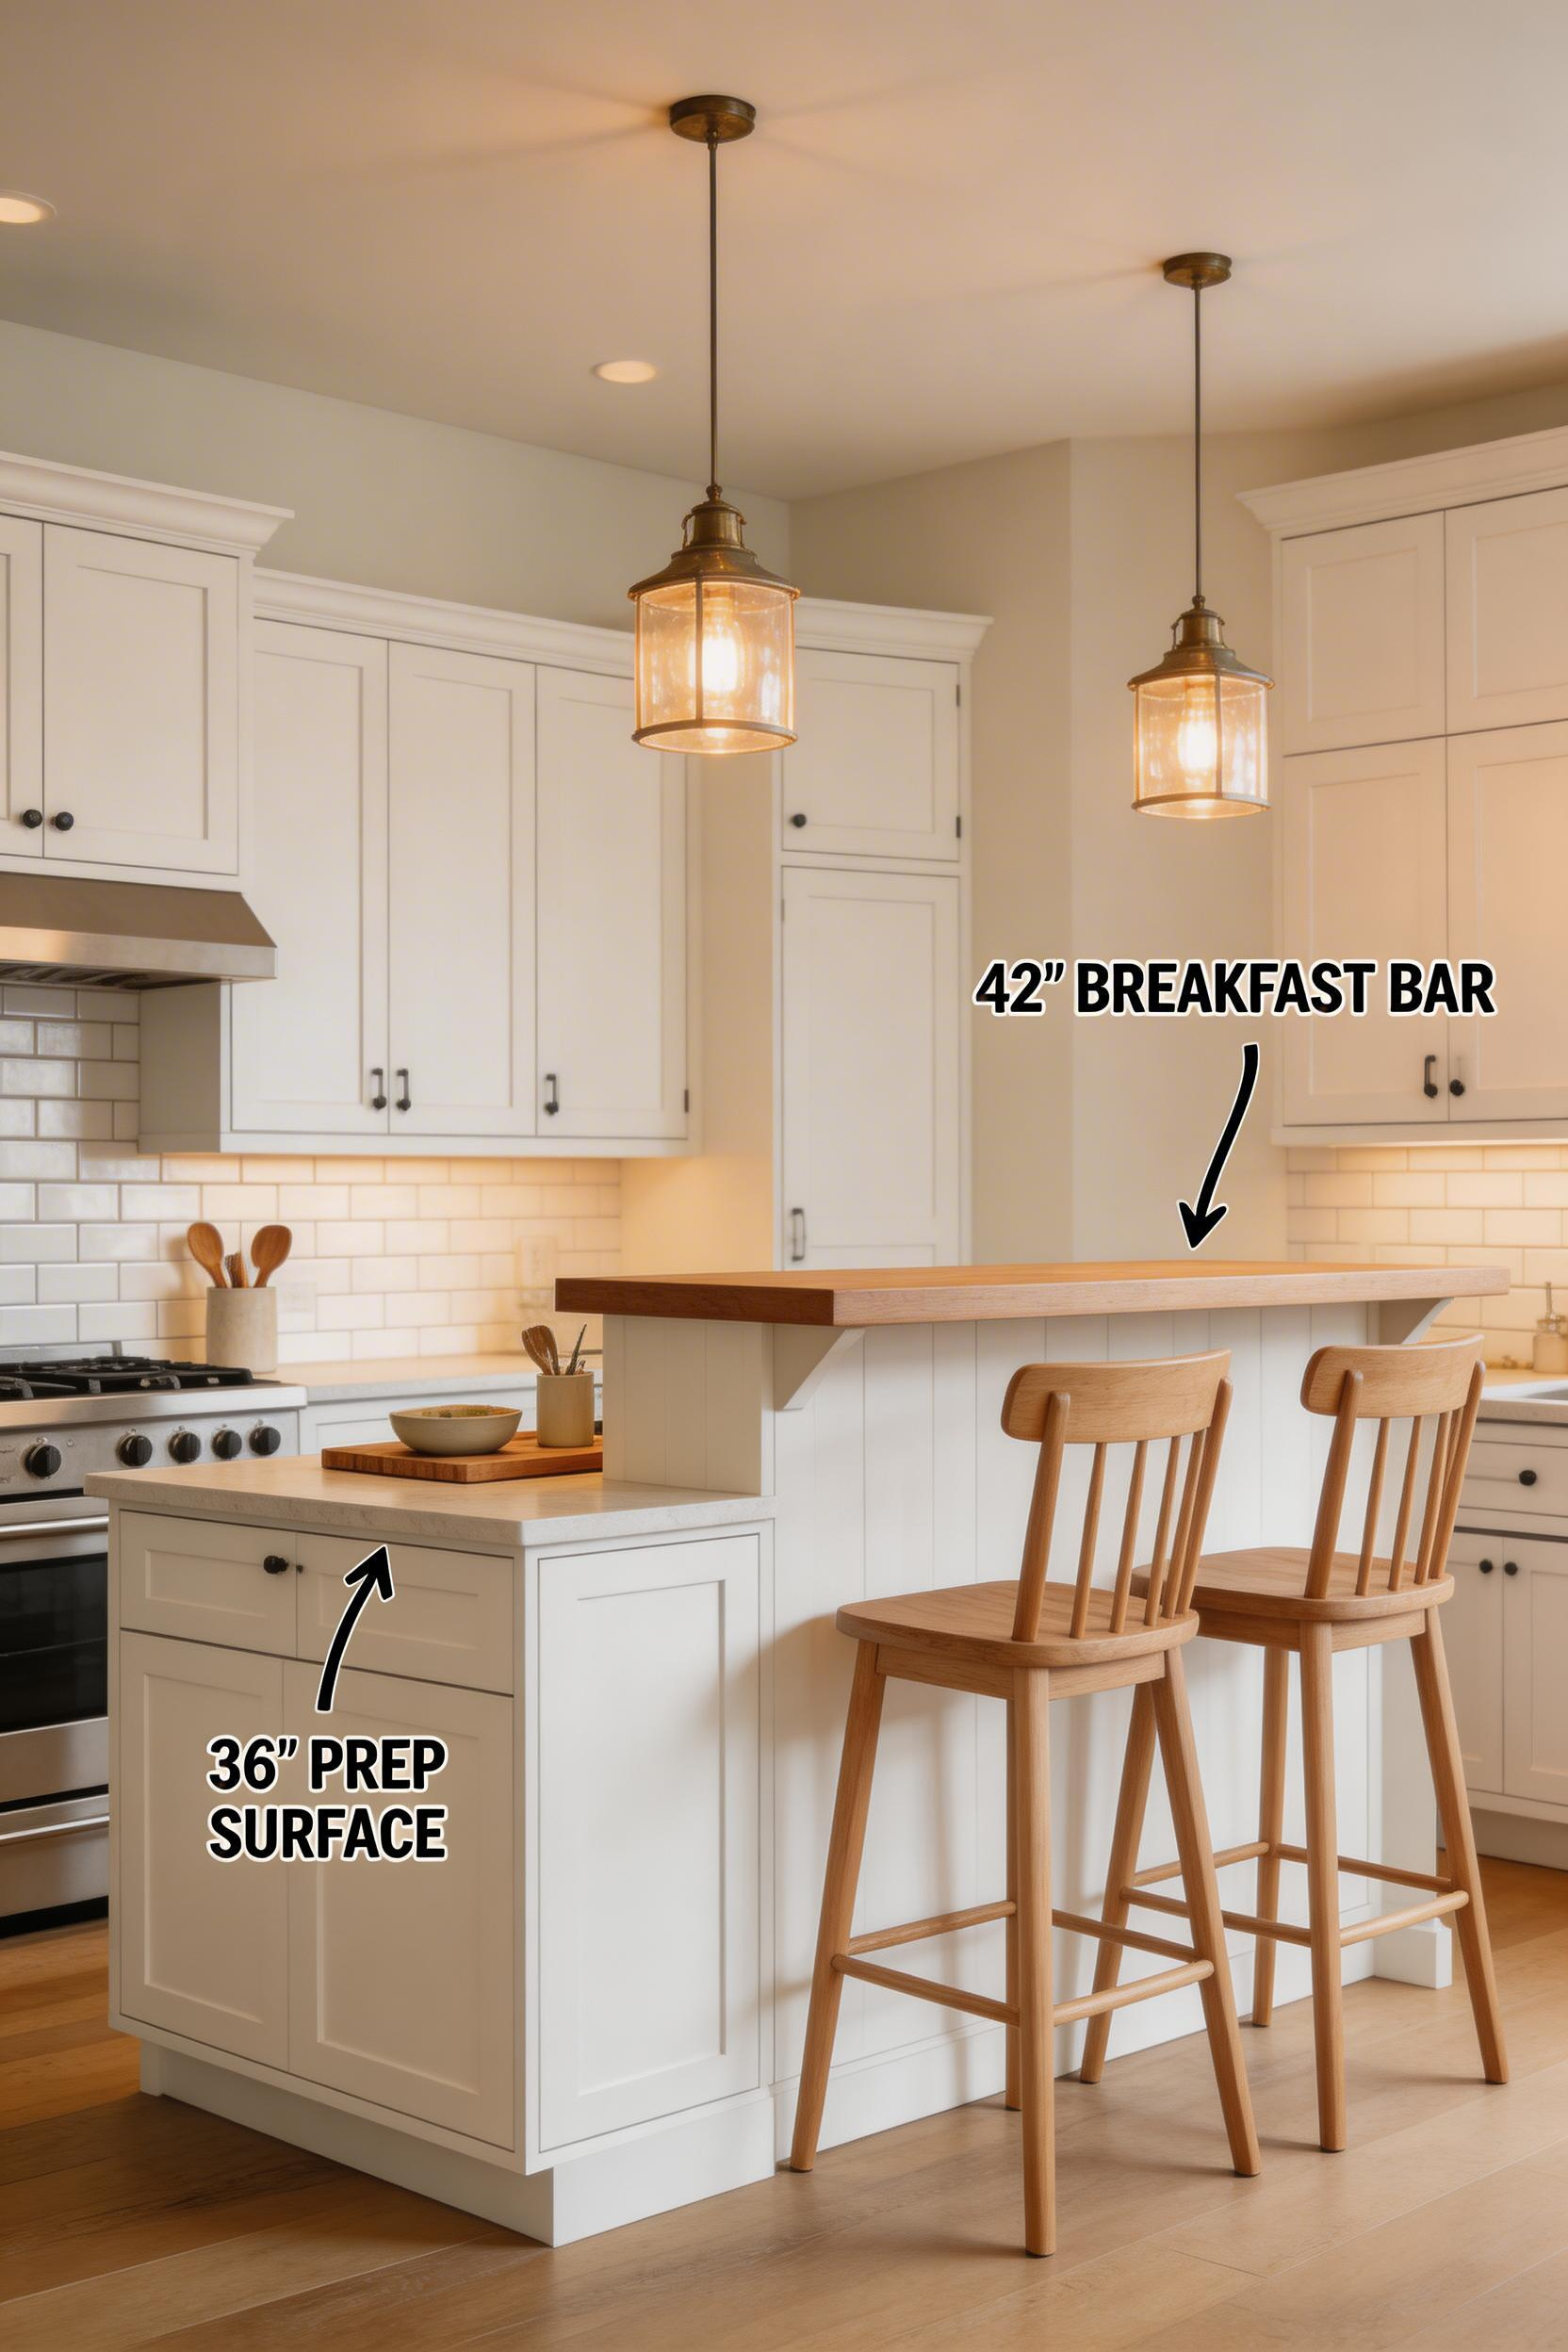
Standard configuration: 36 inches on the prep side, 42 inches on the bar side. Bar-height stools need 28–30 inch seat heights for the 42-inch surface. The island needs at least 48 inches of total length for two comfortable bar seats.
The IKEA approach: SEKTION base cabinets at 36 inches on the prep side, plus a 12-inch riser panel and countertop on the bar side to reach 42 inches total. Material cost for a 48-inch version runs $350–$550. The Homestyles 5478-94 ($599–$699) is a purpose-built two-tier option that arrives assembled with storage below.
Use a contrasting countertop material on the raised bar side. A white quartz prep surface with a butcher block bar top signals clearly to guests which side is theirs. It also breaks up the visual mass of a long island in a small kitchen.
—
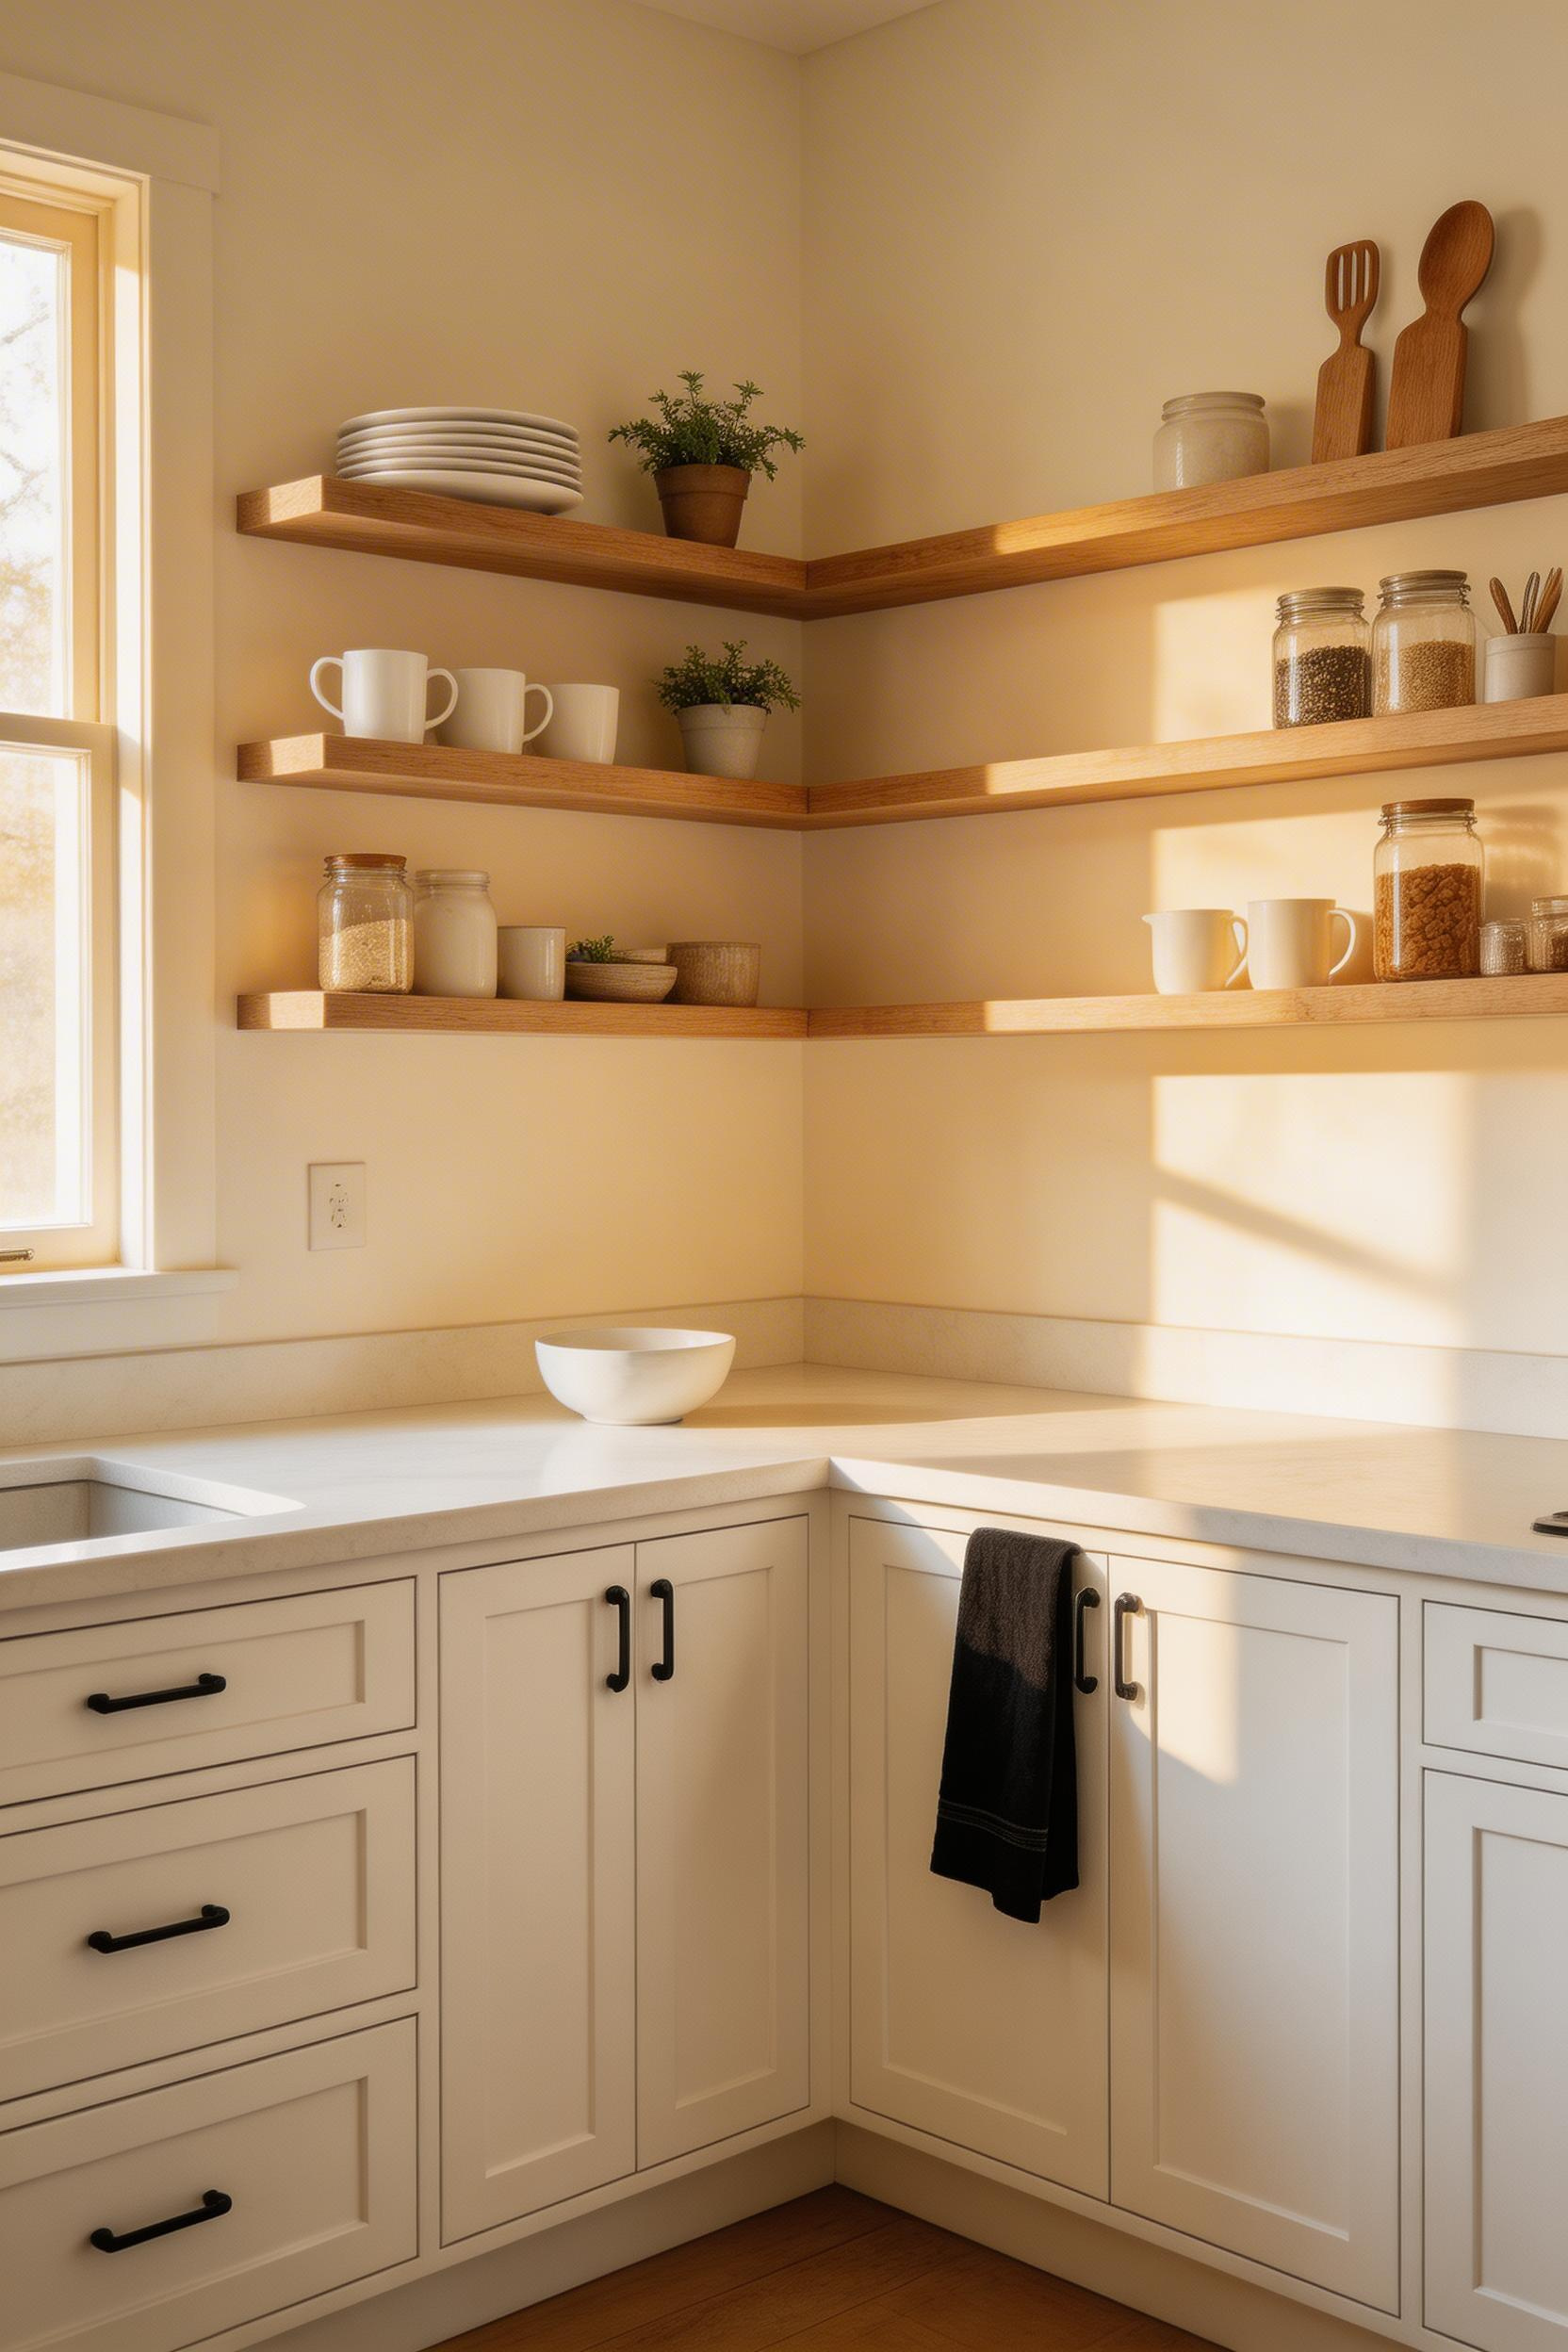
Open-shelf kitchens without an island often feel unresolved. The floating shelves need something to anchor them. A well-chosen island grounds the space and completes the look in a way that purely wall-mounted storage never manages on its own.
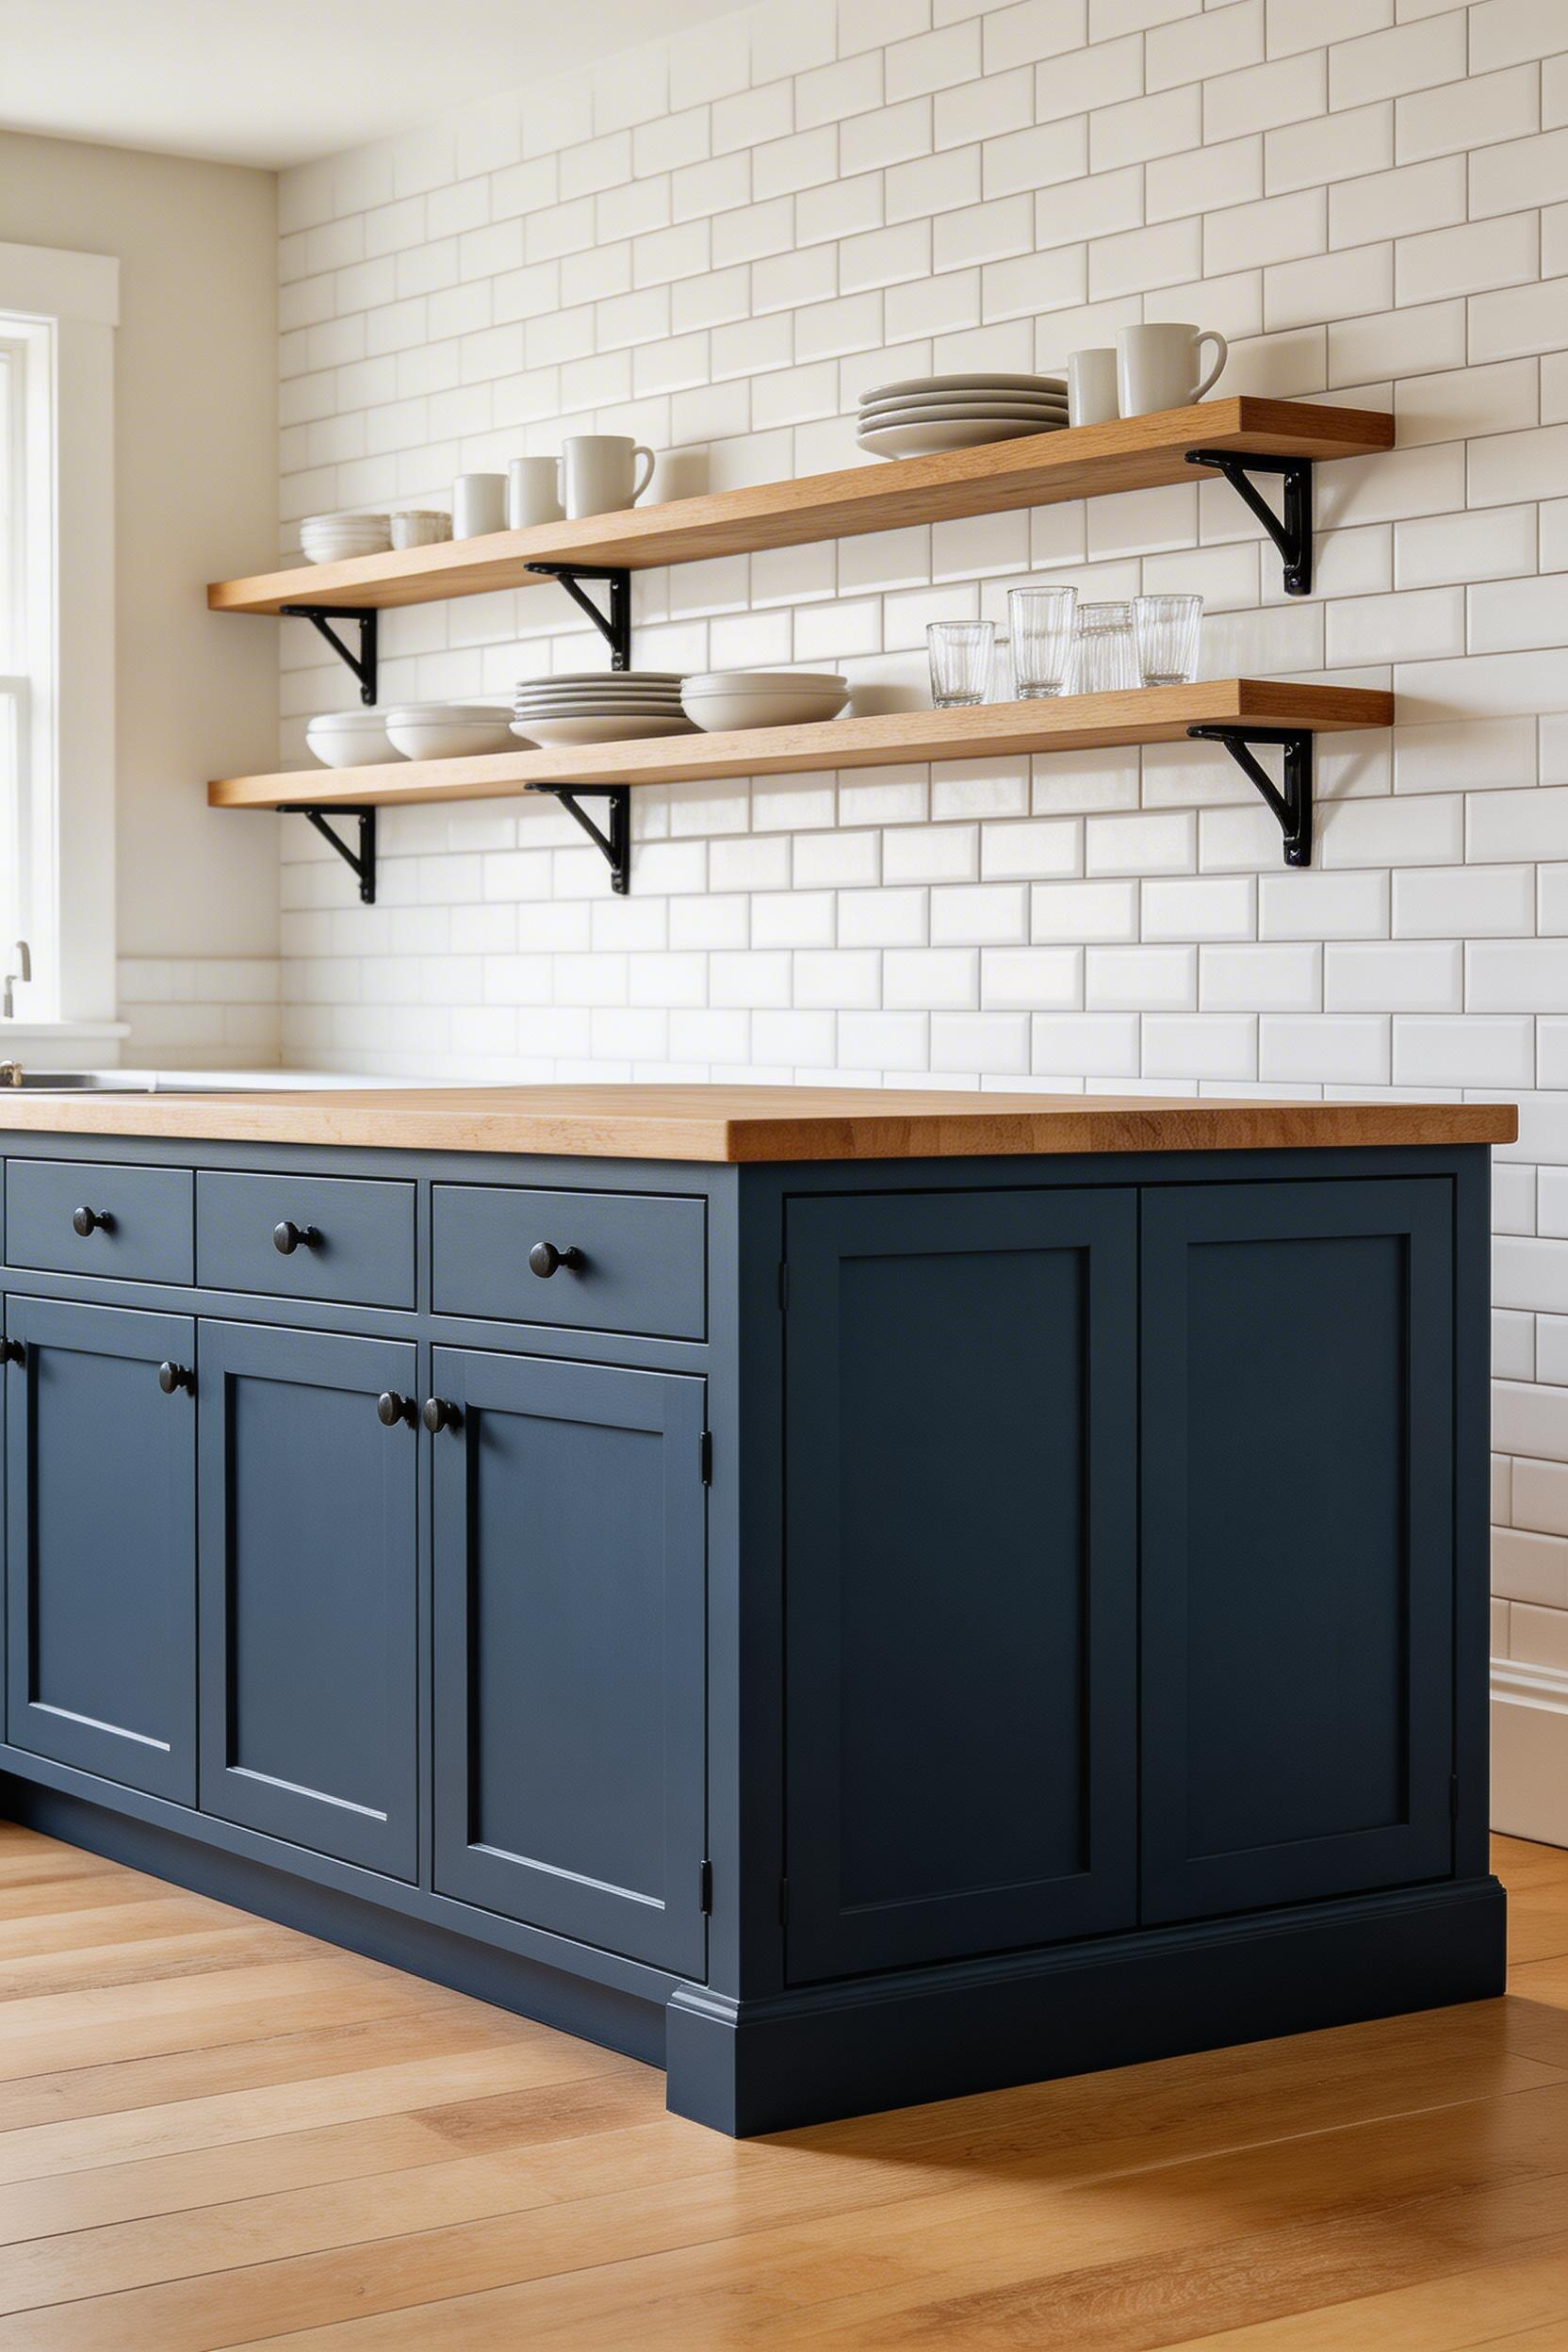
Among kitchen island ideas for small kitchens with open shelving, matching the island hardware finish to the shelf bracket finish is the single most effective coordination move. Matte black brackets with matte black island pulls create cohesion across otherwise separate elements.
Navy, forest green, or charcoal islands in an otherwise white open-shelf kitchen provide the grounding contrast these spaces need. Store everyday dishware and glassware on the open shelves. Store everything else — the mixer, the Tupperware, the pot lids — inside the island. This division keeps the shelves looking curated without daily effort. Limit the island surface to 3–5 items: a fruit bowl, a small plant, a utensil holder. Five items looks styled; ten looks like a counter waiting to be cleared.
—
Among kitchen island ideas for small kitchens under 80 square feet, the fold-down wall mount is the only option that takes zero permanent floor space. The wall-mounted fold-down island is built for this — it mounts flush against the wall and folds down to create prep space when needed, then disappears for the rest of the day.
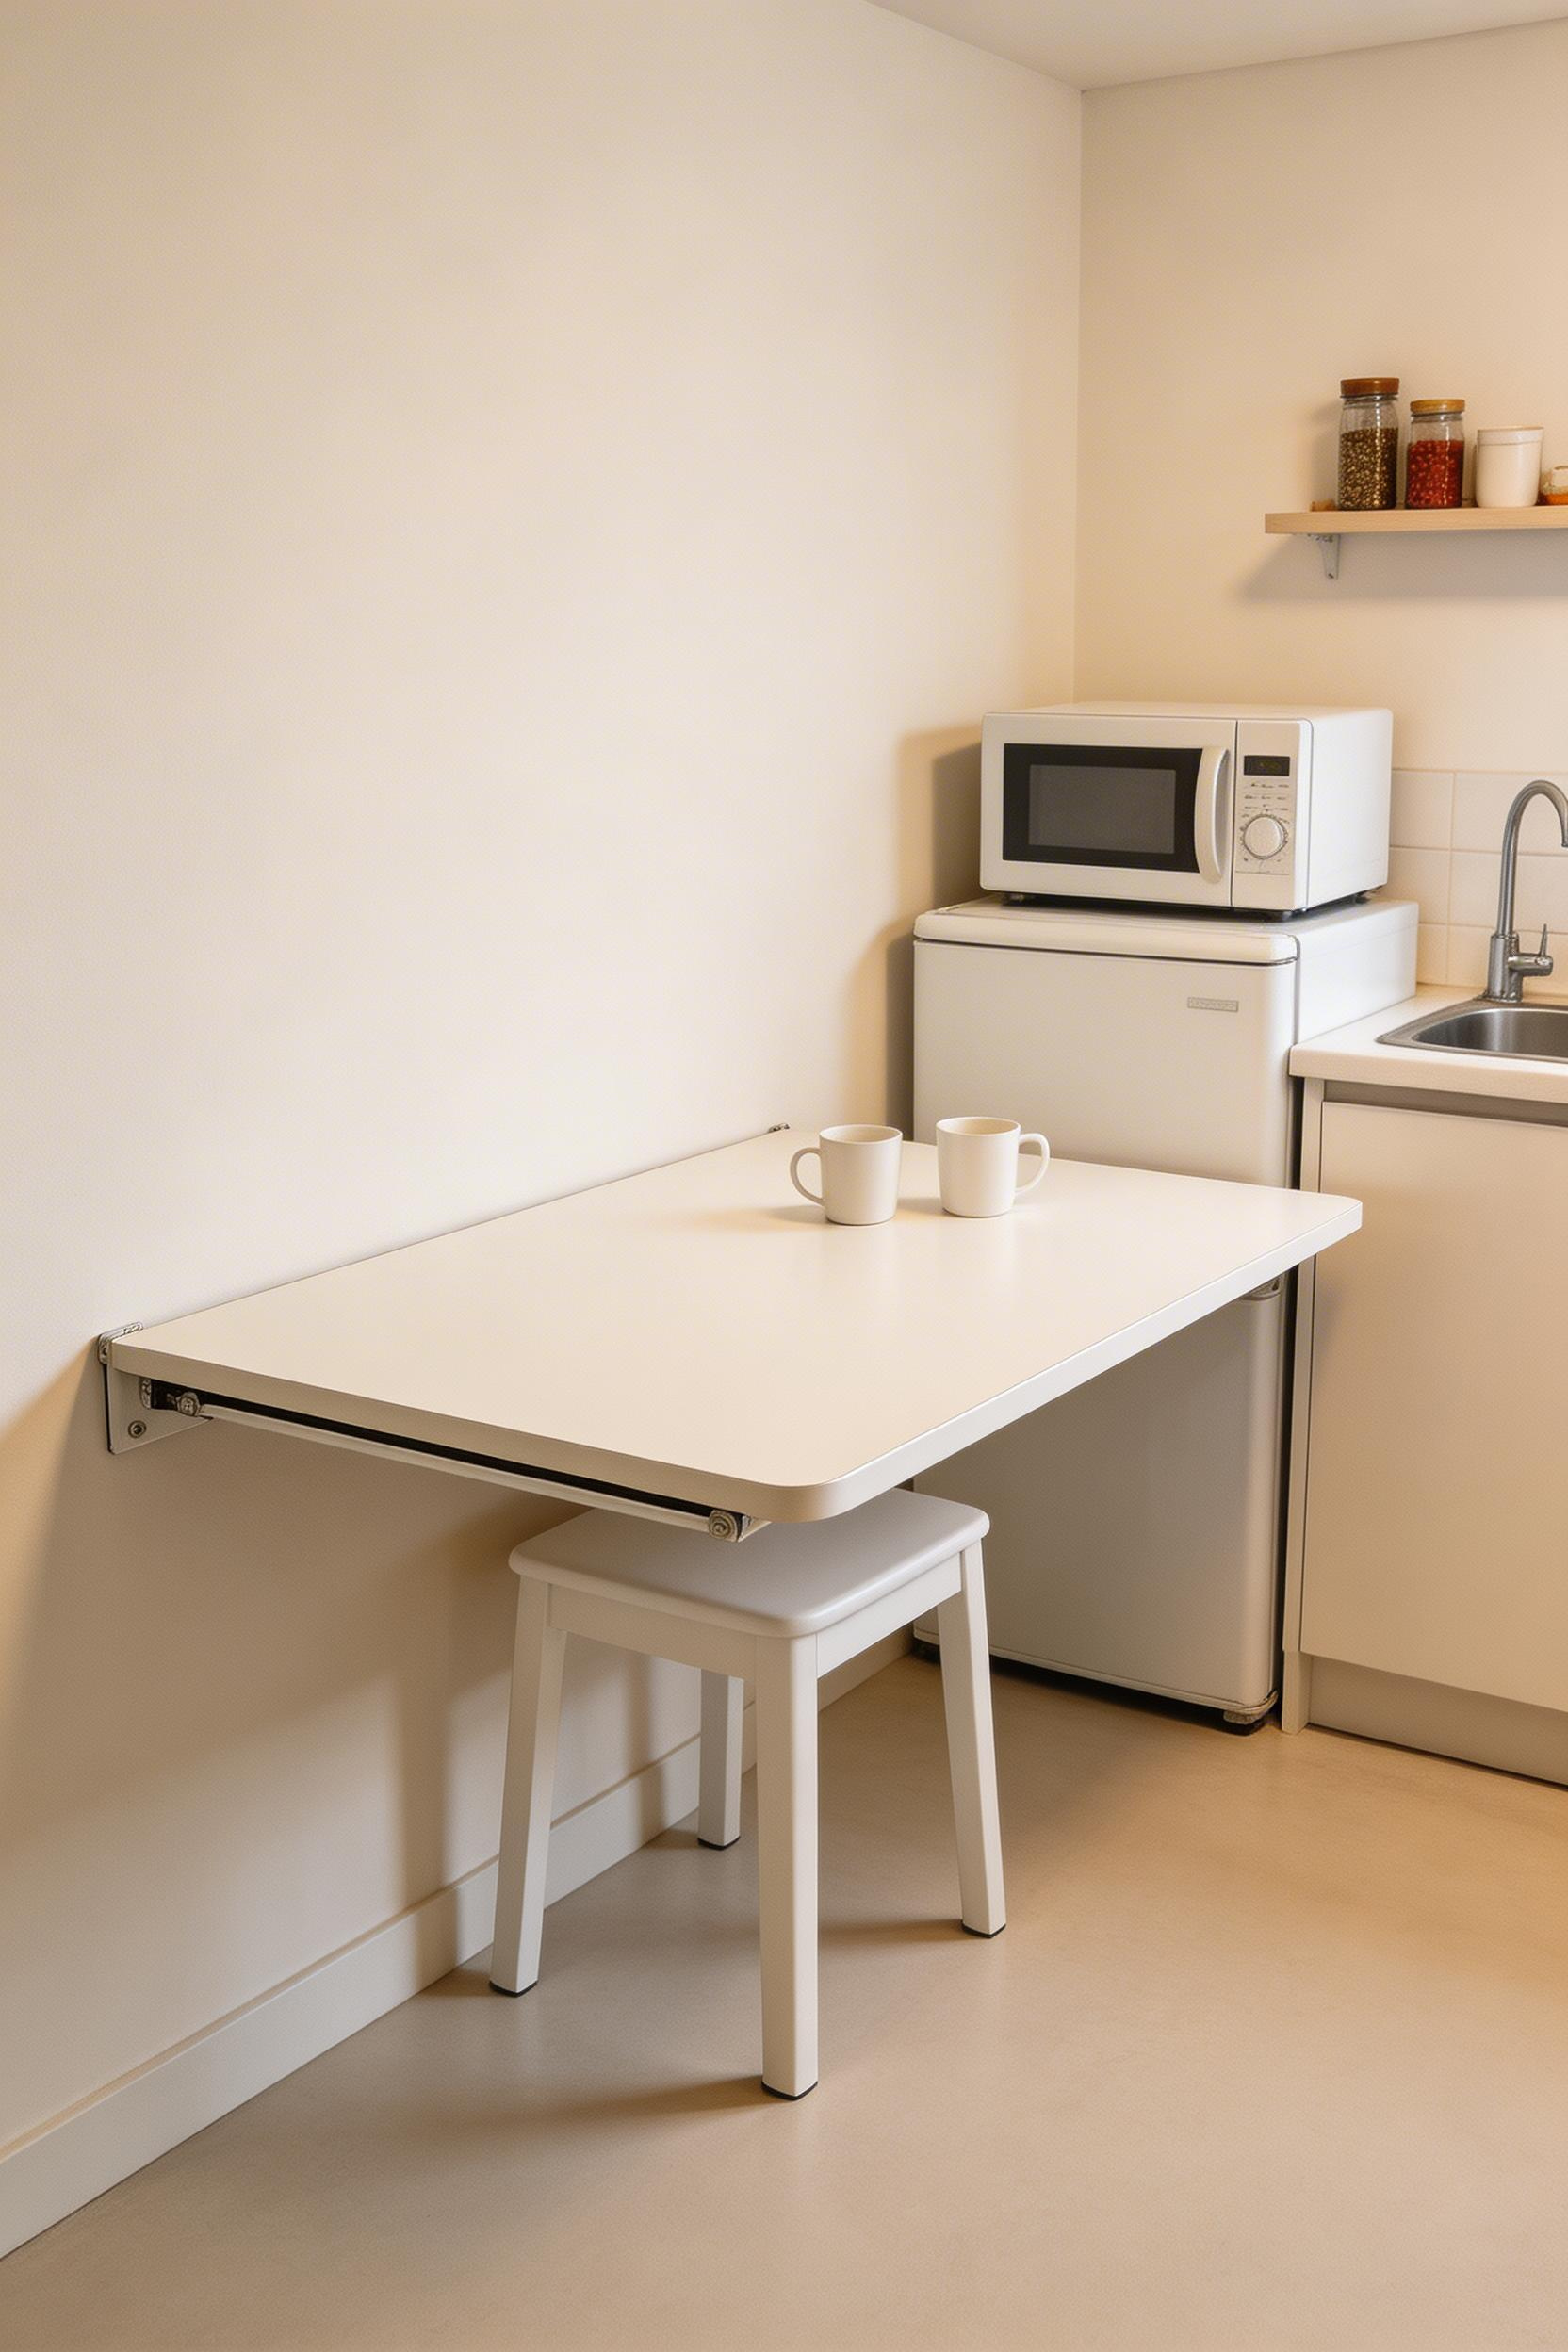
The IKEA NORBERG ($49.99) provides 18×26 inches of working surface and folds to a 3-inch wall profile. Weight limit is 22 lbs — fine for most prep, but not heavy appliances. The Prepac wall-mounted drop-down table ($129–$159) steps up to a 32×20-inch surface rated at 100 lbs with a built-in storage compartment behind the folded face.
Both require anchoring into wall studs — drywall anchors alone will not hold a loaded kitchen work surface. Standard stud spacing is 16 inches on center. Use a stud finder before purchasing to confirm stud placement aligns with the mounting holes of your chosen product.
Install at exactly 36 inches of height — standard counter height for standing prep work. Most people intuitively install fold-down tables at desk height (30 inches) because that’s what the product category suggests, and then find the working height uncomfortable for standing use.
—
This DIY approach is one of the most affordable kitchen island ideas for small kitchens — it costs $130–$210 in materials, takes an afternoon to build, and produces something that looks genuinely considered. The black iron pipe and reclaimed wood combination reads as industrial-warm and pairs well with subway tile, concrete floors, and stainless appliances.
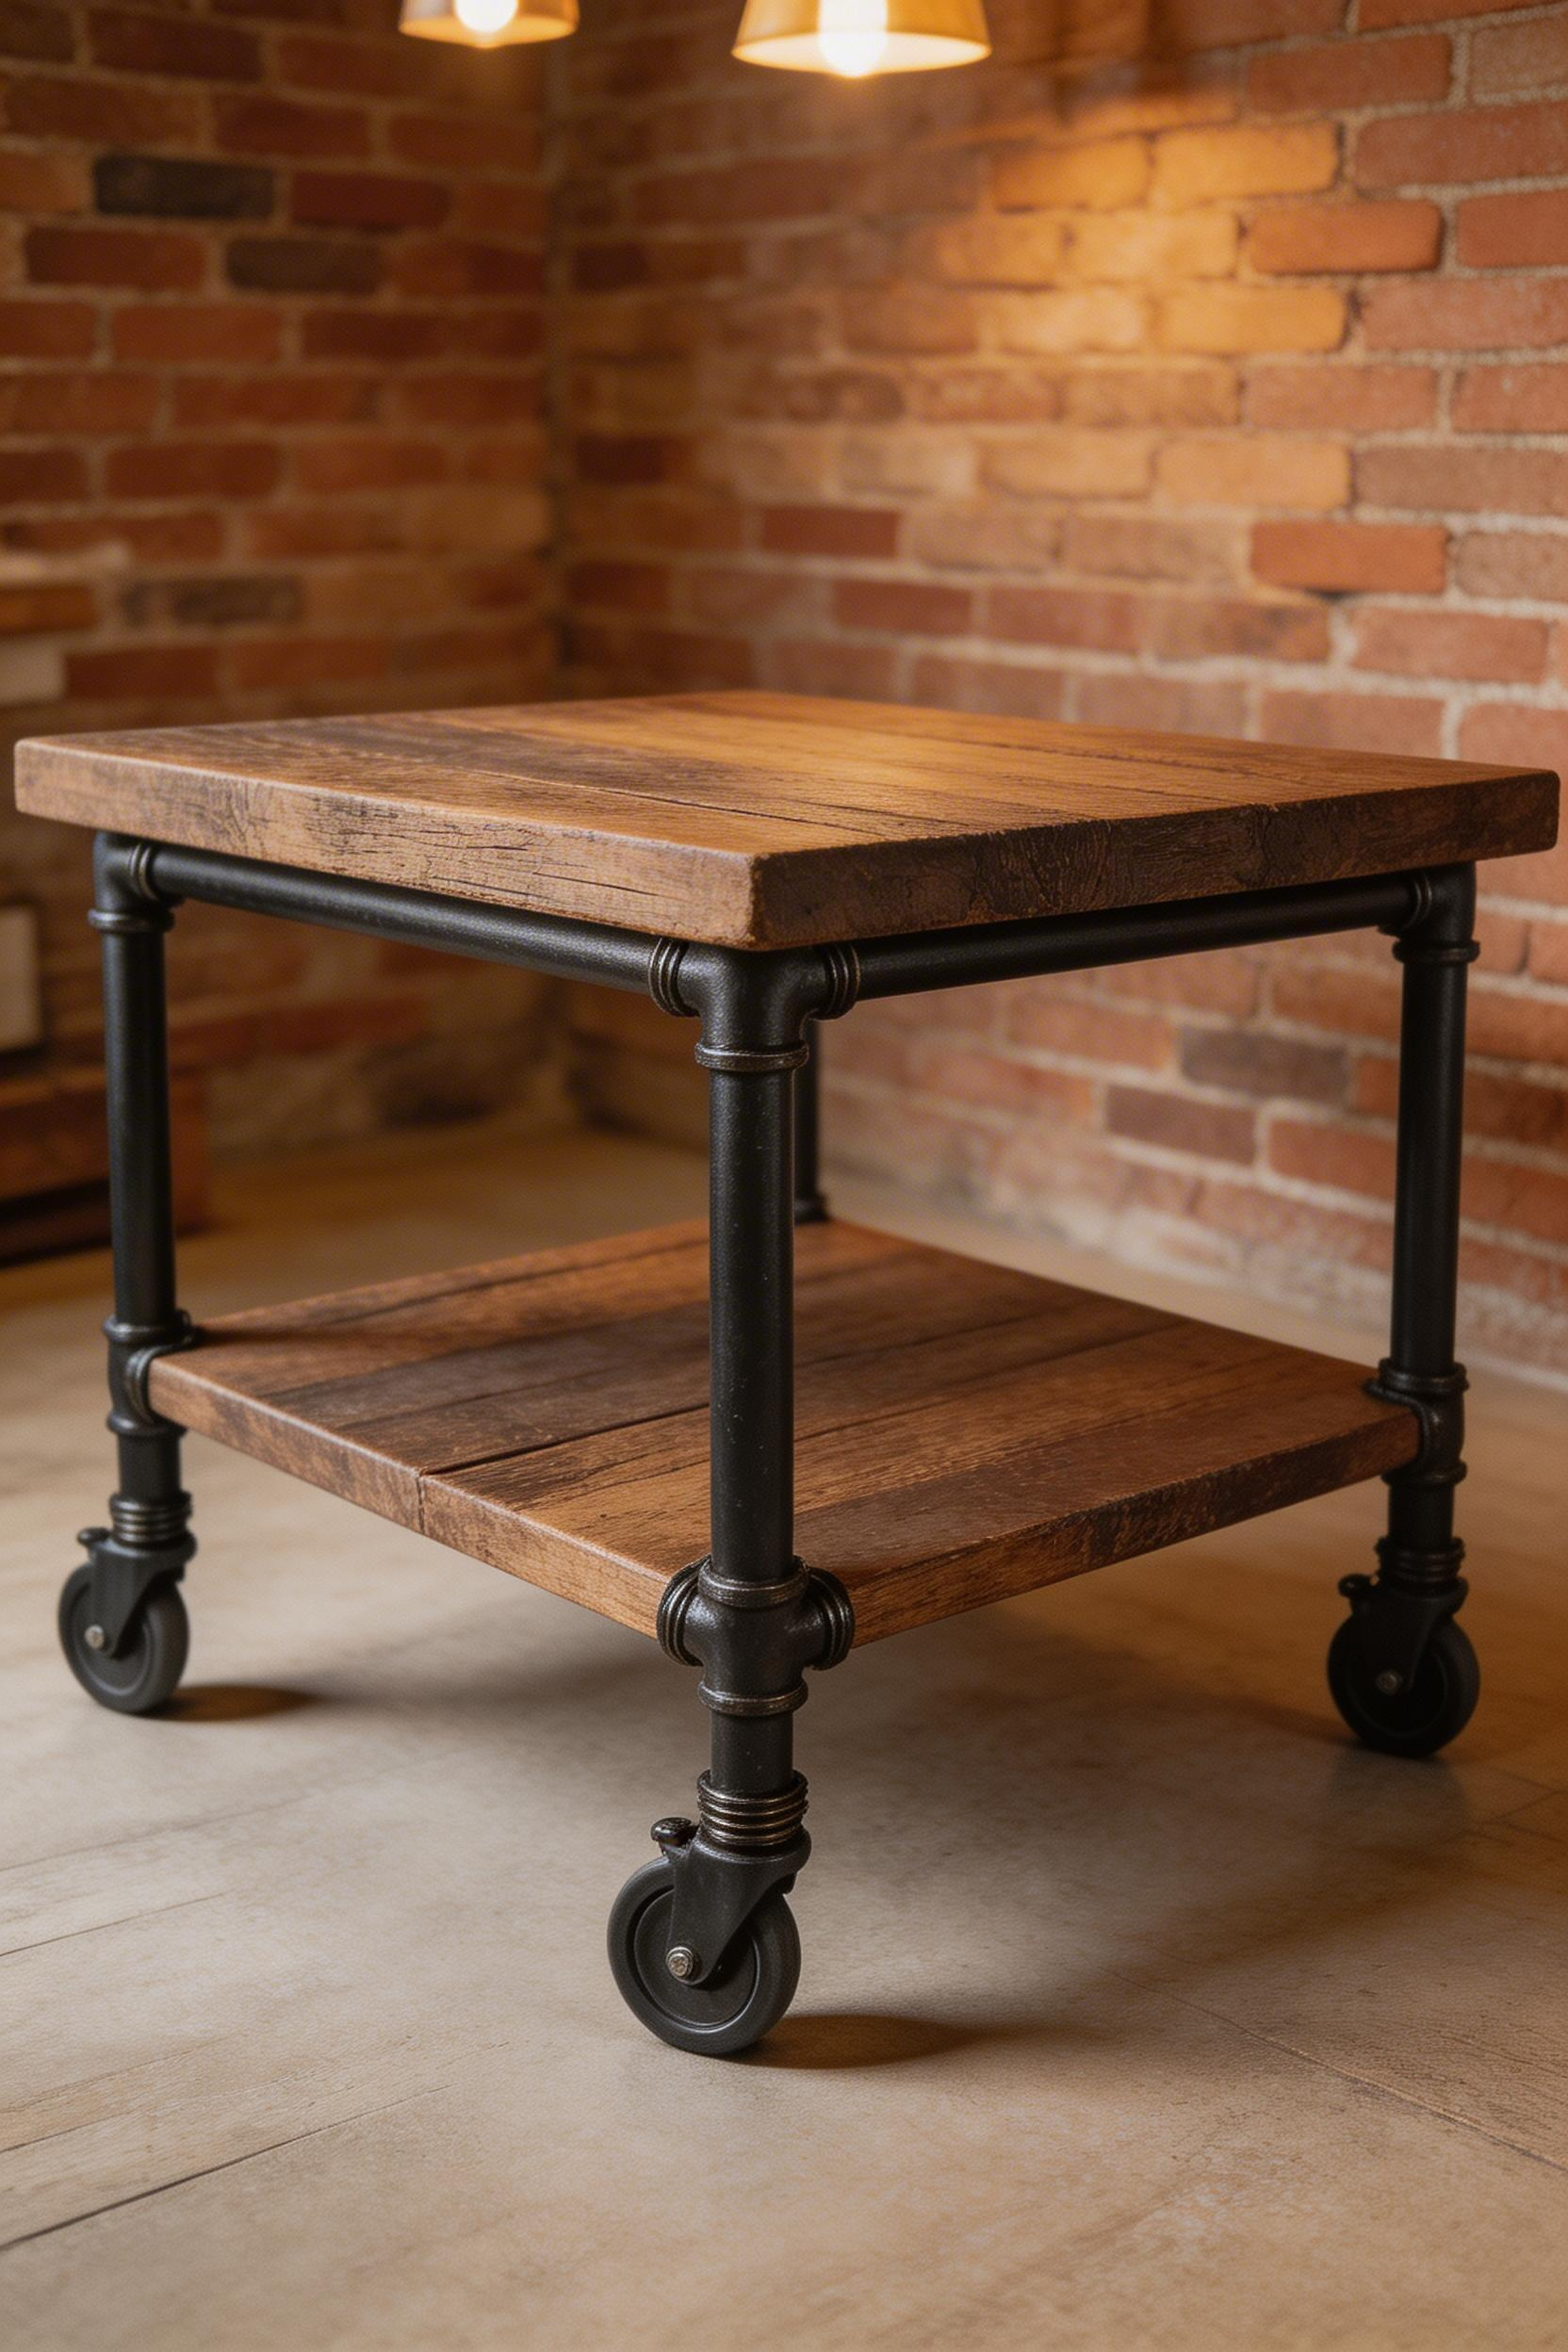
For a 36×20-inch island with one lower shelf: 1-inch black iron pipe fittings ($60–$90), reclaimed Douglas fir 2×10 ($30–$60), and four 3-inch locking casters ($40–$60). Pre-threaded pipe kits on Amazon ($80–$120) reduce hardware store sourcing to one purchase. Use 3/4-inch pipe for shelves and frame members, 1-inch pipe for main vertical uprights.
Finish the wood top with 3–4 coats of Waterlox Original Sealer ($40/quart) for a food-safe, waterproof surface. Thread pipe fittings hand-tight, then add only one quarter-turn with a pipe wrench. Over-tightening cracks cast-iron fittings. Apply Teflon tape to all threaded connections to prevent loosening over time through vibration.
—
A peninsula is an island attached to a wall or cabinet run on one end. It delivers the prep surface and seating of an island while requiring 30–40 percent less floor clearance. In a small kitchen, that difference is often what makes the island concept feasible at all.
A freestanding island demands 36–42 inches on all four sides. A peninsula needs clearance on only two — the open face and the open end. That’s a meaningful square footage reduction in a tight kitchen.
Extend an existing base cabinet run by adding 1–2 IKEA SEKTION 18-inch base cabinets ($159 each) turned 90 degrees perpendicular to the wall. Top with a countertop remnant from a fabricator — remnants run $200–$500 because they’re leftovers from larger jobs. The minimum overhang for seating is 12 inches; 15 is more comfortable. The open end needs 42 inches of clearance minimum.
A decorative end panel on the peninsula’s open end completes the built-in look. Cut a 3/4-inch plywood panel to the cabinet height and depth, paint it to match, and attach with construction adhesive. That $40 detail is the difference between “extended cabinets” and “built-in peninsula.”
—
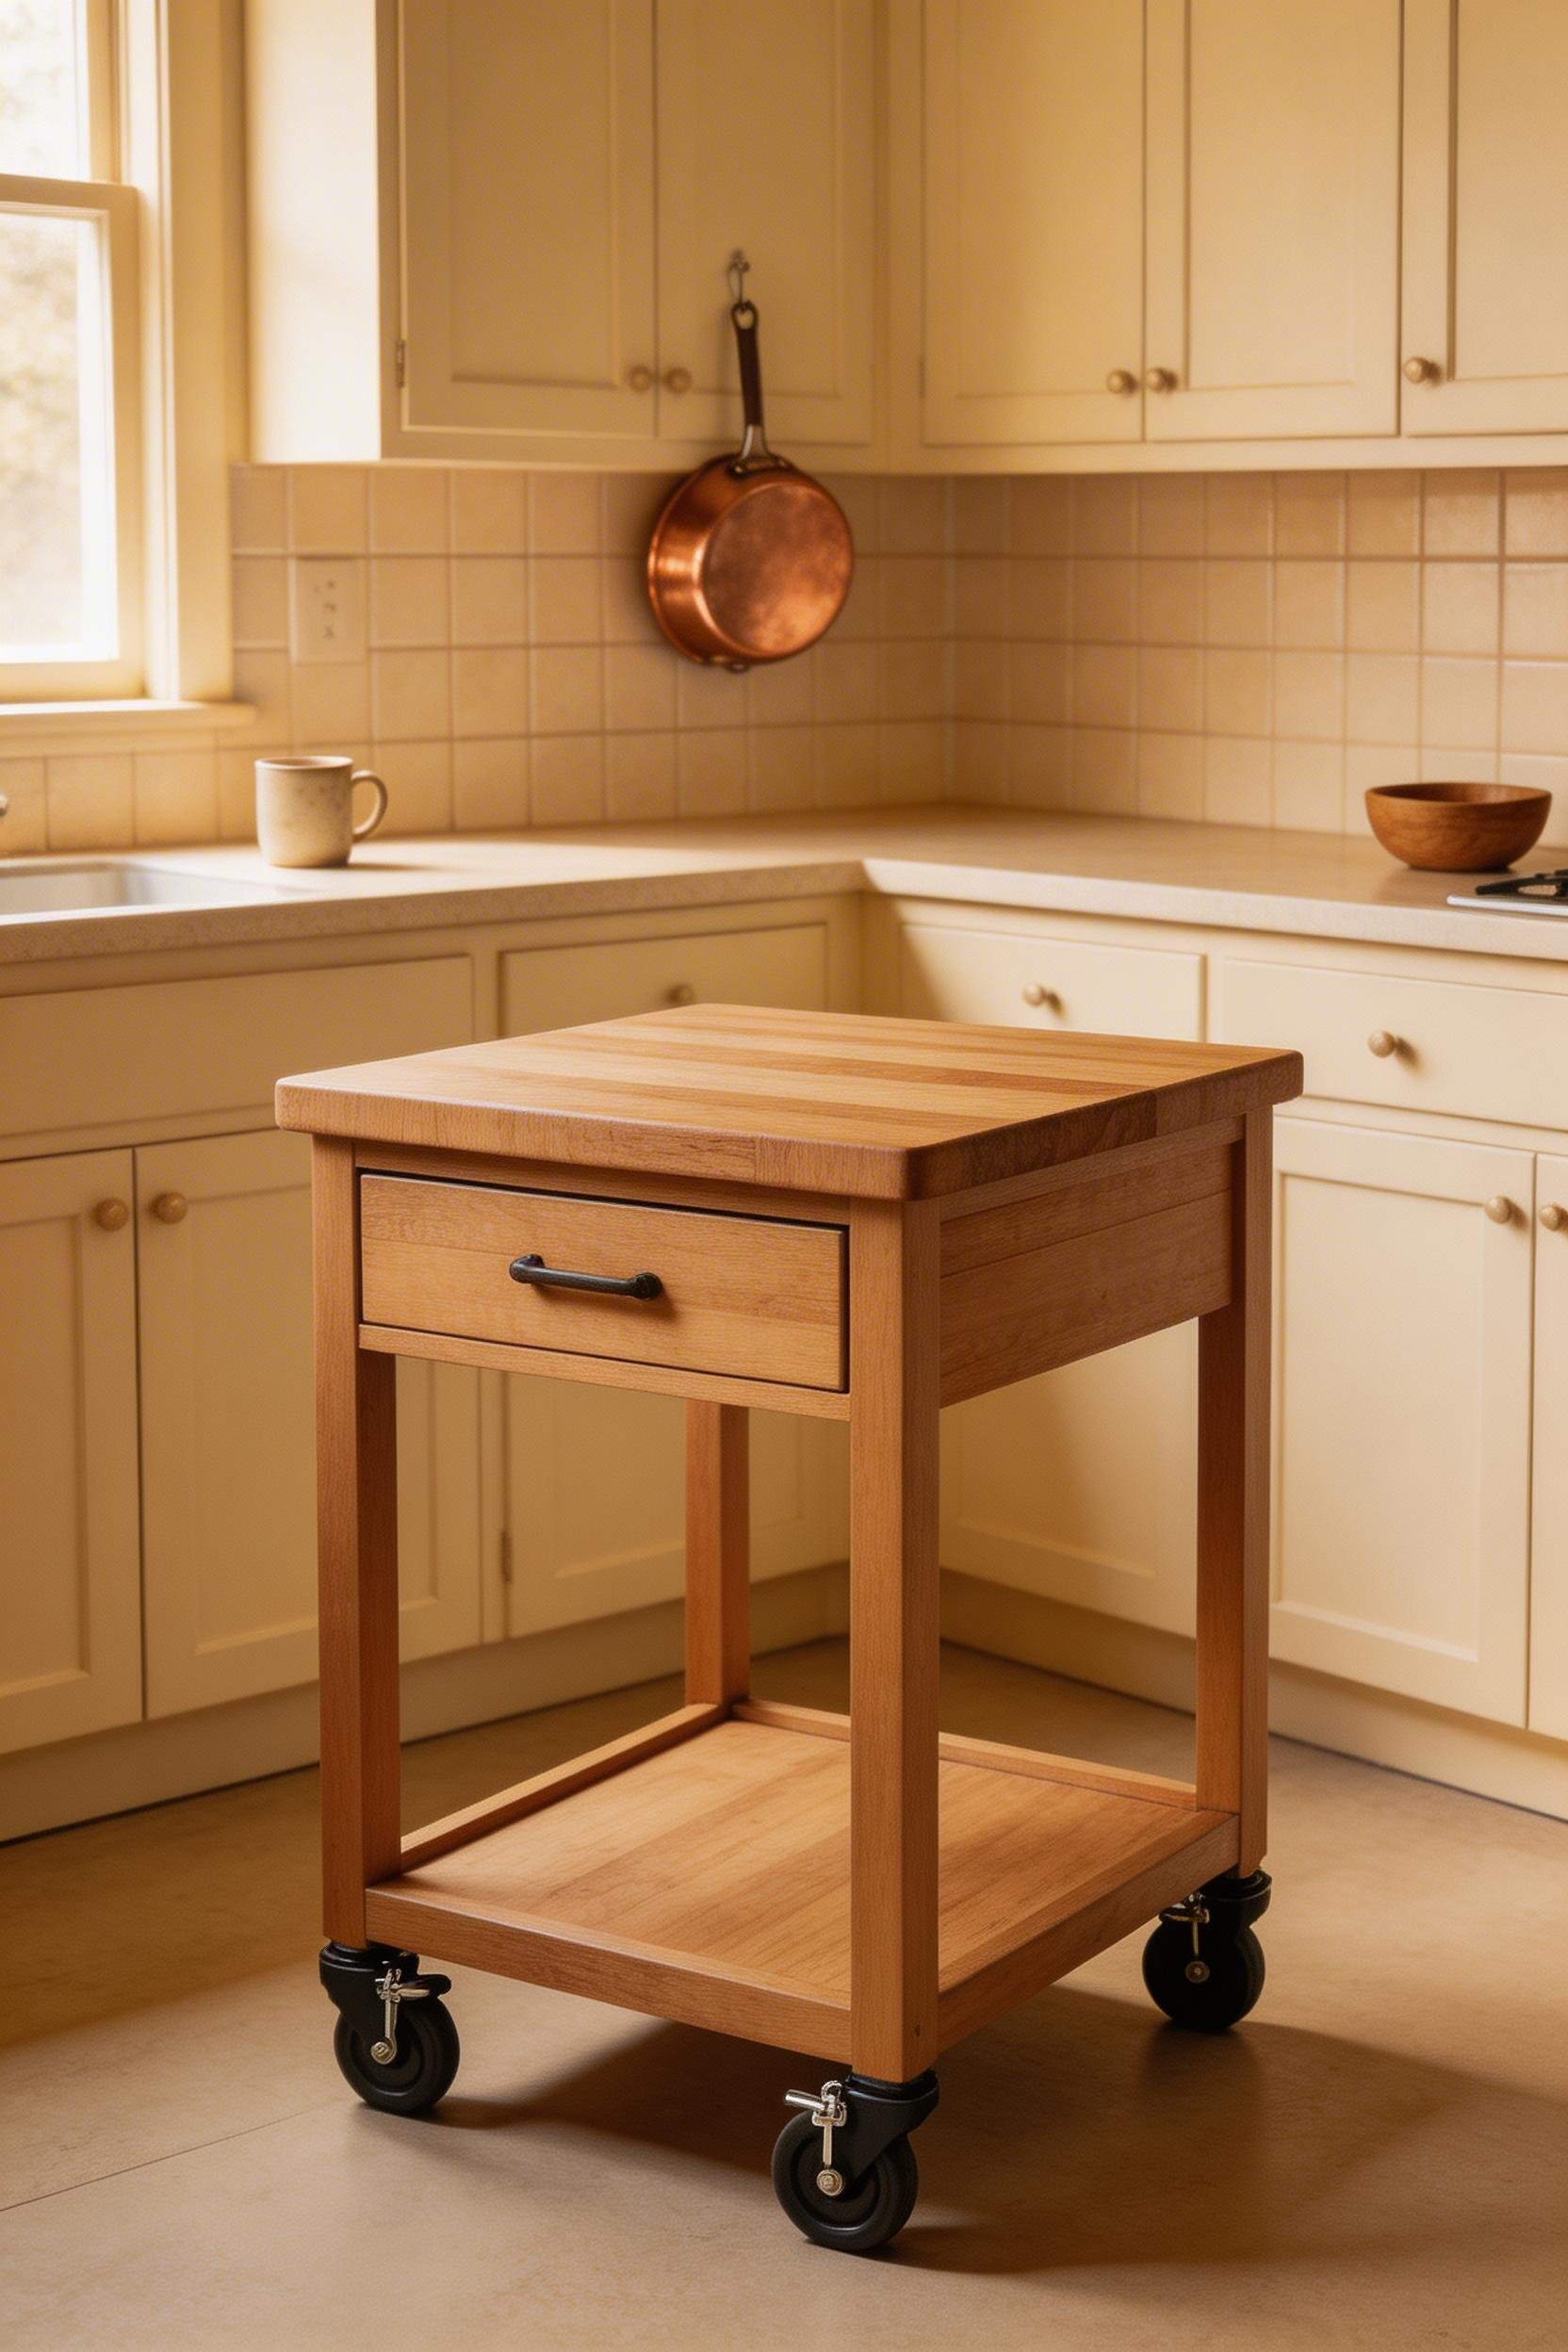
If you’re building or buying a kitchen island, the most impactful storage decision is whether it has deep drawers or standard cabinet doors. Deep drawers outperform doors in nearly every kitchen category, and an island is the one place in the kitchen where you have the depth to make them really work.
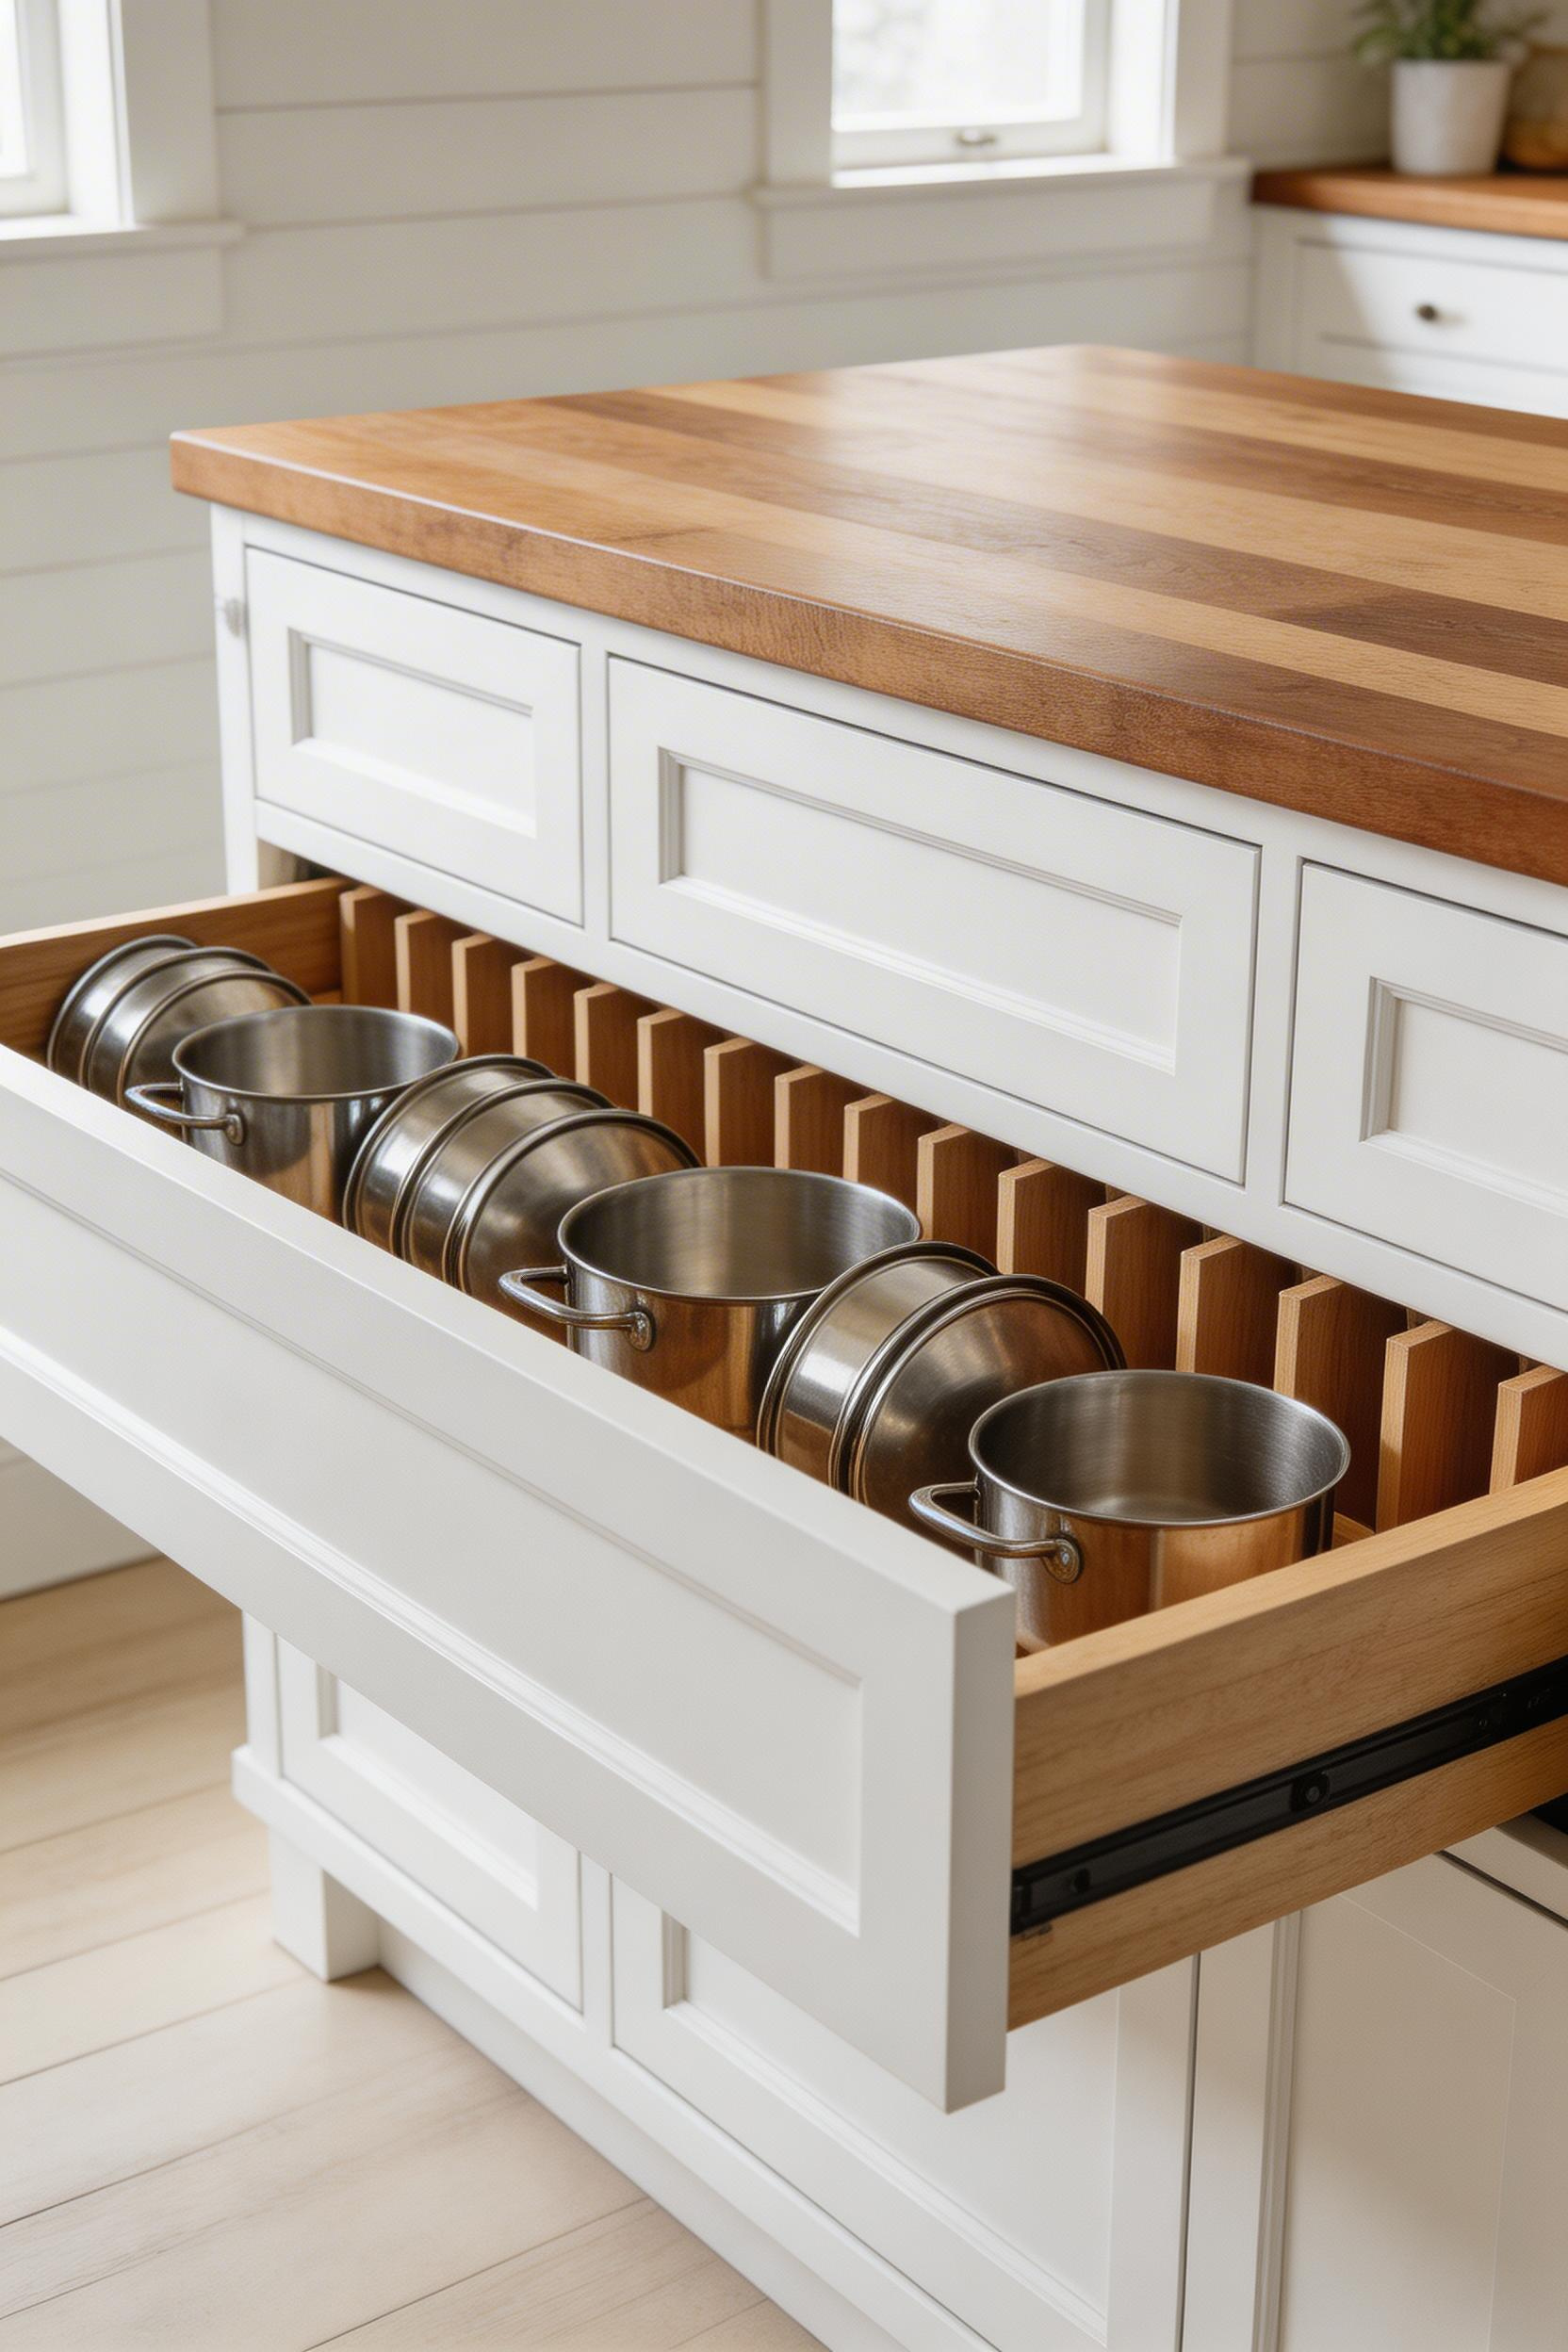
Cabinet doors require crouching, peering into a dark interior, and reaching past items in front to get to what’s behind. A fully extended drawer shows you everything at once, from above. In an island, where you’re already standing at the work surface, the ergonomic advantage of drawers is dramatic.
Blum Tandem Plus Blumotion slides ($35–$55 per pair) are the industry standard — 75–130 lbs per pair, soft-close, and durable over decades of kitchen use. Use full-extension slides only; 3/4-extension leaves 25 percent of the drawer permanently inaccessible.
Assign each tier deliberately: top drawer for utensils and prep tools, middle for cutting boards and baking sheets on edge, bottom for pots and mixing bowls. Build or specify the bottom drawer at 12 inches of depth minimum — it swallows a Dutch oven without lid conflict, and almost no stock kitchen includes one. The Rev-A-Shelf pot and pan organizer ($50–$80) adds vertical dividers so pots and lids stand on edge rather than stacking.
—
Real marble on a kitchen island signals refinement that almost nothing else achieves at the same price. But the options range from $25 to $2,200 depending on how permanent and authentic you want the result to be.
Real Carrara marble on a 30×20-inch island piece runs $300–$540 for the stone alone, plus fabrication. It requires sealing every 6–12 months with Miracle Sealants 511 Impregnator ($15). Acidic foods etch unsealed marble within 20 minutes — always prep on a cutting board. The Homestyles Marble Top Kitchen Cart ($499–$559) is the most accessible way to get real marble without custom fabrication.
Marble-look porcelain tile at $3–$8 per square foot produces a convincing result, with grouted joints as the only visual difference. For a 30×20-inch island top, materials cost under $80. DC Fix marble contact paper ($25–$35) transforms a butcher block top in an afternoon with zero permanence. For real marble: keep pH-neutral dish soap nearby and rinse acidic spills within 30 seconds — marble etching is a chemical reaction that happens before you notice the spill.
—
Power outlets on the island surface change how you actually cook. Instead of running extension cords from wall outlets blocked by appliances, the power comes to where you work. In a small kitchen where every counter foot is occupied, this solves a daily frustration.

NEC Article 210.52(C) requires at least one GFCI outlet on any kitchen island longer than 24 inches. The outlet must sit no more than 12 inches below the countertop surface and must be accessible without moving appliances. A permanent island without one is already a code violation in most jurisdictions.
Side-mounted GFCI outlets ($12–$18 for the outlet, $300–$800 for the electrician to run the circuit) are the simplest installation. The Leviton T5636-W ($45) is the practical all-in-one choice — two USB-A ports, one USB-C, and one standard outlet in a single GFCI unit. Pop-up outlets (TowerTop, $129–$159) mount flush in the countertop and disappear when not in use.
Install the outlet on the side facing away from the stove. This keeps appliance cords away from the cooking zone and reduces hazard from cords near open burners. Among small kitchen island ideas that also improve safety, this is one of the most underrated.
—
For galley kitchens, two smaller carts are often the most flexible kitchen island ideas for small kitchens — each piece moves independently rather than blocking a fixed corridor. Each cart moves independently — one stays in the standard prep position, one pulls out toward the center on baking or entertaining days.
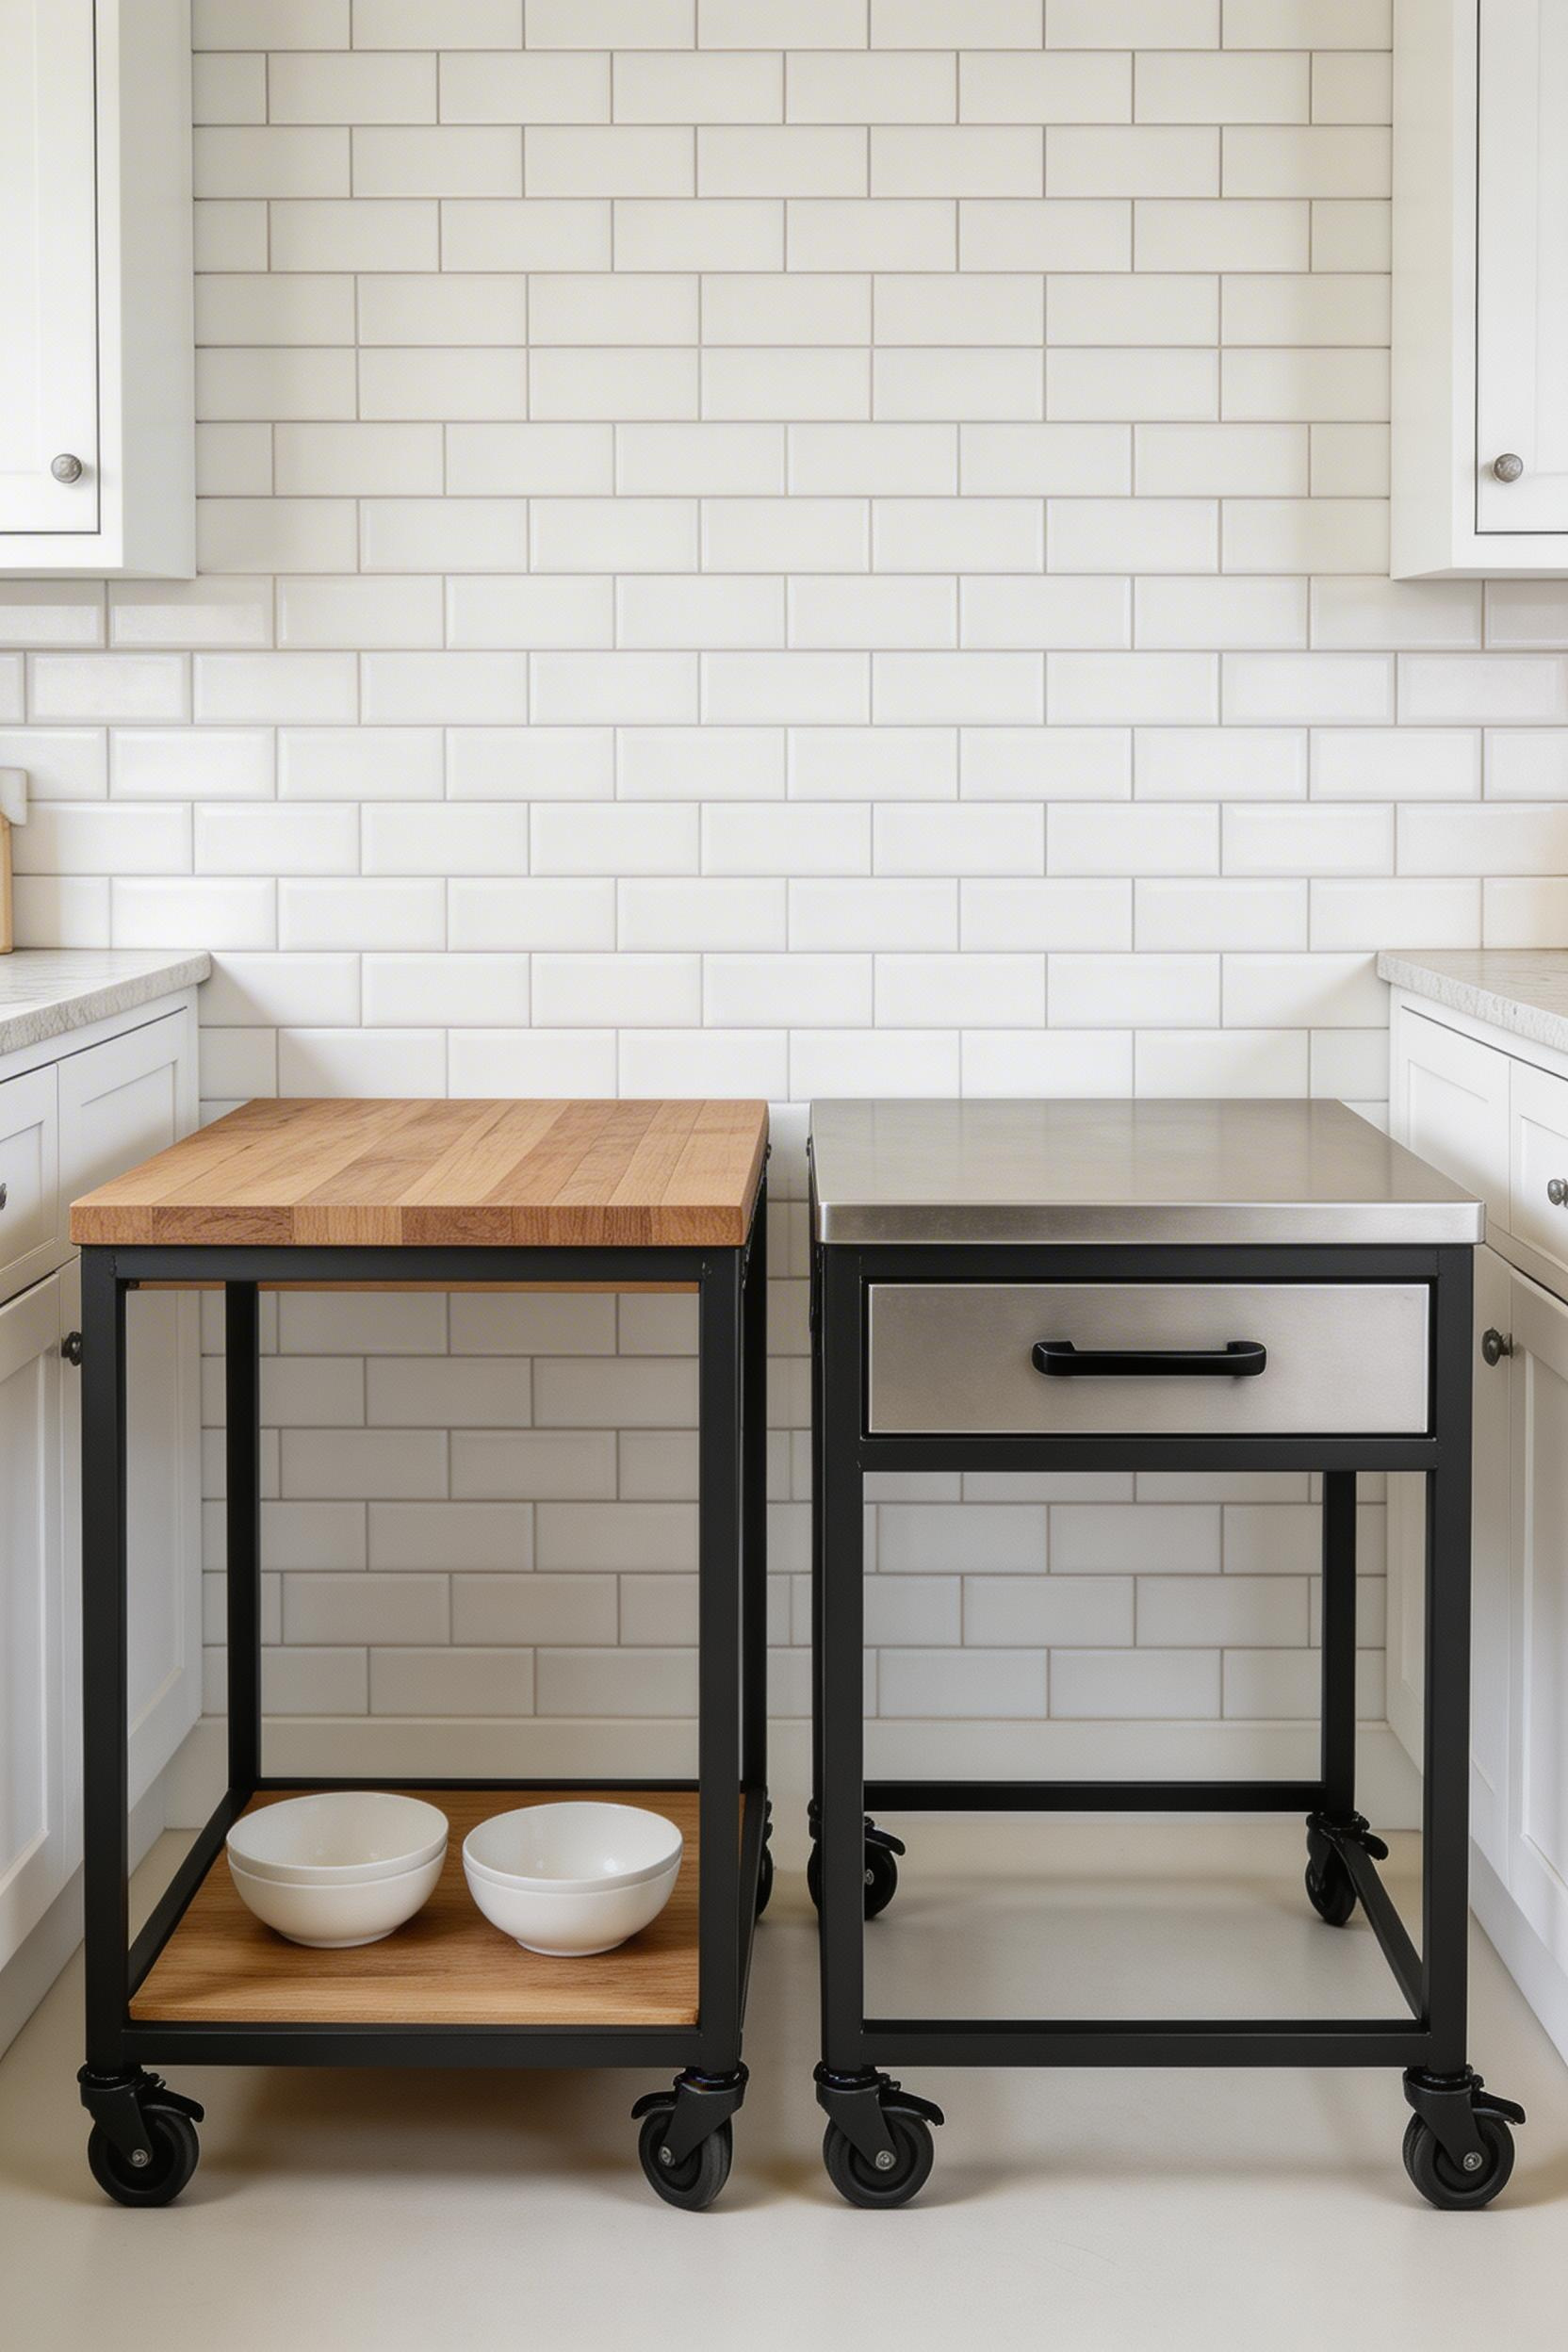
A standard galley corridor needs 132 inches of width for two 24-inch carts with 42-inch clearance on each side. For narrower galleys, 18-inch-deep carts reduce the requirement to 108 inches.
Leave 6–12 inches between the two carts rather than butting them together. A gap makes the configuration look intentional — two distinct pieces working in tandem — rather than two pieces trying to impersonate one island that doesn’t quite fit. The most common pairing: IKEA RÅSKOG (open storage for daily-reach items) plus Crosley Seaside (actual work surface with drawer and cabinet). Combined cost: $220–$260.
Use the same hardware finish on both carts even if the bodies differ. Matching the pull or knob finish is the single most effective coordination move when two pieces don’t match otherwise.
—
The best kitchen island ideas for small kitchens succeed when they match the specific problem your kitchen has — not the problem you’d have if the kitchen were larger.
First: what is the primary job? More counter space means a rolling cart or fold-down wall mount solves it for under $250. Seating means minimum dimensions before anything else. Storage means drawers beat doors every time.
Second: what is the permanent situation? If you rent, every cart on this list works. If you own, built-in options — the peninsula, the L-shape, the two-tier, the sink island — add real home value and deserve serious consideration.
Third: how do you actually cook? A rolling cart suits someone who cooks three nights a week and values flexibility. A built-in island with deep drawers and a prep sink suits someone who cooks daily and has strong opinions about where every tool lives. Matching the island to your real cooking habits — not your aspirational ones — prevents the regret of overcomplicated solutions. A small kitchen rewards simplicity.
If you’re genuinely unsure whether a kitchen island will work in your space, spend $100–$200 on a basic rolling cart and live with it for a month before committing to anything permanent. Move it around, try it in different positions, notice whether it improves your daily cooking or gets in the way.
Most people who do this test end up wanting something more permanent. Some discover their kitchen genuinely doesn’t have clearance for a proper island and that a fold-down wall mount solves the actual problem. Either way, the experiment costs $200 and saves you from a $2,000 mistake. In a small kitchen, knowing exactly what you need before building it is the smartest of all the kitchen island ideas for small kitchens on this list.