Physical Address
304 North Cardinal St.
Dorchester Center, MA 02124
Physical Address
304 North Cardinal St.
Dorchester Center, MA 02124
Unlock a thriving garden! Discover 22 essential design strategies for creative vegetable gardening, from planning your space to extending your harvest. Get inspired and grow today
I always tell my clients the state of their workspace reflects the state of their creative mind. You can walk into a painter’s studio and immediately know if they’re in a period of flow or a period of friction. Is it organized chaos, with every tool and canvas within reach, energized and ready? Or is it just… chaos? A space where inspiration goes to die amidst clutter and indecision. It’s the same thing with a garden.
A garden is a creative’s outdoor studio. It’s a space for experimentation, for nurturing ideas from seed to fruition, for working with your hands to create something beautiful and functional. But so many people treat it like that second, chaotic studio. They throw a few things together without a plan, get overwhelmed, and then wonder why nothing flourishes. They’re missing the design. The secret isn’t a “green thumb”; it’s applying the same principles of light, structure, and materials you’d use in any creative project. This is the real story of how you design a garden that doesn’t just grow, but inspires.
Everything starts with a blueprint. Before you pick up a brush or a spade, you need to understand the space you’re working in. This initial design phase is where you separate a garden that merely survives from one that absolutely thrives. We’re talking about the non-negotiables: the light, the very medium you’re working with, and the foundational structure of your creative space. Get this right, and everything that follows becomes infinitely easier.
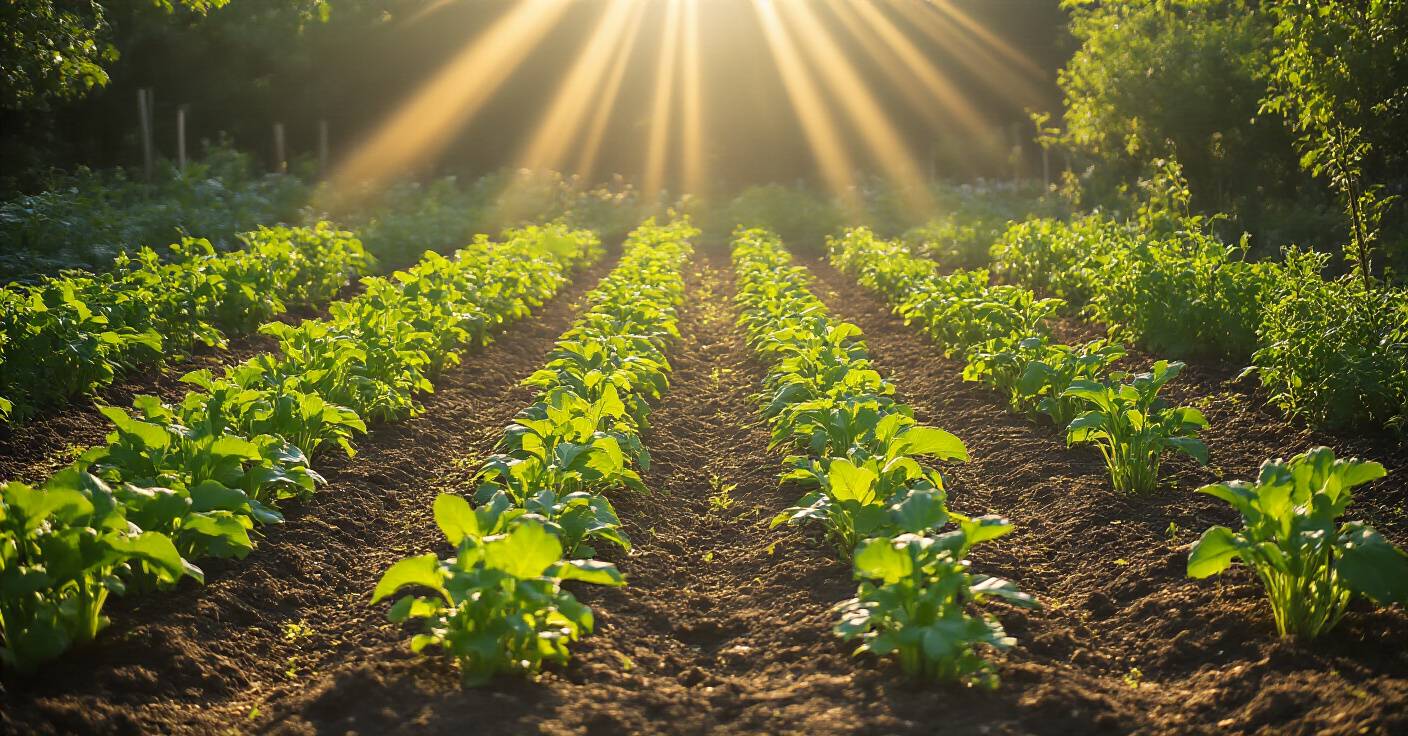
Just like a photographer lives and dies by the quality of light, so does a gardener. You wouldn’t set up a portrait shoot in a dim closet, so don’t ask a sun-loving tomato plant to thrive in the shade. The biggest mistake I see is a casual glance at noon to declare a spot “sunny.” That’s not good enough. You need to create a “sun map”—a true blueprint of how light moves across your space throughout the day. This is the single most important piece of data for your garden design.
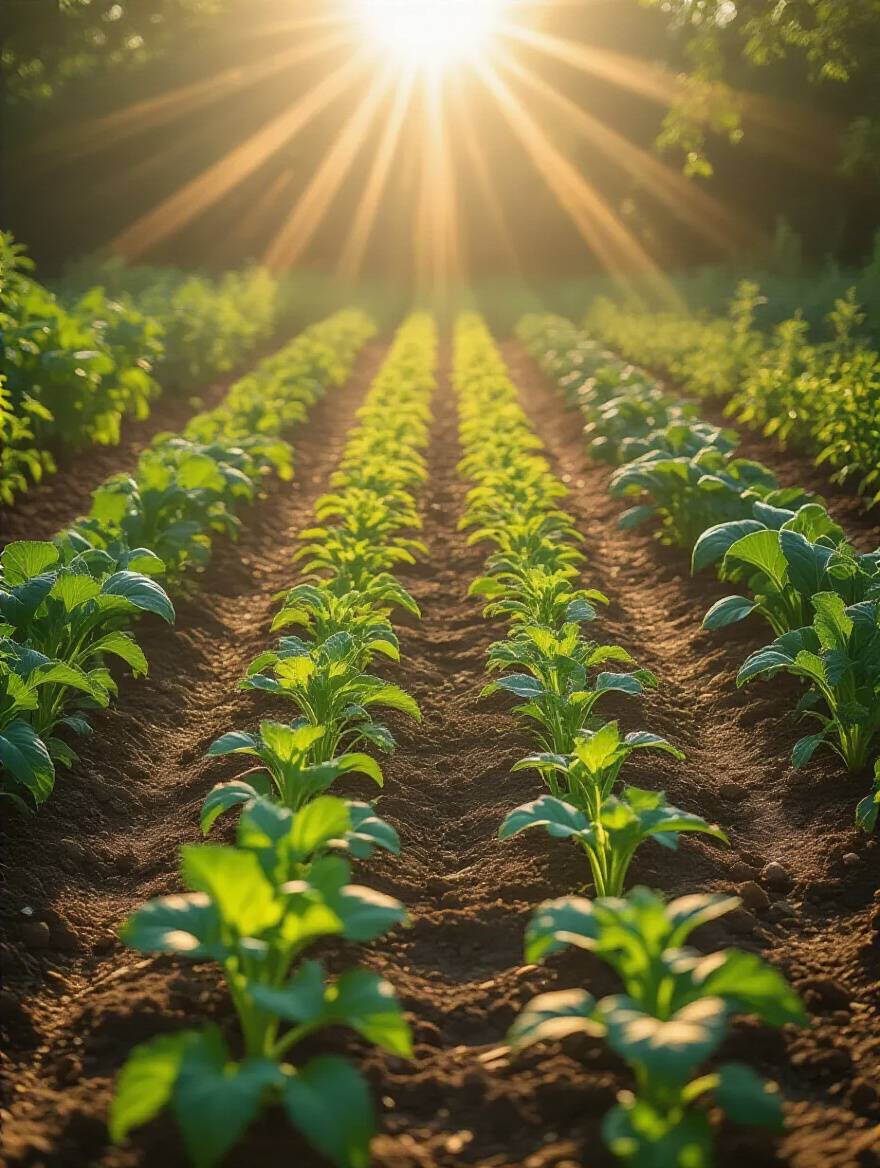
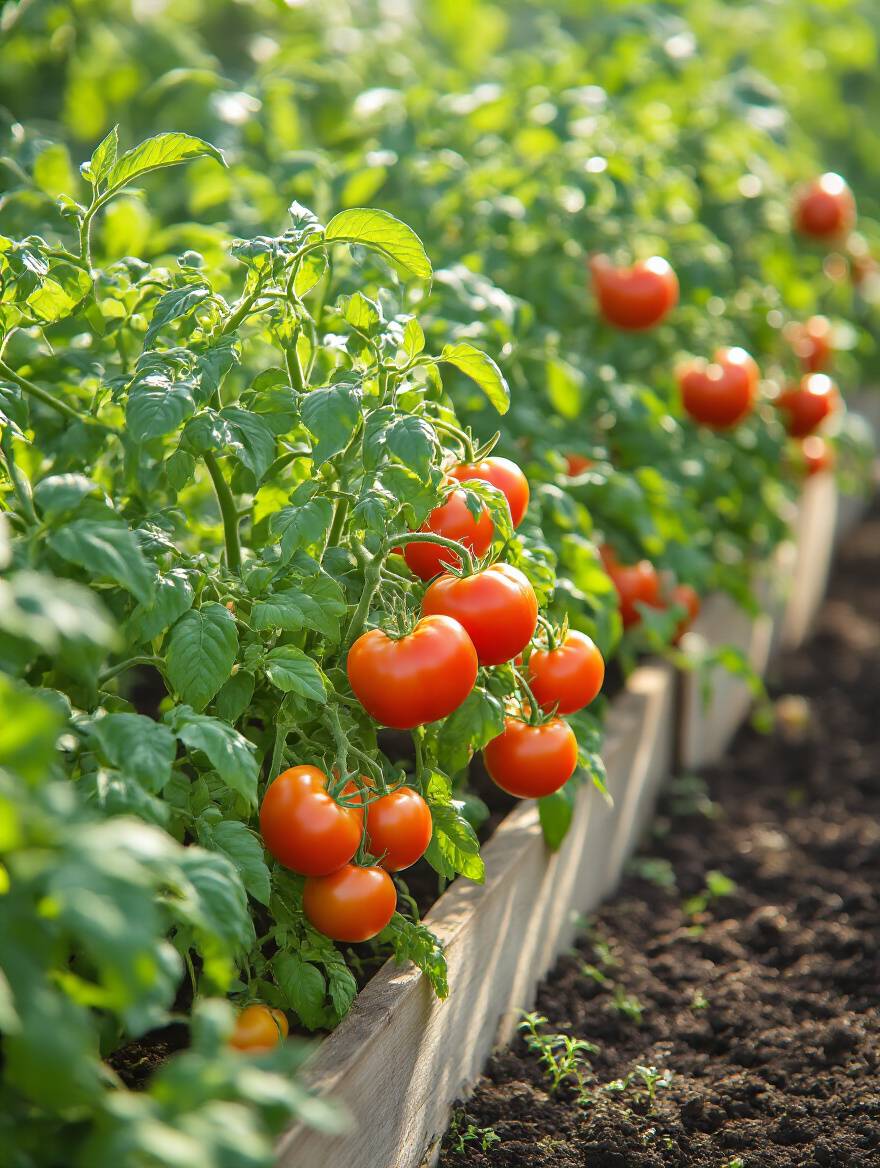
To do this, spend a day charting your garden space. Every hour, sketch where the direct sunlight is hitting. You’ll quickly discover the prime real estate that gets 6+ hours of sun—this is where your tomatoes, peppers, and squash will perform. You’ll also identify the pockets with gentle morning sun, perfect for delicate lettuces that wilt in the afternoon heat. This map isn’t a suggestion; it’s your definitive guide for plant placement, preventing you from ever again putting the right plant in the wrong place.
This process eliminates the guesswork and sets the stage for a garden where every plant feels like it’s in its own perfect, light-filled studio. Now, let’s talk about the canvas itself.
If light is the energy, soil is the canvas. You can have the most brilliant ideas and the best light in the world, but if your canvas is greasy or cracked, your art will suffer. The same goes for soil. So many people just buy a few bags of “garden soil,” dump it in, and cross their fingers. That’s like painting on a mystery surface. A soil test is your shortcut to understanding exactly what you’re working with.
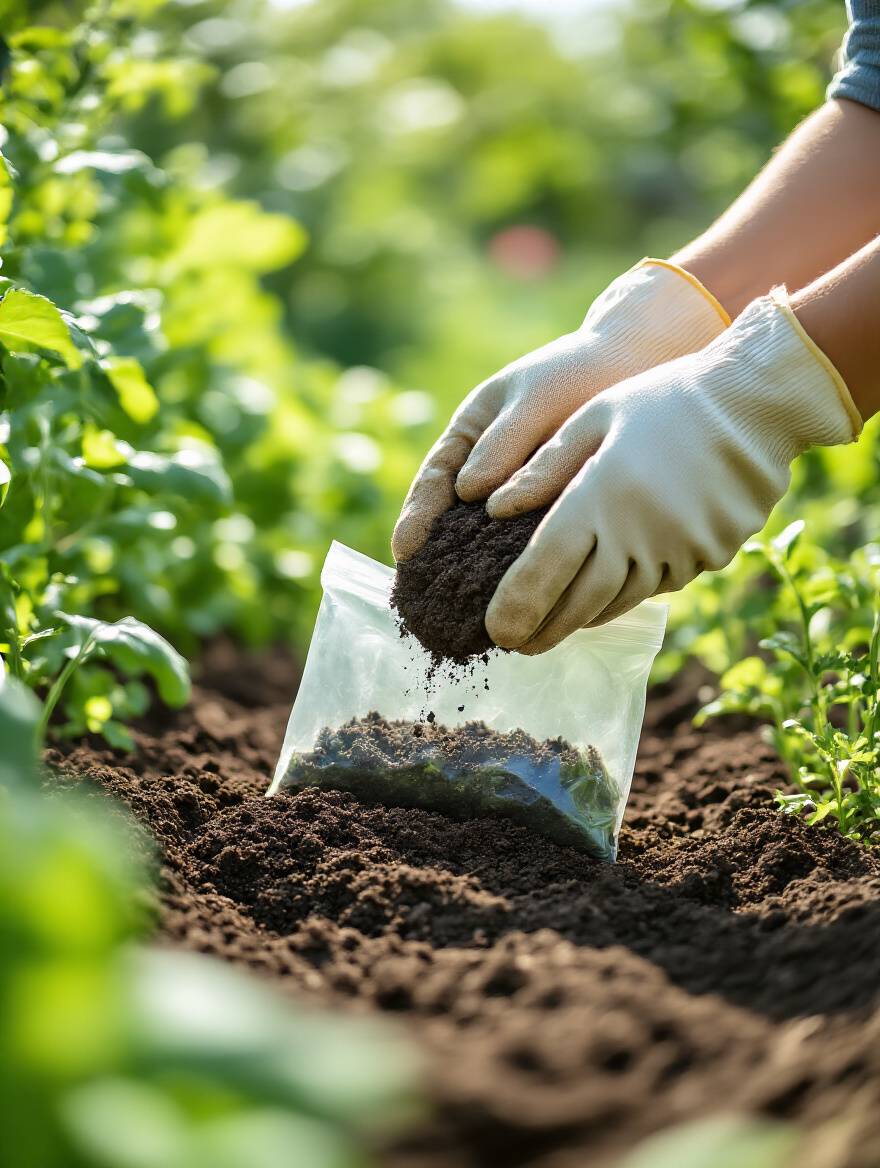
This test is your cheat sheet, telling you the pH (which determines how well plants can absorb nutrients—think of it as the primer on your canvas) and what nutrients are missing. It takes the abstract concept of “fertile soil” and turns it into a concrete recipe: add a little lime to balance the pH, mix in some compost for structure, or add a specific organic amendment to boost phosphorus for your flowering vegetables. It’s a simple diagnostic that saves you a season of frustration and wasted effort.
With your light mapped and your medium understood, you can start designing the physical structure of your creative workspace.
Every artist needs a workspace that fits their style. Do you work best with a structured easel or a sprawling studio floor? In the garden, this choice comes down to raised beds versus in-ground planting. This isn’t just about looks; it’s about control and function. A raised bed is like a perfectly stretched and gessoed canvas; you control exactly what goes into it, from the soil mix to the drainage. It’s the ultimate solution for anyone with terrible native soil (like heavy clay or rock) or for those who want to save their back from bending over.
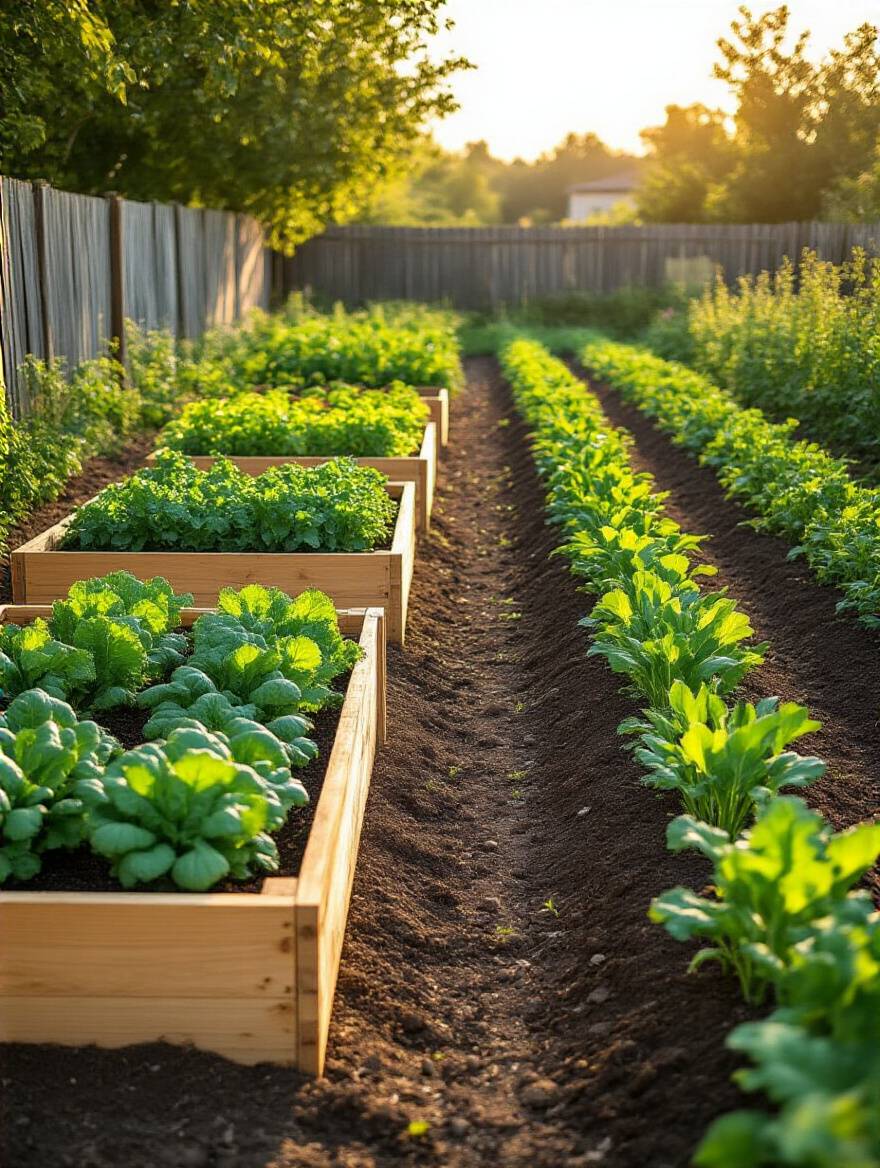
In-ground gardens, on the other hand, are like working on a large, prepared wall for a mural. You’re working with the existing environment, which can be fantastic for moisture retention and thermal stability, especially in hot climates. But it means you have to put in the work to amend and prepare that native soil. There’s no right answer, only the right answer for you. My advice? Be honest about your existing conditions and how much control you want over your “canvas.”
Once you’ve chosen your frame, it’s time to select the colors and textures you’ll be working with—your plants.
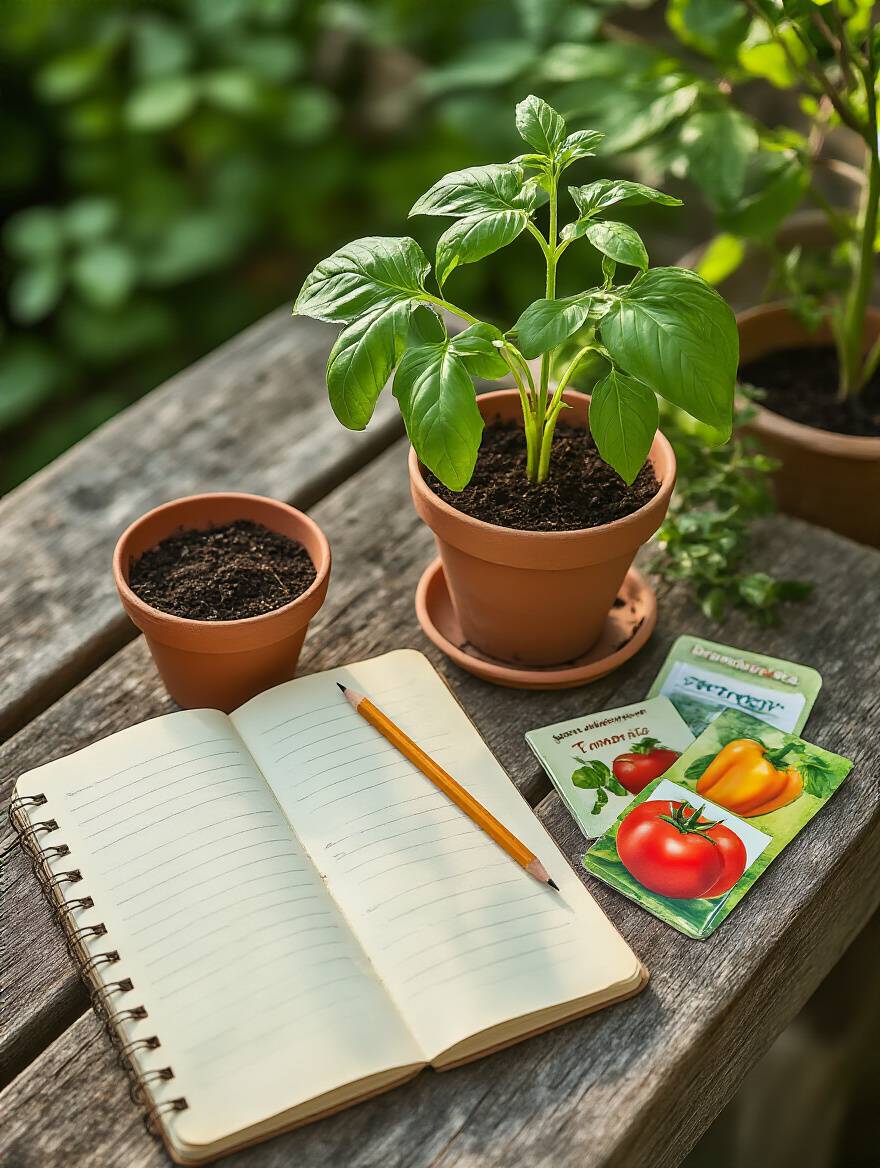
When you’re starting a project, you choose your materials based on the environment they’ll live in. You wouldn’t use watercolor for an outdoor mural. Similarly, you have to choose vegetable varieties that are designed to withstand the specific challenges of your region. This is where people get lost in beautiful seed catalogs, choosing plants that look pretty but are destined to fail in their local conditions. The key is to look for disease resistance.
Think of those little codes next to a seed name (like V, F, F, N on a tomato) as the professional specs on a tube of paint. They tell you the plant has built-in resilience to common issues like Verticillium wilt, Fusarium wilt, or nematodes. Choosing these varieties is the single biggest shortcut to avoiding heartbreak later. It’s like buying artist-grade paints that won’t fade or crack. You’re building a layer of defense into your garden from day one, setting yourself up for a beautiful, successful composition.
This kind of proactive design sets a strong foundation, which we’ll continue to build upon as we move from planning to actual planting.
We’ve covered the physical space—the light, the soil, the layout. Now we layer on the fourth dimension: time. Timing is the rhythm of your garden. It’s the difference between a symphony and just a lot of noise. Getting this right ensures your tender creations aren’t introduced to the world too soon or too late, giving them the best possible chance to perform.
Every creative project has a deadline and a timeline. In the garden, nature sets the most critical deadlines: the first and last frost dates. These dates are the bookends of your primary growing season, and ignoring them is the fastest way to lose your work. Planting tender seedlings like tomatoes or peppers out before your last frost date is like putting a delicate sculpture out in a hailstorm. All your early effort can be wiped out in a single night.
Your local frost dates are your master calendar. Find them online by searching for your zip code on a site like The Old Farmer’s Almanac. Then, work backward from your seed packets. If a tomato seed needs to be started indoors 6-8 weeks before the last frost, you now have your starting date. This simple piece of data allows you to choreograph your entire season, ensuring that every plant steps onto the “stage” at precisely the right moment to flourish.
With your schedule in place, you’re ready to move from the drafting table to the studio and begin the hands-on work of creation.
This is where the magic begins. You’ve done your planning, and now it’s time to bring your vision to life. Starting seeds and caring for young plants is like laying down the first brushstrokes or molding the initial form. The care and attention to detail you apply here will be visible in the final piece, creating strong, confident lines and a foundation of vibrant health.
Starting seeds indoors is your chance to give your plants a head start in a controlled, protected environment—a creative incubator. I learned this the hard way my first year, trying to sow tiny carrot seeds directly into my rocky, weed-prone soil. The result was pathetic. Starting indoors gives delicate seedlings the perfect light, warmth, and moisture without any competition. It’s the design shortcut to growing robust, confident plants that are ready to thrive once they move outdoors.
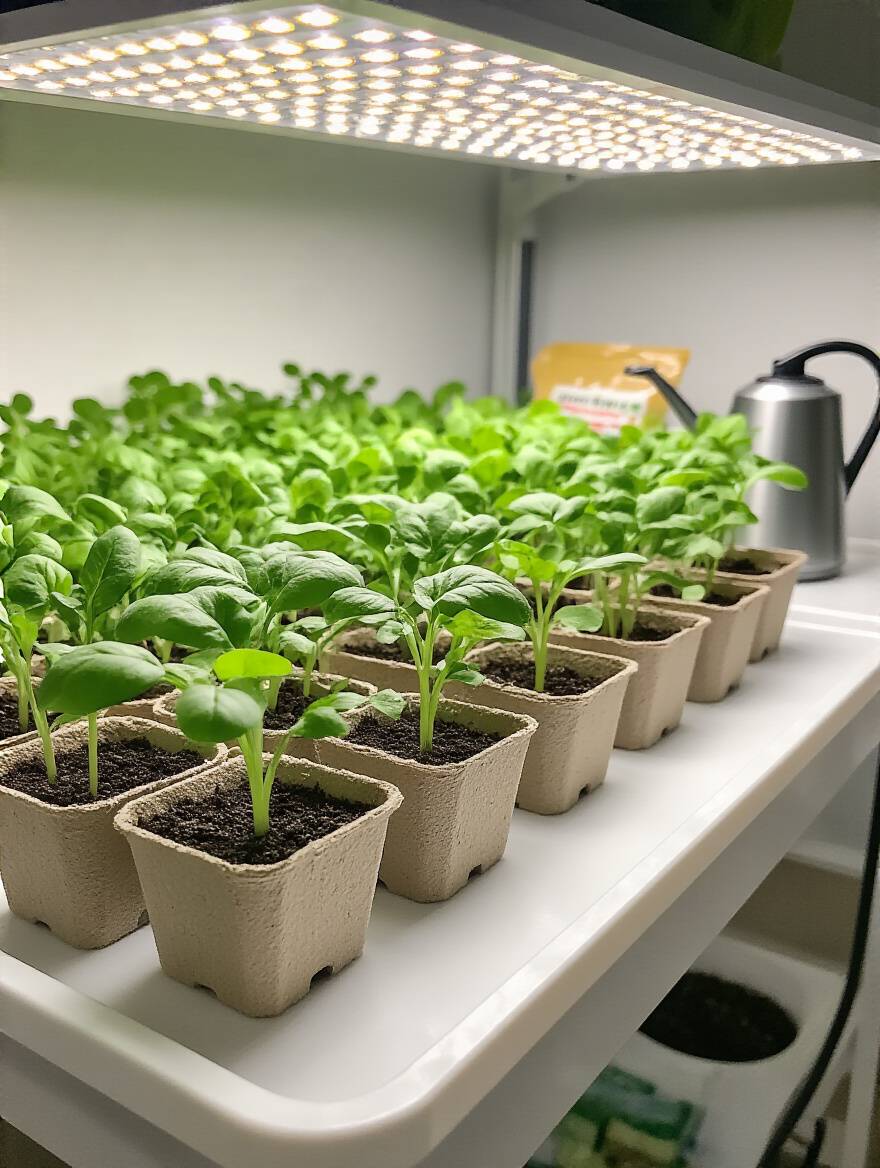
But here’s the BS everyone gets wrong: a sunny windowsill is not enough light. It produces spindly, weak seedlings that are stretching for the sun. You need a dedicated grow light. It’s a non-negotiable tool, just like a good easel for a painter. Keep the light just a couple of inches above the seedlings for 14-16 hours a day. Use a sterile seed-starting mix (not garden soil!), keep it consistently moist but not soggy, and use a small fan to create air movement that strengthens their tiny stems.
This initial controlled process is crucial, but eventually, your creations need to be moved to their permanent home.
Moving a seedling from its cozy indoor setup to the great outdoors is a massive shock to its system. It’s like taking a piece of pottery from a climate-controlled studio and immediately putting it into a fiery kiln. If you don’t manage the transition, it will crack. For plants, this is “transplant shock,” and it can stunt their growth for weeks or even kill them. The secret is a process called “hardening off.”
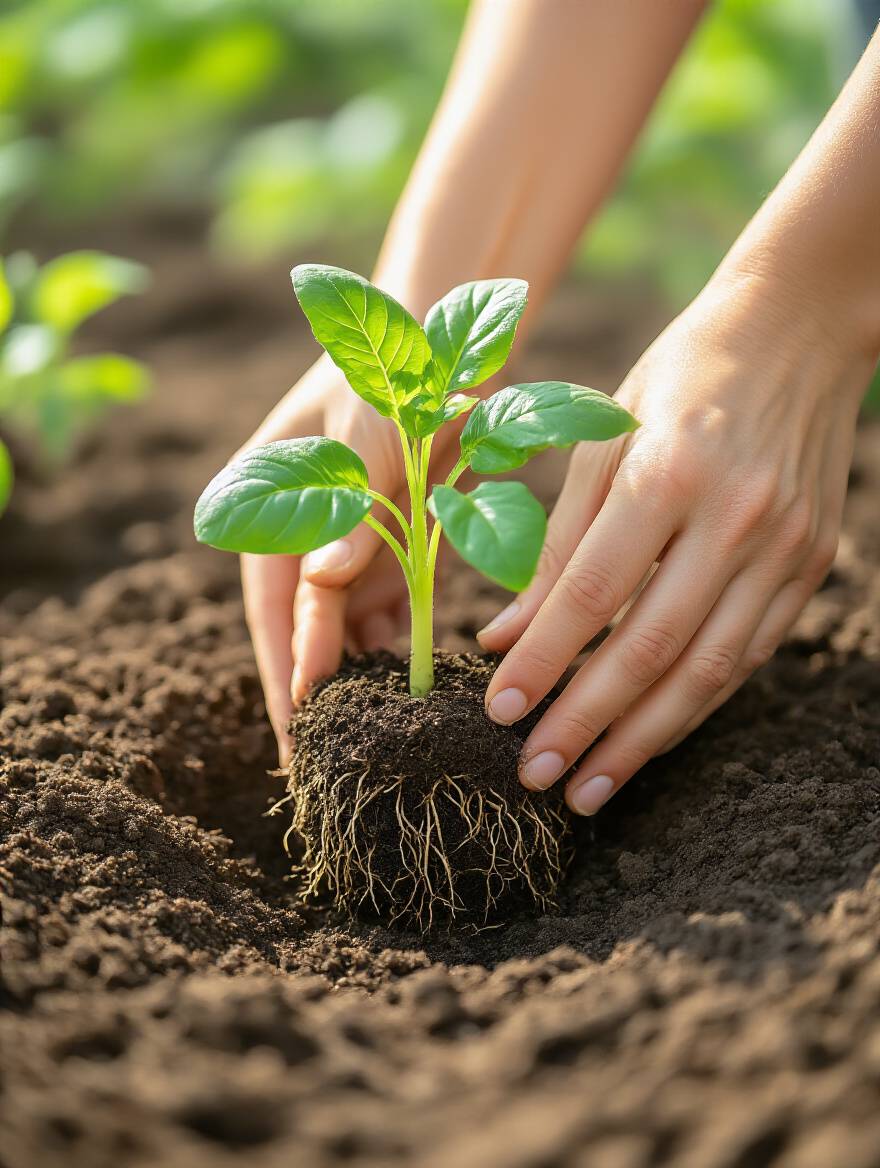
This is your shortcut to avoiding heartbreak. For about a week or two before planting, you gradually introduce your seedlings to the outdoors. Start with an hour in a sheltered, shady spot. The next day, two hours. Slowly increase their exposure to direct sun and wind. You are quite literally toughening them up. When you finally do plant them in the garden, do it on an overcast day or in the late afternoon to minimize stress. Water them in well to settle the soil around their roots and give them a good start in their new home.
As they get settled, think about who you’re placing them next to. This brings us to one of the most creative aspects of garden design.
A garden shouldn’t be a sterile grid of monocultures. It should be a vibrant, collaborative community. Companion planting is the art of arranging plants so they help each other. It’s like curating a gallery where each piece enhances the ones around it. For instance, planting basil near your tomatoes is said to improve their flavor and repel tomato hornworms. Planting marigolds around your beds can deter nematodes in the soil.
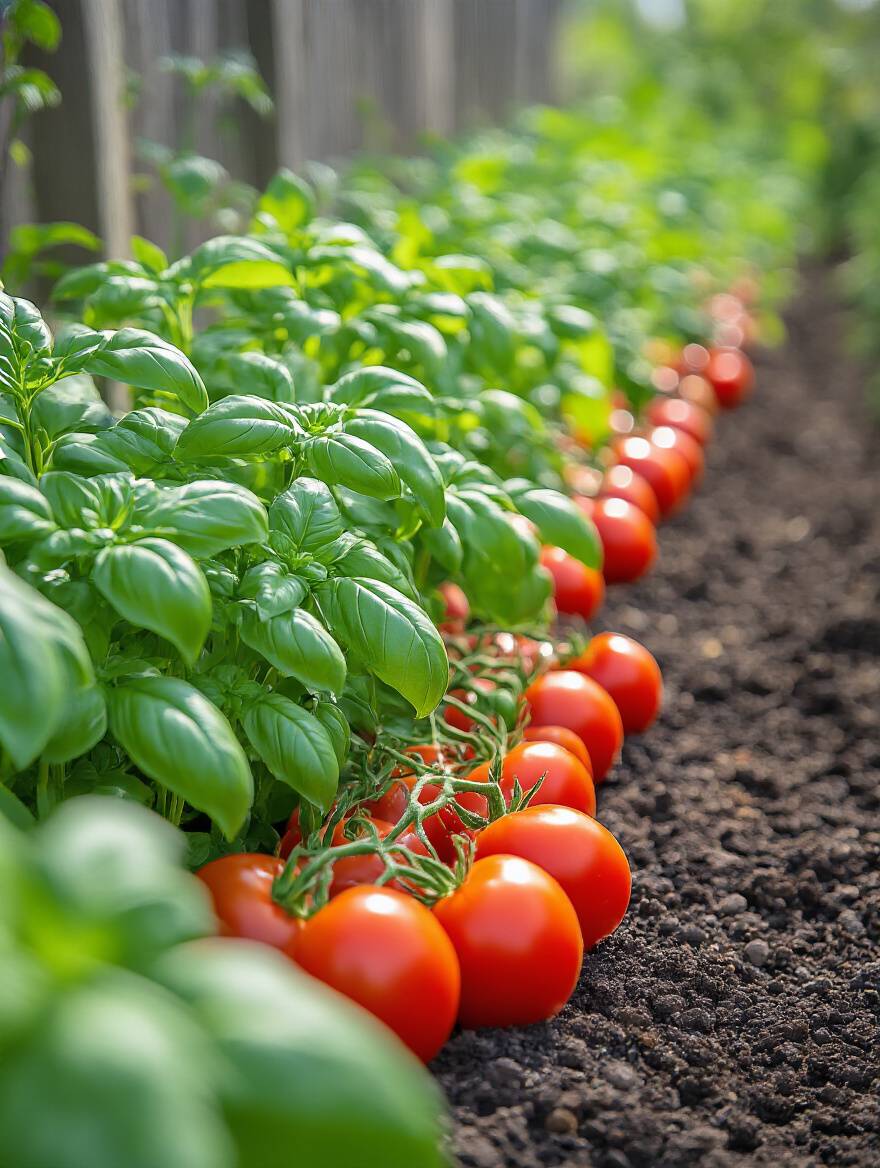
This is functional design at its most beautiful. You’re using plants to create a self-supporting ecosystem. Aromatic herbs can confuse pests looking for your prize vegetables. Tall plants can provide shade for sun-sensitive ones. Some plants, like beans, even add nitrogen to the soil, fertilizing their neighbors. Ditch the rigid rows and start thinking in “polycultures,” or mixed plantings. Your garden will not only be more resilient but also far more visually interesting and alive.
The final piece of this initial setup is ensuring your community has what it needs to thrive, which primarily means water.
Inconsistent watering is a major source of stress for plants, leading to everything from cracked tomatoes to stunted growth. An efficient irrigation system, like drip lines or soaker hoses, is the equivalent of having a perfectly calibrated tool that delivers exactly what’s needed, right where it’s needed. It takes the guesswork and human error out of watering. Plus, it’s a massive time-saver for a busy creative.
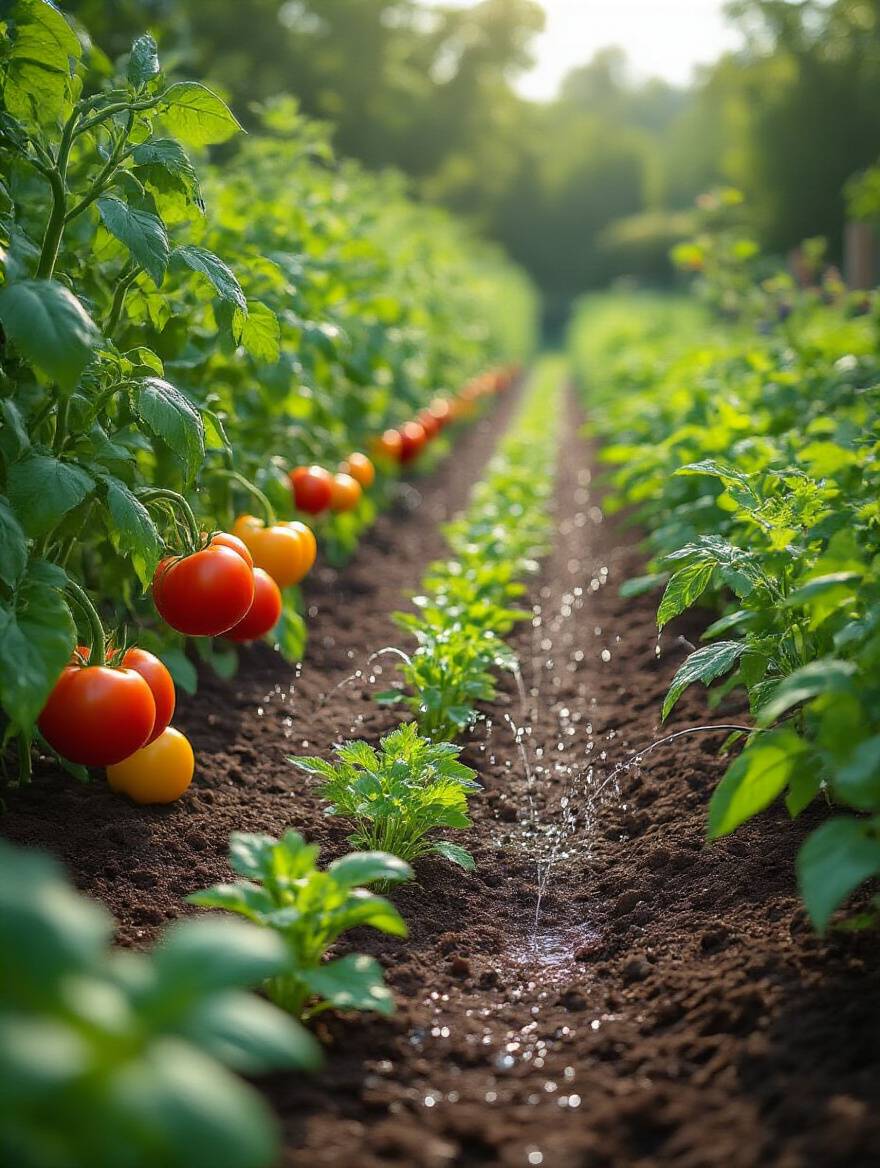
The common practice of waving a hose with a sprayer over the garden is just noise. It wastes a ton of water to evaporation and gets the leaves wet, which is a prime invitation for fungal diseases. Drip irrigation delivers water directly to the root zone, keeping foliage dry and using 30-60% less water. Set it up with an automatic timer, and you’ve just built an organized, reliable system that supports your plants’ foundational needs without you having to think about it every single day.
Now that the initial installation is complete, it’s time to build the support structures that will help our plants reach their full height.
Your garden is alive and growing. Now the design work shifts from planning to actively sculpting and supporting that growth. Just like a painter adds layers of glaze or a sculptor adds an armature, these next steps provide the structure and protection your plants need to mature beautifully and productively.
Think of mulch as the perfect frame for your artwork. It provides a clean, defining edge, suppresses distracting background noise (weeds!), and protects the piece itself. A 2-4 inch layer of organic mulch like straw, shredded leaves, or wood chips is one of the most transformative things you can do for your garden. It dramatically reduces the amount of watering you have to do by preventing evaporation and keeps the soil temperature stable.
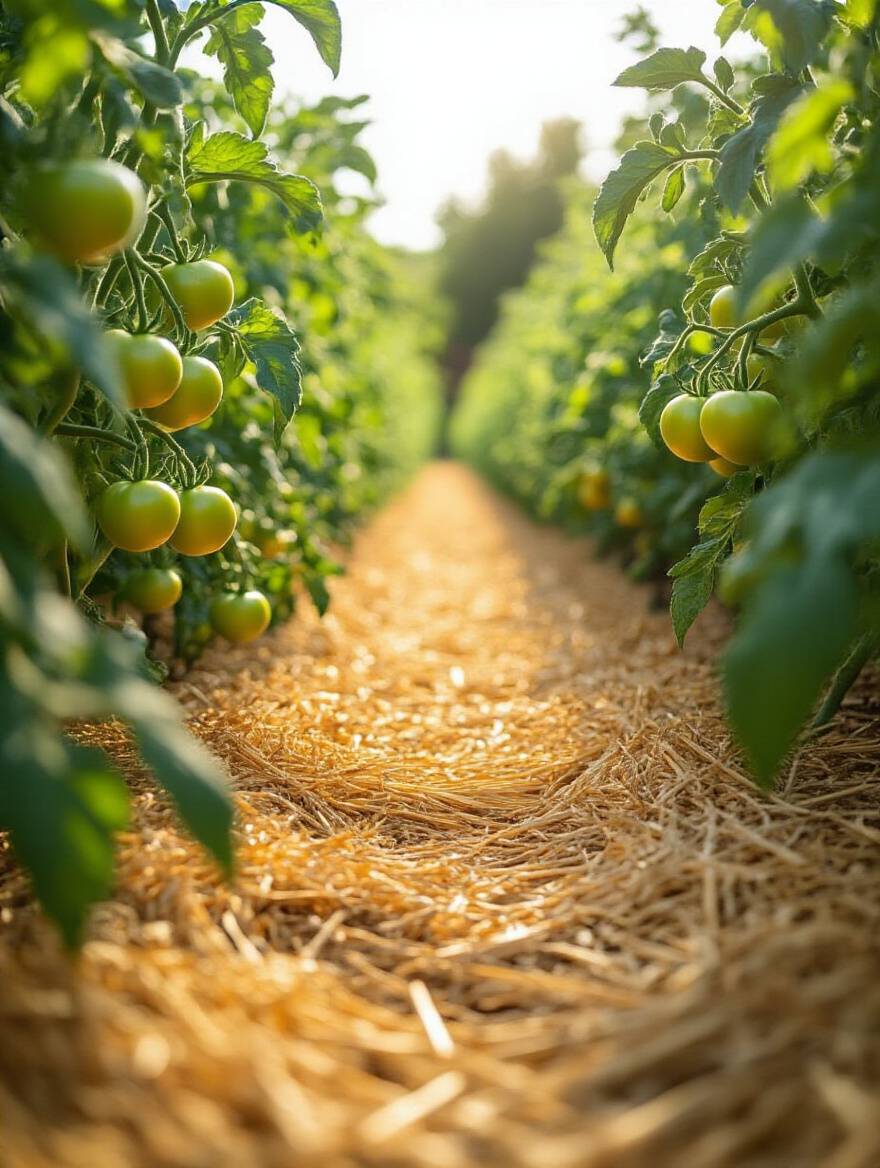
More importantly, it smothers weeds. Weeds are the clutter of the garden; they compete for light, water, and nutrients, stealing energy from your intended creations. By laying down a thick blanket of mulch, you’re creating a physical barrier that most weeds can’t penetrate. As the organic mulch breaks down over time, it also feeds the soil. It’s a simple, elegant design solution that saves water, saves time, and builds a healthier foundation for your plants.
Mulch provides foundational support from the ground up, but some plants need support to grow up toward the sky.
Some plants, like indeterminate tomatoes, pole beans, and cucumbers, are natural climbers. They have ambition! Leaving them to sprawl on the ground is like leaving a beautiful tapestry crumpled in a corner. It invites disease, rot, and pests, and it makes harvesting a nightmare. You must provide a structure—a trellis, stake, or cage—to support their upward growth. This is their armature.
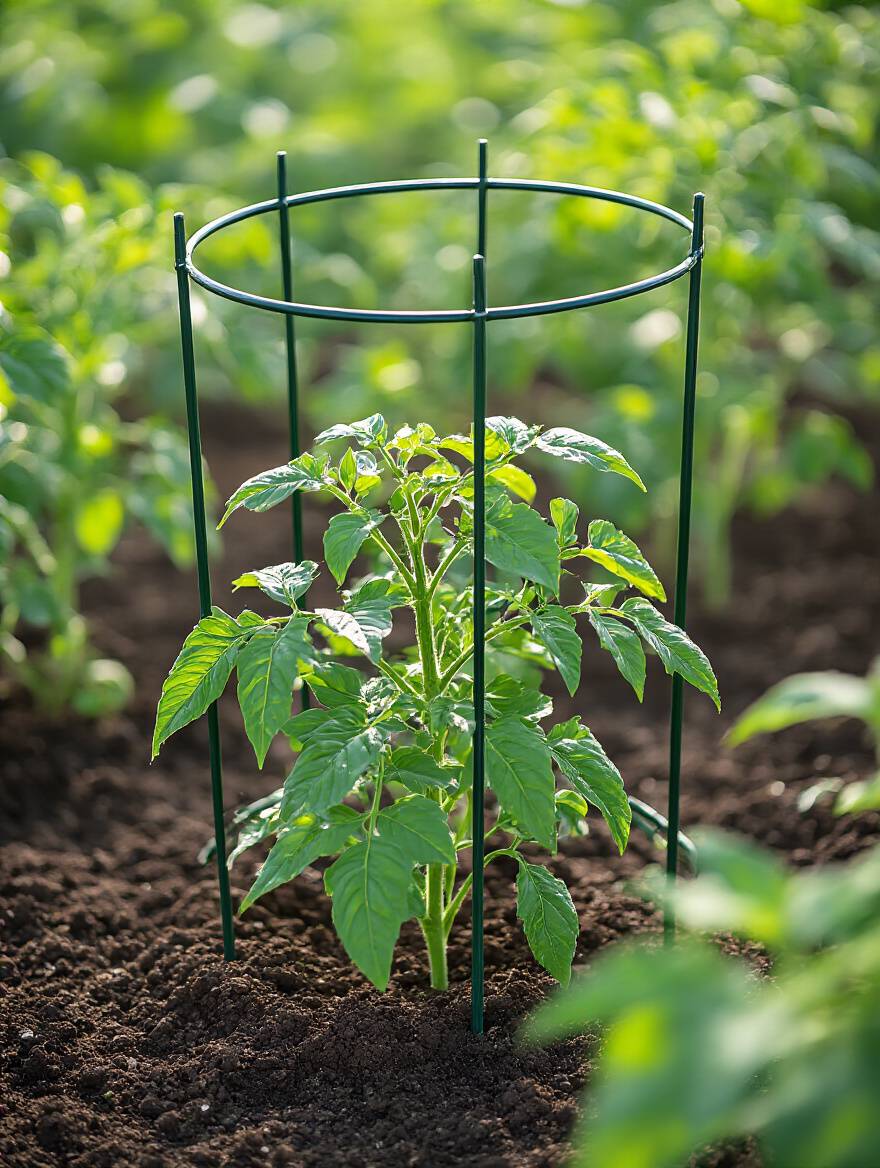
The biggest mistake is waiting until the plant is already huge to try and wrestle it into a cage. You risk breaking stems and damaging the roots. The design solution is to install your supports at the same time you plant the seedling. It might look silly—a tiny plant next to a giant stake—but you are planning for future success. As the plant grows, you can gently guide it up its support, creating a vertical sculpture that gets better air circulation, more sun, and produces healthier, cleaner fruit.
With our plants supported from both below and above, we can now turn our focus to the active, hands-on cultivation that will maximize their creative potential.
This is the ongoing, active phase of design. Your garden is established, and now your role shifts to that of a curator and editor. You’re making strategic choices to guide the energy of the plants, maintain the health of the ecosystem, and ensure the entire space remains productive and beautiful.
Imagine painting with the same exact Color Palette, on the same canvas, year after year. Eventually, you’d exhaust certain pigments and the canvas would become stained. That’s what happens when you plant the same vegetable family in the same spot season after season. They deplete specific nutrients and attract a buildup of soil-borne diseases and pests that love them. Crop rotation is the art of curating a multi-season “exhibition” in your garden.
The concept is simple: don’t plant members of the same family (e.g., tomatoes, peppers, eggplants are all in the nightshade family) in the same location for at least three years. Create a simple four-zone map of your garden. In year one, Zone 1 has legumes (beans, peas), Zone 2 has leafy greens, Zone 3 has fruiting plants (tomatoes, squash), and Zone 4 has root crops. Next year, you rotate everything one spot over. This simple choreography confuses pests, balances nutrient use, and is one of the most powerful and totally free ways to maintain the long-term health of your studio soil.
As you rotate your “exhibits,” you also need to make sure the “gallery” itself is well-nourished.
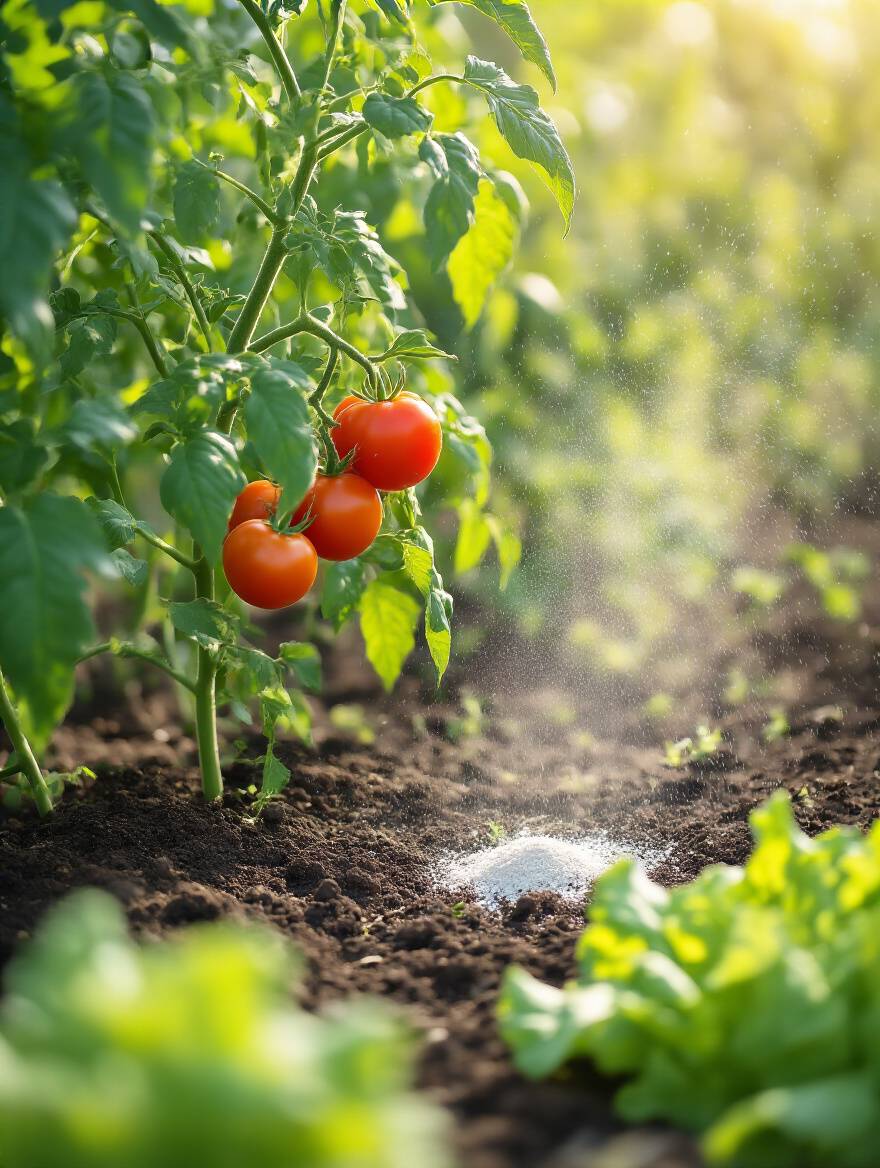
Every creative act uses energy. For plants, that energy comes from the soil in the form of nutrients. Simply expecting your soil to provide everything your plants need all season long is unrealistic, especially for heavy-feeding plants like tomatoes and corn. This is where fertilizing comes in, but forget the harsh chemical stuff. The goal is to feed the soil, not just the plant. Using organic amendments is like slowly adding rich, complex pigments to your palette over time, creating depth and resilience.
Start the season by mixing a generous amount of compost into your beds. This is your foundational layer of fertility. Then, throughout the season, give plants a targeted boost when they need it. When leafy greens need a push, a sprinkle of nitrogen-rich blood meal can help. When tomatoes start to flower, a dose of phosphorus from bone meal will support fruit production. Think of it as providing specific nutrients for specific tasks, ensuring your plants always have the raw materials they need to create their best work.
Beyond feeding, your role as a curator sometimes involves making careful cuts to guide the final form.
Sometimes, to encourage more robust creation, you have to be a good editor. Pruning and pinching is the art of strategic removal. On an indeterminate tomato plant, for instance, you’ll see little “suckers” growing in the crook between the main stem and a branch. If you let them all grow, the plant wastes a ton of energy making foliage instead of fruit. By pinching off most of those suckers, you’re telling the plant, “Focus your energy here, on making big, delicious tomatoes.”
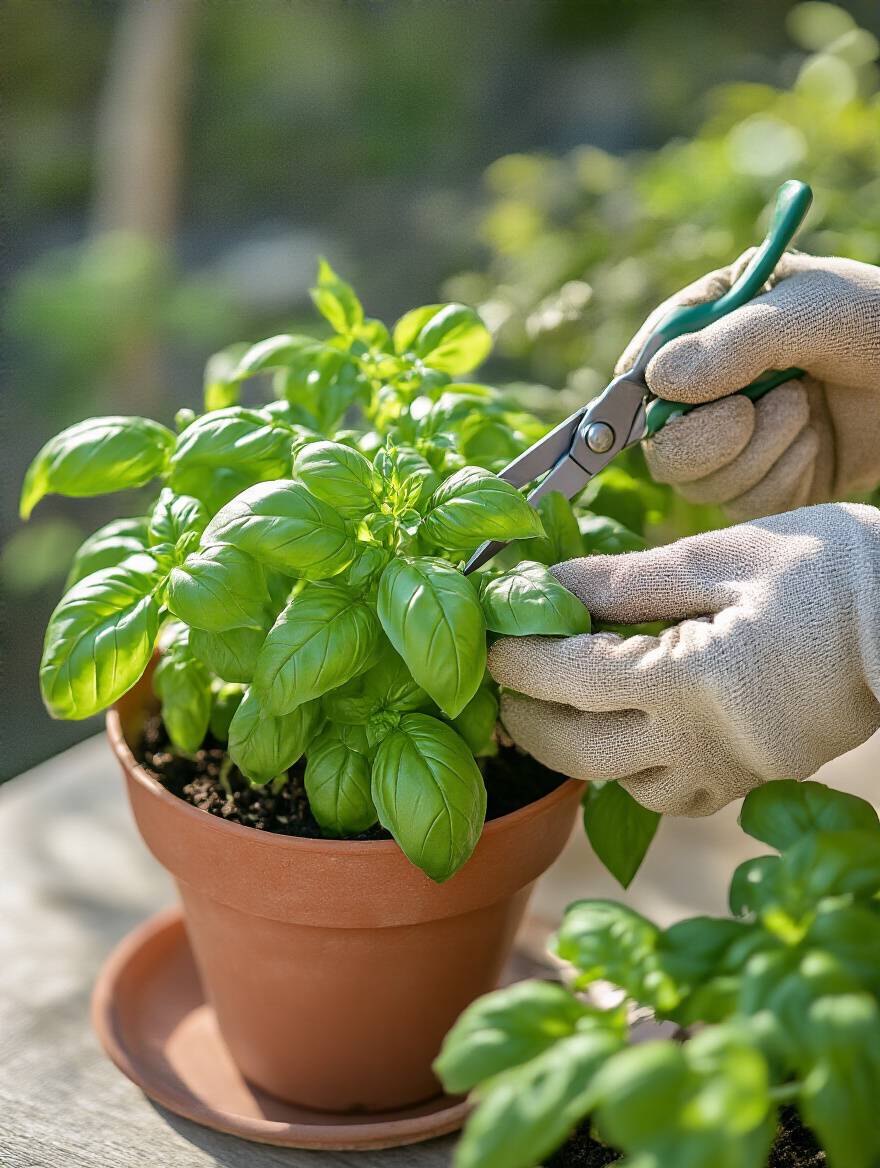
The same principle applies to herbs like basil. Every time you pinch off the top set of leaves to use in your kitchen, you encourage the plant to send out two new shoots from that spot, making it bushier and more productive. It’s a bit counterintuitive—removing growth to get more growth—but it’s a powerful way to sculpt your plants. You are directing their energy towards the outcome you desire, whether that’s more fruit, more leaves, or better air circulation to prevent disease.
This hands-on editing process naturally leads to a keener eye for detail, which is critical for the next step.
Your garden studio requires daily observation. A small problem, left unchecked, can quickly spiral into a crisis. The most effective pest and disease control isn’t a spray; it’s your shadow in the garden every day. Take a morning walk with your coffee and really look at your plants. Flip over leaves. Check the new growth. Are those tiny specks aphids? Is that a dusting of white powdery mildew starting on the squash leaves?
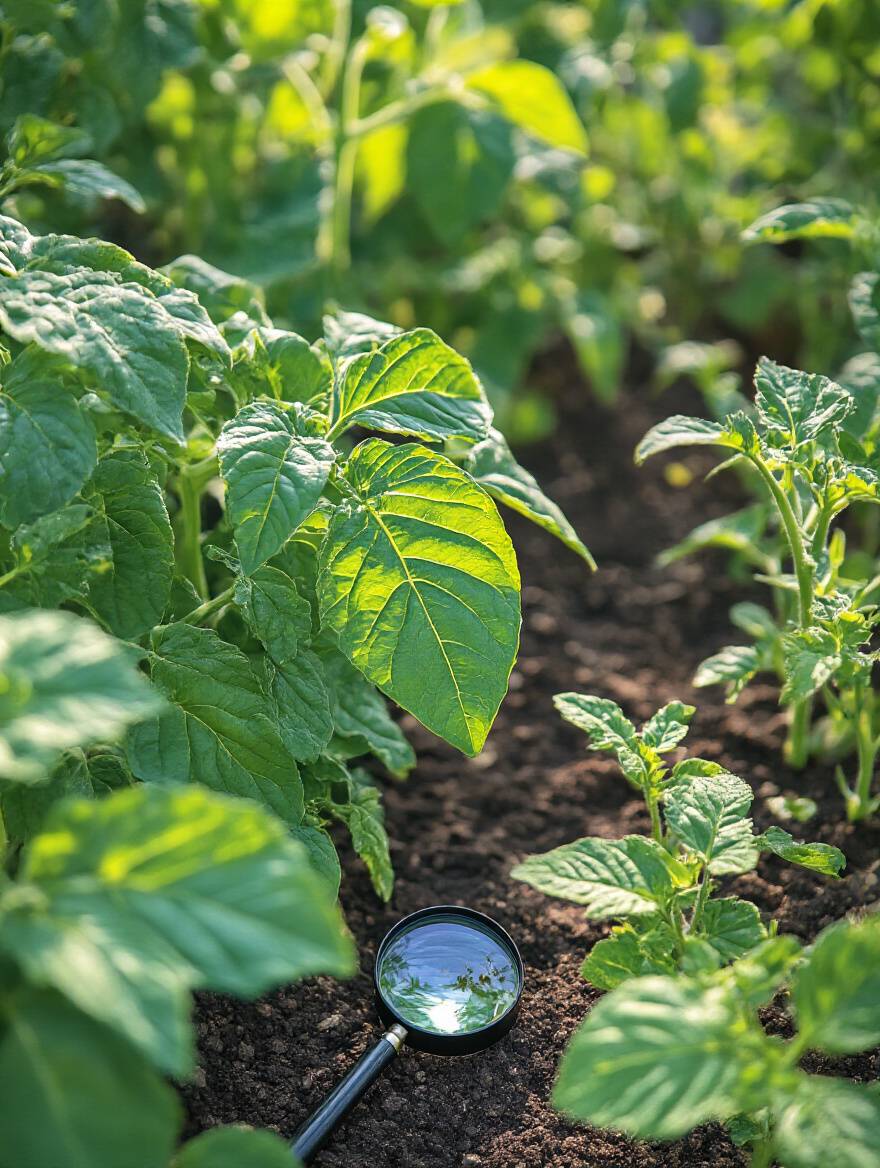
Catching these issues early is everything. A small aphid infestation can often be blasted off with a sharp jet of water. A single leaf with powdery mildew can be pruned off and discarded. This allows you to use the most gentle, targeted solutions instead of reaching for a chemical that kills everything, including the beneficial insects that are your allies. Early intervention is the difference between a minor touch-up and a complete project overhaul.
“The first sign of distress, whether it’s a tiny discoloration or a curled leaf, is your window to intervention.”
Being proactive means having your gentle, organic solutions ready to go when you spot trouble.
As your garden matures into a complex ecosystem, your role as designer evolves. You are now the guardian of its delicate balance, encouraging allies and gently discouraging foes. This is about fostering a resilient community within your garden, one that can largely take care of itself. These strategies are less about intervention and more about creating an environment where natural solutions can flourish.
Every artist needs a few trusted tools for touch-ups and corrections. In an organic garden, neem oil and diatomaceous earth (DE) are two of the best. They are your gentle but effective problem-solvers. Neem oil, derived from a tree, is fantastic because it disrupts the lifecycle of many soft-bodied pests like aphids and spider mites, but it’s generally safe for beneficial insects like bees and ladybugs. It’s the precision tool, not the sledgehammer.
Diatomaceous earth is a completely different kind of tool. It’s a fine powder made of fossilized diatoms, and its microscopic edges are sharp. It acts as a physical barrier against soft-bodied crawling pests like slugs and cutworms. Sprinkling a ring of DE around the base of your seedlings creates a “no-go” zone that protects them without any chemicals. Having these two tools on hand means you’re ready to respond to most common pest issues quickly and organically.
But the best pest control is prevention, which involves inviting some friends to the party.
This is one of my favorite design principles: invite the good guys to take care of the bad guys for you. Beneficial insects like ladybugs, lacewings, and hoverflies are voracious predators of common garden pests. Ladybugs, for instance, can eat up to 50 aphids a day. But to keep them around, you need to provide them with a reliable food source, which is nectar and pollen.
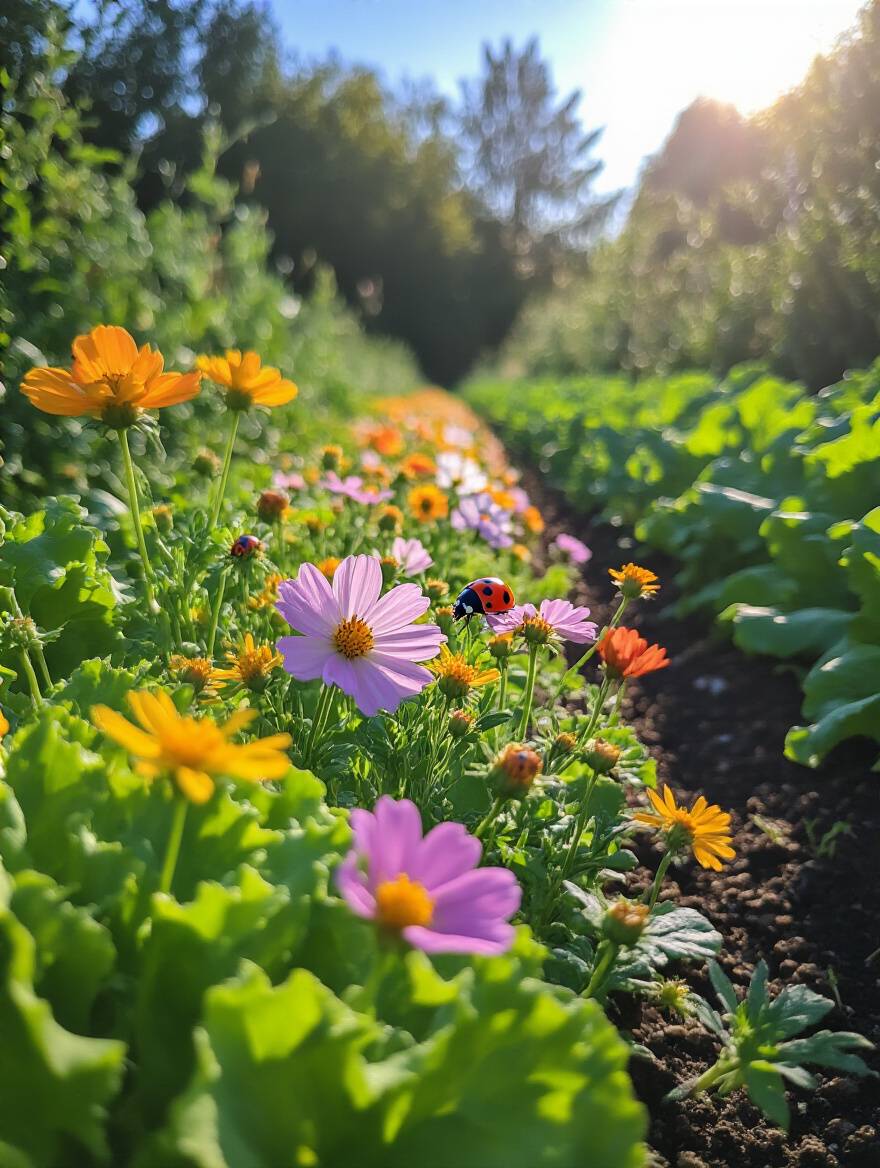
Strategically intersperse your vegetable beds with nectar-rich flowers like alyssum, cosmos, cilantro (let some of it flower!), and dill. These act as beautiful, fragrant beacons and cafeterias for your personal pest control army. You’re essentially creating a self-regulating system. The flowers attract the predators, who then patrol your garden for pests. This creates a balanced, biodiverse ecosystem that is far more resilient and beautiful than a sterile plot of only vegetables.
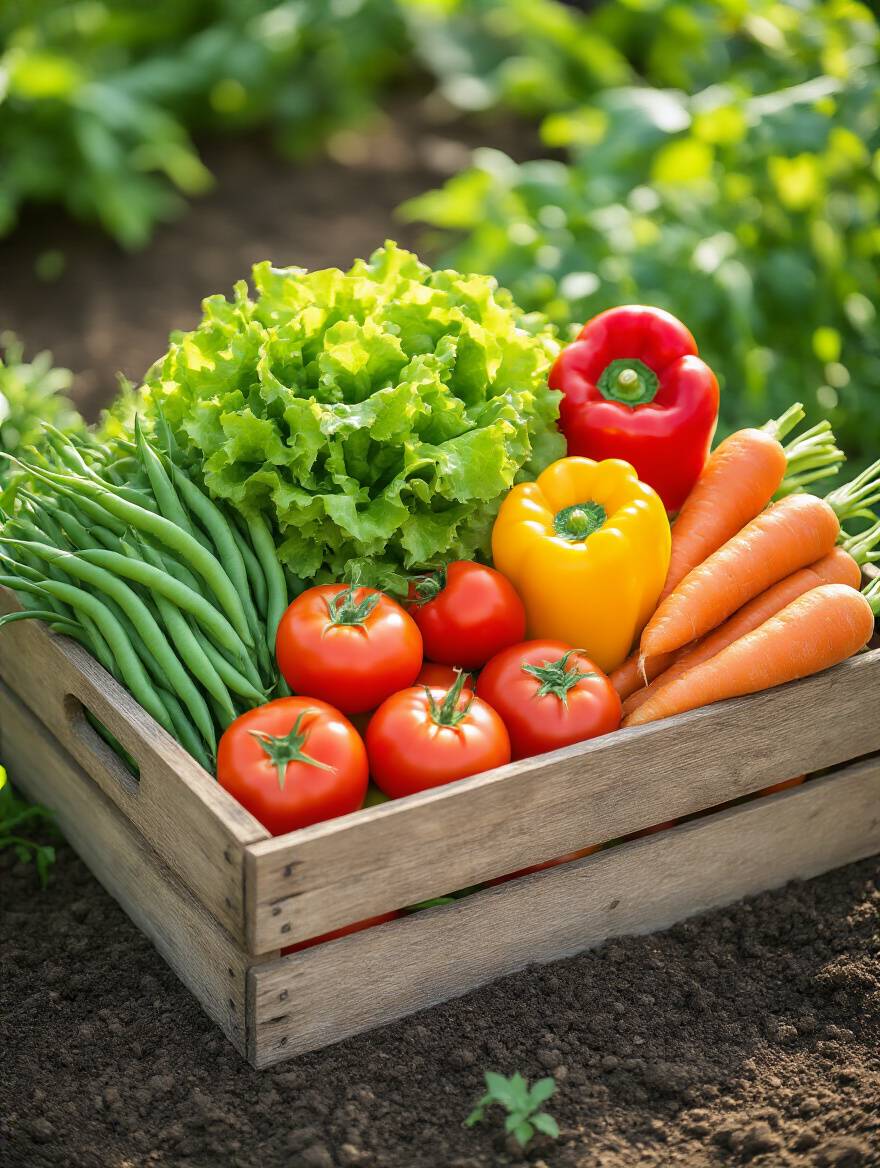
By mid-season, this beautifully designed system should be producing an abundance, which means it’s time to shift our focus to the joy of the harvest.
The creative cycle is nearing completion. The harvest is the culmination of all your planning and care. But how and when you harvest can dramatically affect both the quality of your produce and the ongoing productivity of your garden. This phase is about smart reaping and already planning for the next act.
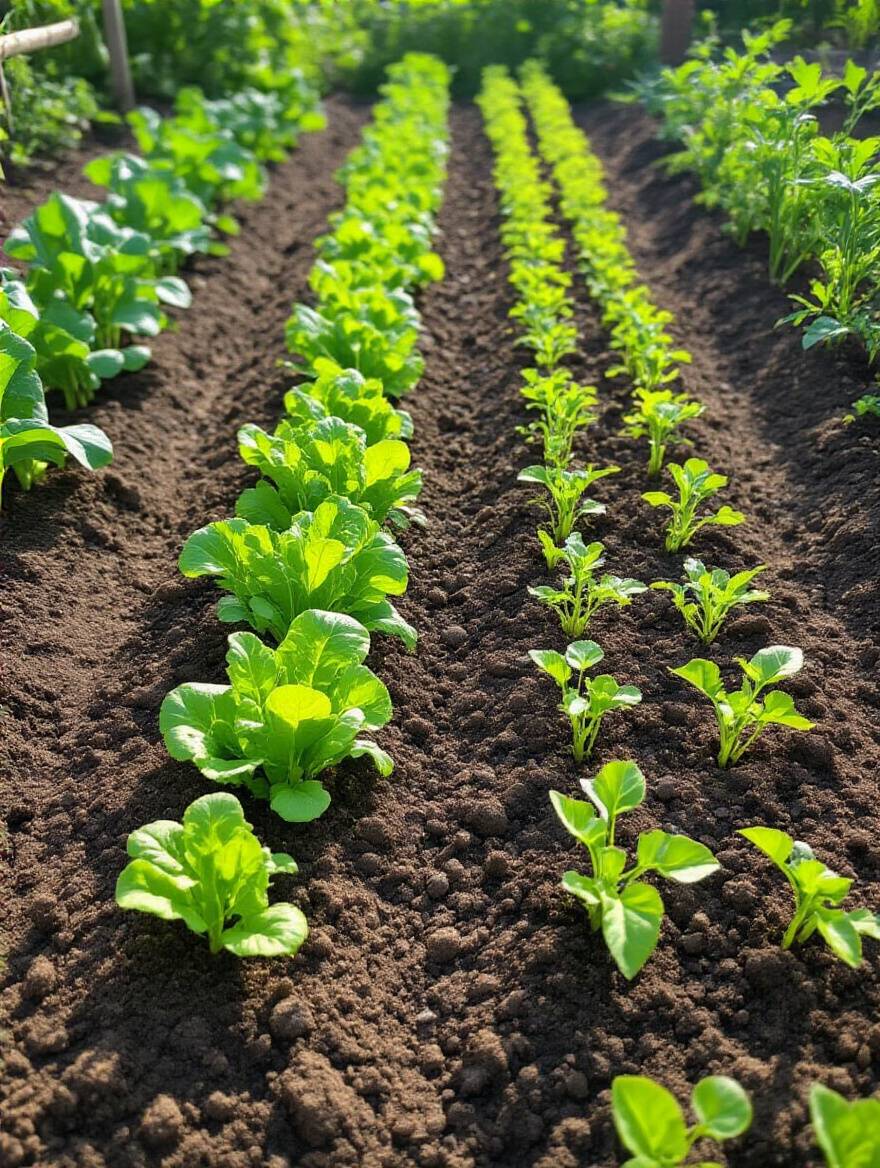
Don’t design your garden for a single, overwhelming “opening night.” Instead, plan for a continuous, season-long exhibition. Succession planting is the technique of sowing a small batch of seeds for fast-growing crops every few weeks. This way, instead of getting 40 heads of lettuce all at once in June, you get a few heads every week from spring through fall.
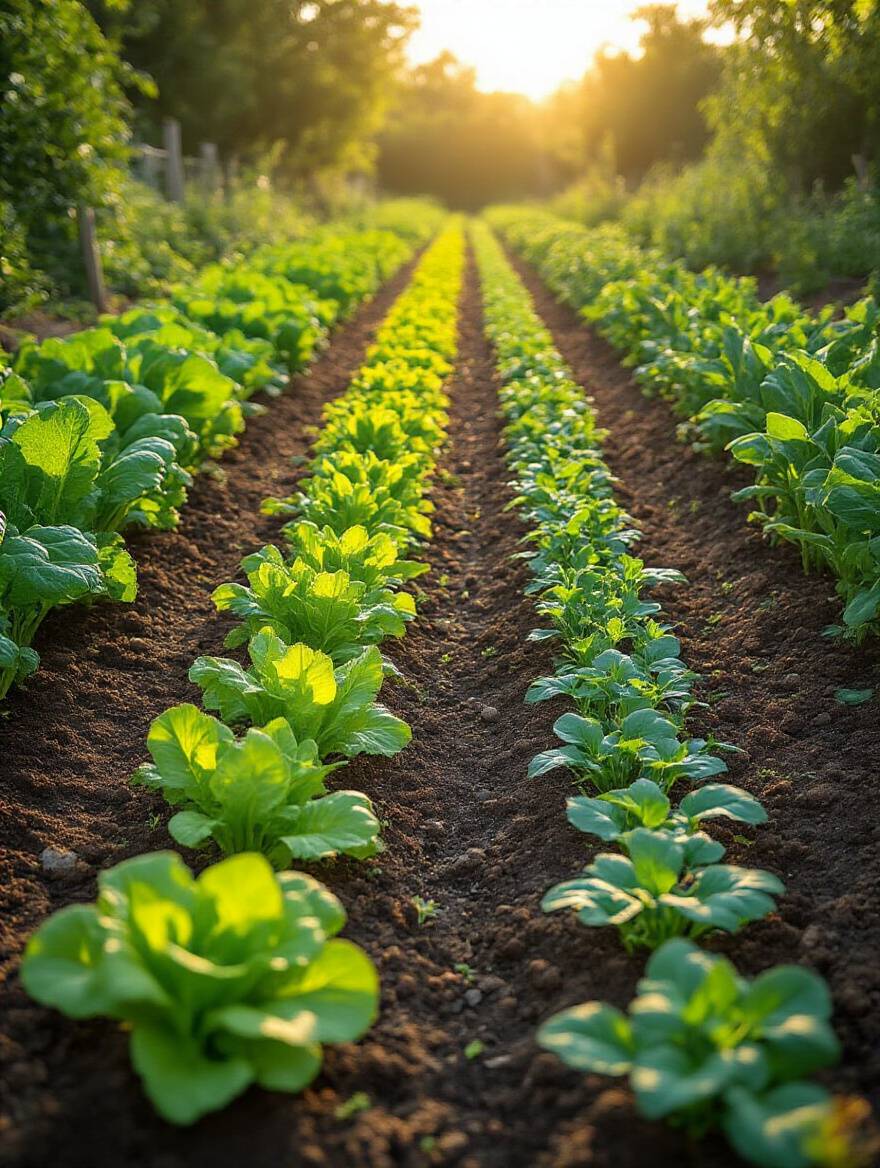
This method works beautifully for crops like lettuce, spinach, radishes, carrots, and bush beans. Every time you harvest a section, you amend the soil with a little compost and plant the next round. It turns your garden into a dynamic, constantly producing space, maximizing your yield and giving you a manageable, steady supply of fresh food. It’s a simple shift in mindset from a single sprint to a well-paced marathon.
This approach requires knowing precisely when your creations are at their peak.
Knowing when to harvest is an art form in itself. It’s the difference between a perfectly crisp bean and a tough, stringy one; a sweet, juicy tomato and a mealy, overripe one. Each vegetable has its own unique signal for peak ripeness. A summer squash is best when it’s small and tender, not a giant, seedy blimp. Green beans should “snap” when you bend them.
Learning these cues and harvesting regularly is critical. For many plants like zucchini, peppers, and beans, frequent harvesting actually signals the plant to produce more. It’s a “use it or lose it” system. By consistently picking the fruits, you’re telling the plant its work of making seeds isn’t done yet, so it keeps flowering and producing. Use clean, sharp snips or pruners to make your cuts, which is healthier for the plant than tearing.
Harvesting is a joy, but even as the main season winds down, your work as a designer isn’t over. It’s time to prepare the studio for future projects.
After a long season of producing incredible art, your studio needs to be cleaned and prepped for the next cycle. For your garden soil, cover crops are the ultimate rejuvenation. Instead of leaving your beds bare over the winter, which invites erosion and weeds, you plant a “cover crop” like crimson clover, winter rye, or vetch. These plants are grown not for food, but to heal and protect the soil.
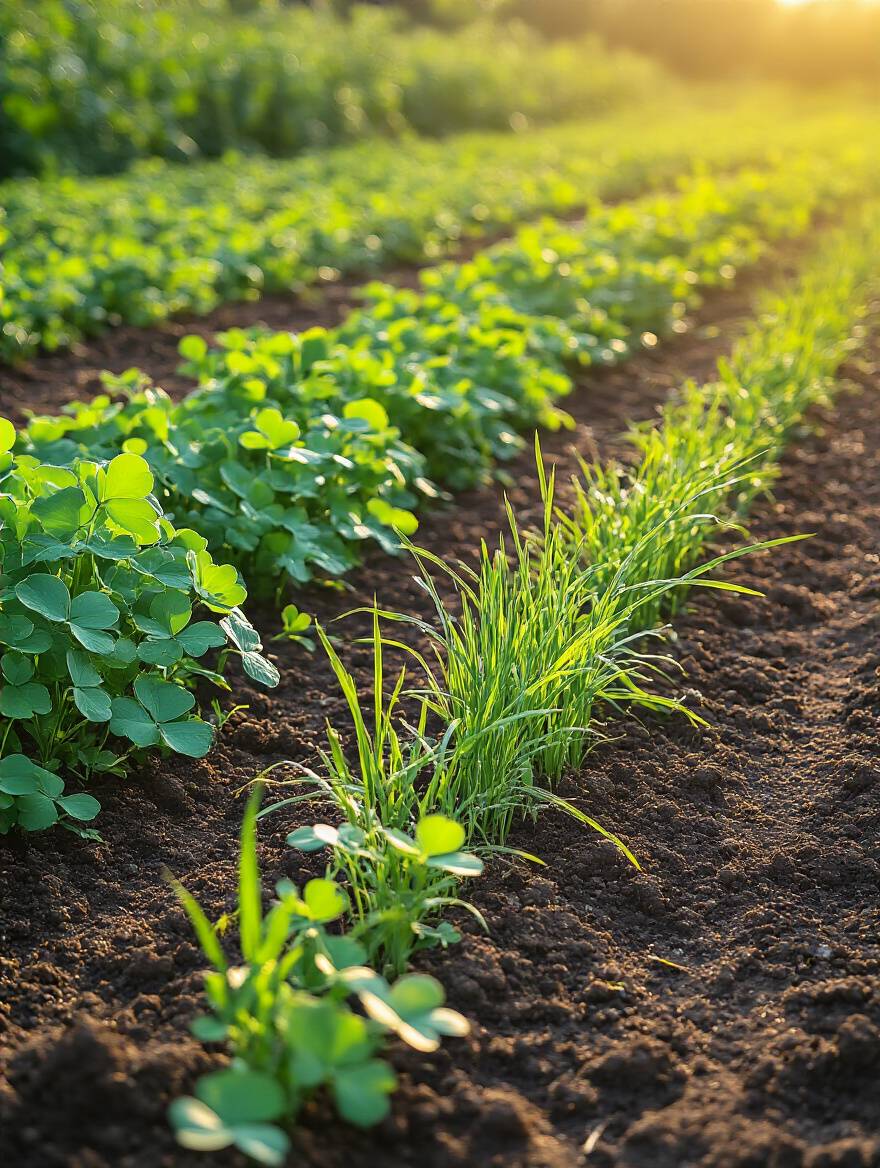
These crops act as a living mulch, holding the soil in place with their roots. Many, like clover, are legumes that pull nitrogen from the air and “fix” it into the soil, providing free fertilizer for next year’s plants. In the spring, you simply cut them down and either turn them into the soil or leave them on top as a mulch, where they will decompose and add a massive boost of organic matter. It’s the designer’s way of investing in the long-term health and vitality of their most important asset: the soil.
Even with cover crops, there are ways to push the boundaries of the season and keep the creativity flowing.
Why limit your creative season to just the summer? With a few simple tools, you can stretch your harvest well into the colder months. Row covers and cold frames are like building a small, protective addition onto your studio. A cold frame is basically a bottomless box with a clear lid, creating a mini-greenhouse that traps solar heat. It allows you to grow hardy greens like spinach and kale right through the winter in many climates.
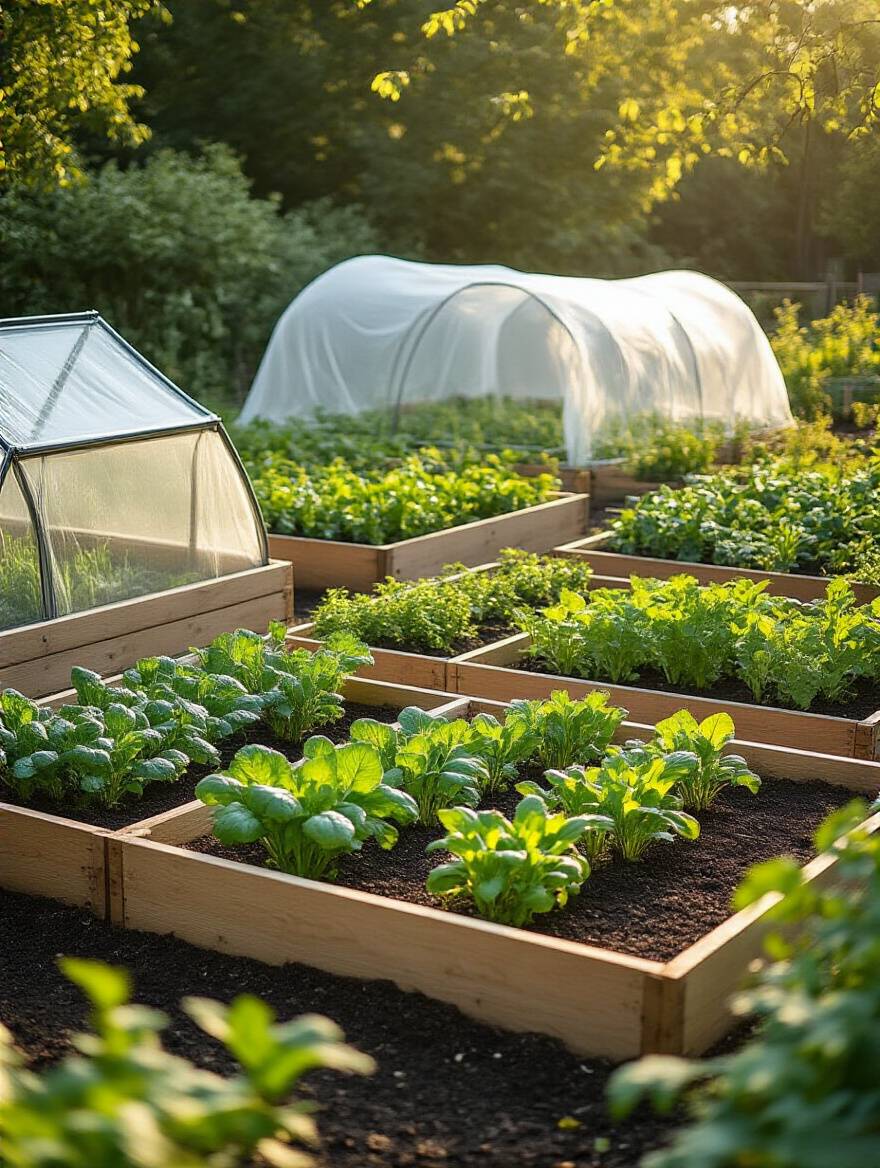
Floating row covers are lightweight fabrics that you can drape over your plants, supported by hoops. They provide a few degrees of frost protection, which can be the difference between life and death for your plants during an unexpected cold snap in spring or fall. They also act as a physical barrier to pests. These tools are the secret to extending your creative season, allowing you to enjoy fresh-from-the-garden produce when others are buying it from the store.
This brings us to the final, and perhaps most vital, principle for creating a truly sustainable creative cycle.
A truly successful creative practice is not a linear process with a beginning and an end; it is a continuous, self-nourishing loop. The final step in designing a thriving garden is to create a system that takes the “waste” from one cycle and transforms it into the fuel for the next. This is where you become not just a gardener, but the architect of a complete, living ecosystem.
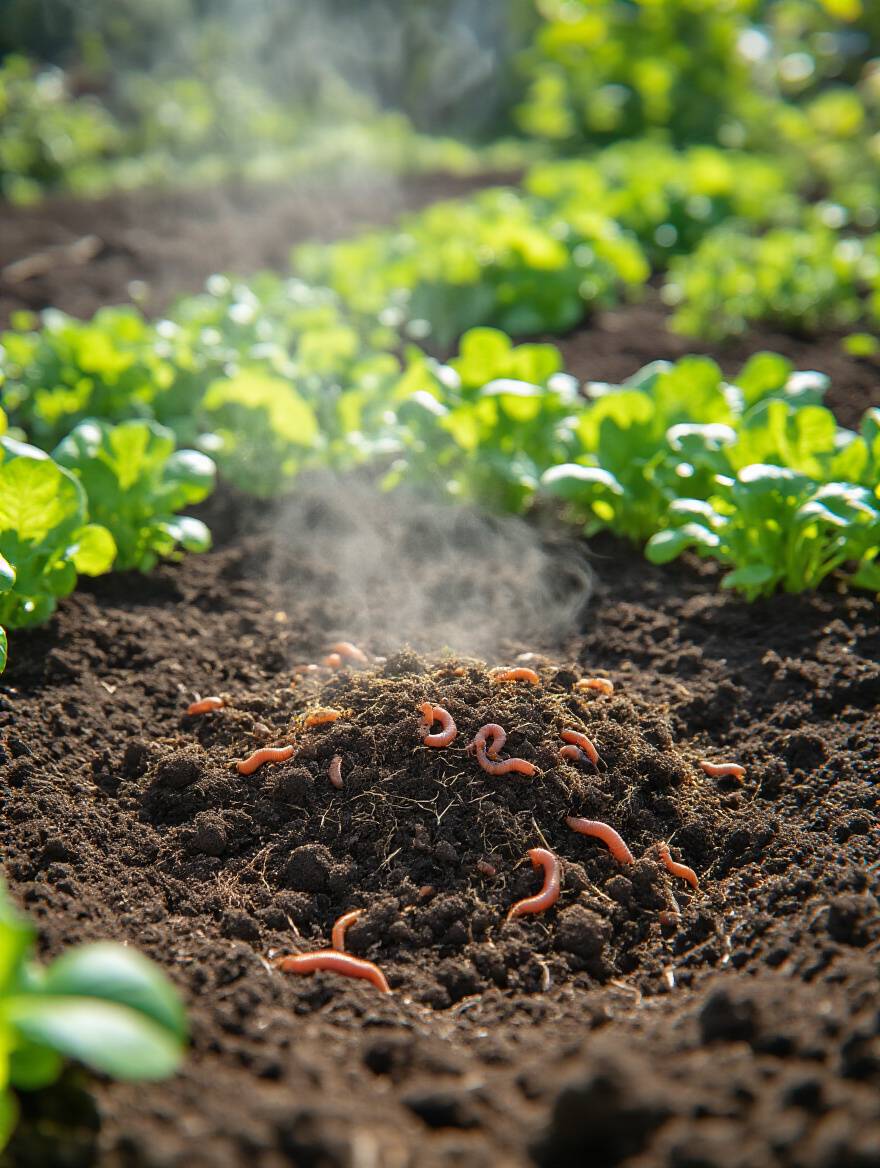
This is how you close the creative loop. A compost pile is where the scraps, the edits, and the leftovers of your garden and kitchen are transformed into the most valuable resource you have: rich, dark, nutrient-dense humus. All your kitchen scraps (no meat or dairy), garden trimmings, and fallen leaves can go into the pile. It is the ultimate act of recycling, turning waste into black gold.
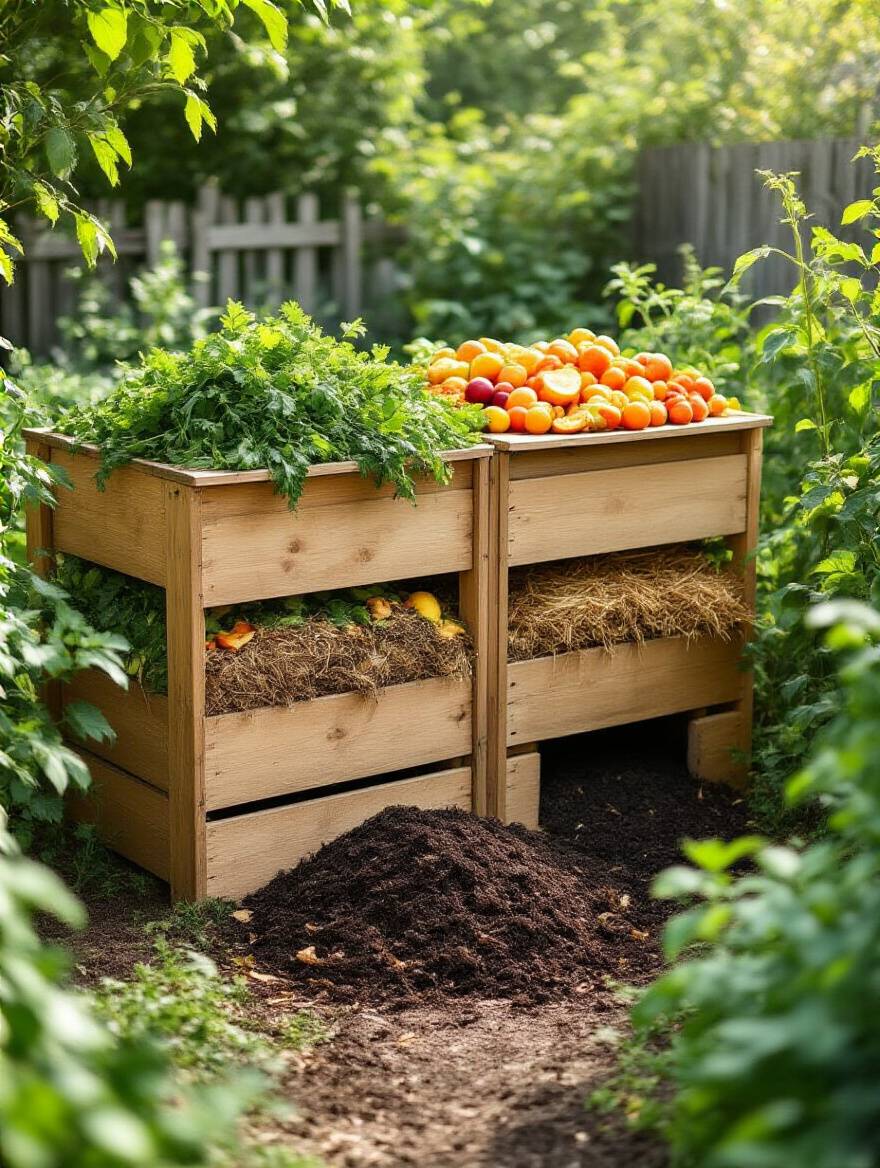
Creating an efficient compost system is easier than you think. You just need a balance of “greens” (nitrogen-rich materials like food scraps and fresh grass clippings) and “browns” (carbon-rich materials like dry leaves and shredded paper). Layer them, keep the pile as damp as a wrung-out sponge, and turn it occasionally to add air. In time, microorganisms will break it all down into a beautiful soil amendment that will feed your garden better than any store-bought fertilizer. This system ensures that the energy and nutrients from one season directly fuel the creativity of the next.
So there you have it. A garden isn’t just a patch of dirt; it’s a design project. It’s a living, breathing creative space that responds to the same principles of light, structure, material, and curation that you would apply to any other art form. By moving beyond the idea of just “growing stuff” and embracing your role as the designer of a beautiful, functional ecosystem, you unlock a completely different level of success and satisfaction. You’re not just cultivating vegetables; you’re cultivating a space for inspiration, connection, and well-being.
Don’t be overwhelmed by all 22 steps. Like any great project, you start with one. Pick the one that resonates most with you right now. Maybe it’s mapping your light this weekend. Maybe it’s finally starting that compost pile. Or maybe it’s just ordering a few select seeds with disease resistance in mind. Take that first step. Embrace the process, trust your creative instincts, and watch as you design a thriving home garden that nourishes your body and your artistic soul.