Physical Address
304 North Cardinal St.
Dorchester Center, MA 02124
Physical Address
304 North Cardinal St.
Dorchester Center, MA 02124
Transform your kitchen into a wellness powerhouse! Discover 22 expert tips for a functional design that supports your health, streamlines meal prep, and looks amazing.
You know what people always ask me? “Marcus, how can I stick to my Meal Prep goals when my kitchen is a total disaster zone?” They think the problem is their willpower. It’s not. The problem is their environment. A poorly designed kitchen adds friction to every healthy choice you try to make. Chopping veggies feels like a chore, finding your blender is an archaeological dig, and cleaning up is a nightmare.
Your kitchen should be your biggest ally in your wellness journey. It should be a high-performance space that makes healthy living feel effortless and intuitive. We’re not just putting cabinets on a wall; we’re designing a system to support your life. So let’s break down how to build a kitchen that truly performs, from the ground up.
This is the warm-up. You wouldn’t just walk into a gym and start throwing heavy weights around without a plan, right? Same thing here. This phase is about setting your strategy. It’s the most important part, and skipping it is the #1 mistake I see people make. A good plan here saves you thousands of dollars and years of frustration.
Before you even think about quartz versus granite, you have to answer one question: What is this kitchen’s job? Is it a high-volume meal prep factory for a busy athlete? A central command for a family of five where homework and healthy snacks collide? Or a sleek, minimalist space for a busy professional who eats clean but simply? Be honest. Your answer dictates every single choice that follows. It’s like defining your fitness goal. “Get in shape” is useless. “Run a 10K in three months” is a plan.
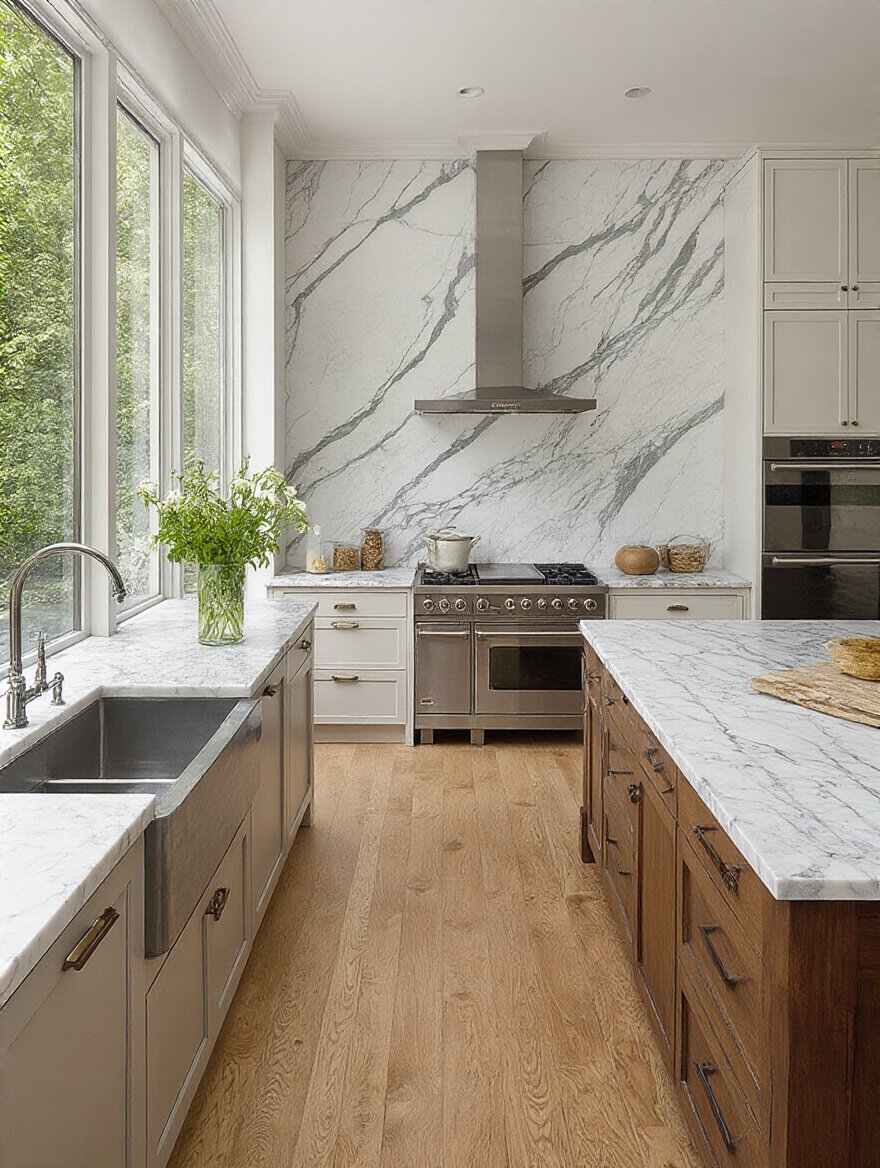
I had a client—a competitive triathlete—who almost installed this gorgeous, sprawling island that looked amazing in a magazine. But we audited her lifestyle. She spent Sunday afternoons batch-cooking for the entire week. She needed massive, uninterrupted counter space for chopping and rows of meal containers, not a fancy wine fridge in the middle of her workflow. We redesigned the island to be a pure, 8-foot-long stainless steel prep station with storage for her specific containers underneath. It’s not for everyone, but for her, it’s perfect. It actively helps her win.
This clear purpose sets up the rest of your training plan.
Okay, now let’s talk about movement. In fitness, we design workout circuits to be efficient. You flow from one exercise to the next without wasting time walking across the gym. Your kitchen needs the same logic. Think about the path you take from the fridge (ingredients) to the sink (wash) to the counter (prep) to the stove (cook). This is your “work triangle,” but I call it the “meal prep circuit.” If that path is blocked or inefficient, you’re just adding wasted steps and frustration to your day.
The biggest BS out there is just sticking to the simple triangle. Modern life is more complex. You have a coffee zone, a smoothie zone, a kids’ snack zone. Map these out. Watch how you move for a few days. Where are the traffic jams? I once worked with a family whose path from the pantry to the prep counter was constantly blocked by the open dishwasher. It was a daily bottleneck. We moved the dishwasher to the other side of the sink, and it was like a new kitchen. The flow was smooth, efficient, and nobody was bumping into each other anymore.
Get your flow right, and then we can start building within that space.
This sounds basic, but you would be shocked at how many people mess this up. In fitness, we say “form over everything.” In design, it’s “measure over everything.” Being off by half an inch can cost you thousands in custom fixes or, worse, result in cabinets that just don’t fit. You can’t just measure a wall once in the middle. Walls bow, floors slope, and corners are rarely a perfect 90 degrees, especially in older homes.
My advice? Measure at three different heights: bottom, middle, and top. Then measure the diagonals of the room. If those numbers don’t match, your room isn’t square. That’s not a disaster—it’s just information. Information your cabinet maker or designer needs to know. I learned this the hard way on one of my first projects. We designed a perfect wall of pantry cabinets for a beautiful old brownstone, but we didn’t account for the 1-inch slope in the floor. The install was a nightmare of shims and custom trim. Now, I use a laser measure and I check everything three times. It’s the boring work that makes the finished product look flawless.
Once you know your space, you can place your heavy equipment.
Appliances are the heavy weights of your kitchen. They are big, fixed, and everything else has to work around them. Where you put your fridge, oven, and dishwasher dictates your entire kitchen flow. Don’t just stick them where the old ones were. Think about how you use them. Your fridge should have a “landing zone”—a piece of counter right next to it to put groceries down. Your dishwasher should be right next to the sink and your main dish storage. It sounds obvious, but you get it wrong, and you’ll be cursing it every day.
My number one pet peeve? A refrigerator door that opens the wrong way, blocking the main path into the kitchen. It’s an easy fix—most doors are reversible—but it’s a sign that nobody thought about the flow.
Think in zones. Your Cooking zone should have the oven and cooktop, with storage for pots, pans, and spices right there. Your cleaning zone has the sink and dishwasher. And for the love of God, give yourself counter space on either side of the cooktop. At least 15-18 inches. You need a place to put hot pans down without a panic. Planning this now prevents a daily functional headache later.
With the big equipment placed, think about the people.
Your kitchen isn’t just a lab for cooking; it’s a social space. But seating can absolutely kill your kitchen’s flow if you’re not careful. The biggest mistake is jamming an island with seating into a space that’s too small. You need—at minimum—36 inches of clearance behind a stool or chair for someone to walk past. If it’s a major traffic lane, you need more like 44 inches. Don’t cheat on this.
I tell my clients to think of seating as a “rest area” in a workout circuit. It should be close enough to the action to feel connected, but not so close that it gets in the way of the “work sets.” A two-tier island can be brilliant for this. You have a lower, counter-height level for food prep and a higher, bar-height level for seating. It creates a subtle barrier that keeps guests or kids out of the hot zone while still letting them be part of the conversation. Banquettes are also a fantastic space-saver, tucking seating neatly against a wall and opening up the rest of the floor.
And now that we have the layout, let’s give it some personality.
Alright, we’ve got the functional blueprint. Now, let’s talk about the vibe. Are you “Zen Modern,” “Cozy Farmhouse,” or “Industrial Athlete”? Defining your style before you shop is like choosing a training discipline. It narrows your focus and makes every decision easier. Without a clear style guide, you end up with a collection of random things you like, and the result is a cluttered mess that feels chaotic.
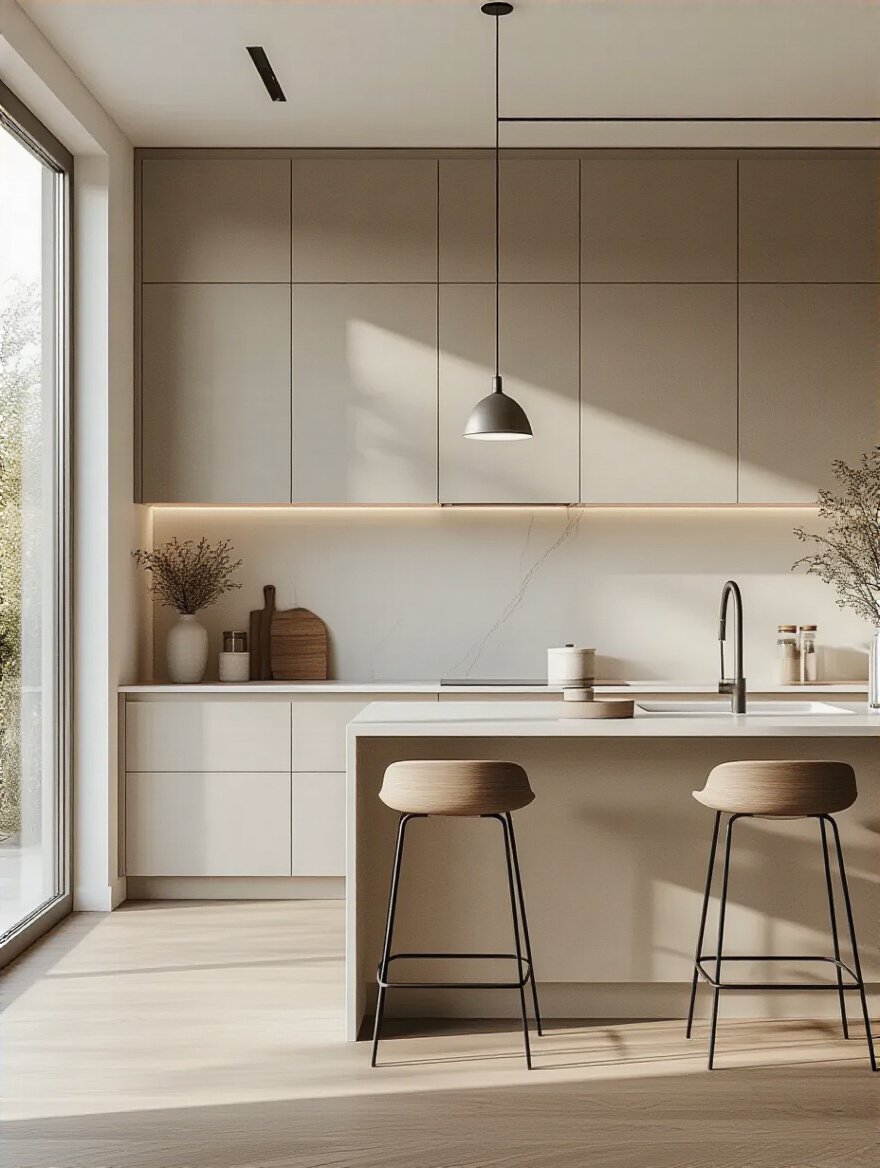
Create a mood board. Use Pinterest, tear pages out of magazines, whatever works. But look for the common thread. Is it clean lines and neutral colors? Warm woods and lots of texture? Once you see a pattern, you have your style. This becomes your filter. When you’re looking at a thousand different cabinet pulls, you can ask, “Does this fit my ‘Scandinavian Minimalist’ vibe?” If the answer is no, you move on. It saves so much time and prevents you from buying stuff that will feel “off” later. Your kitchen’s style should motivate you to be in it.
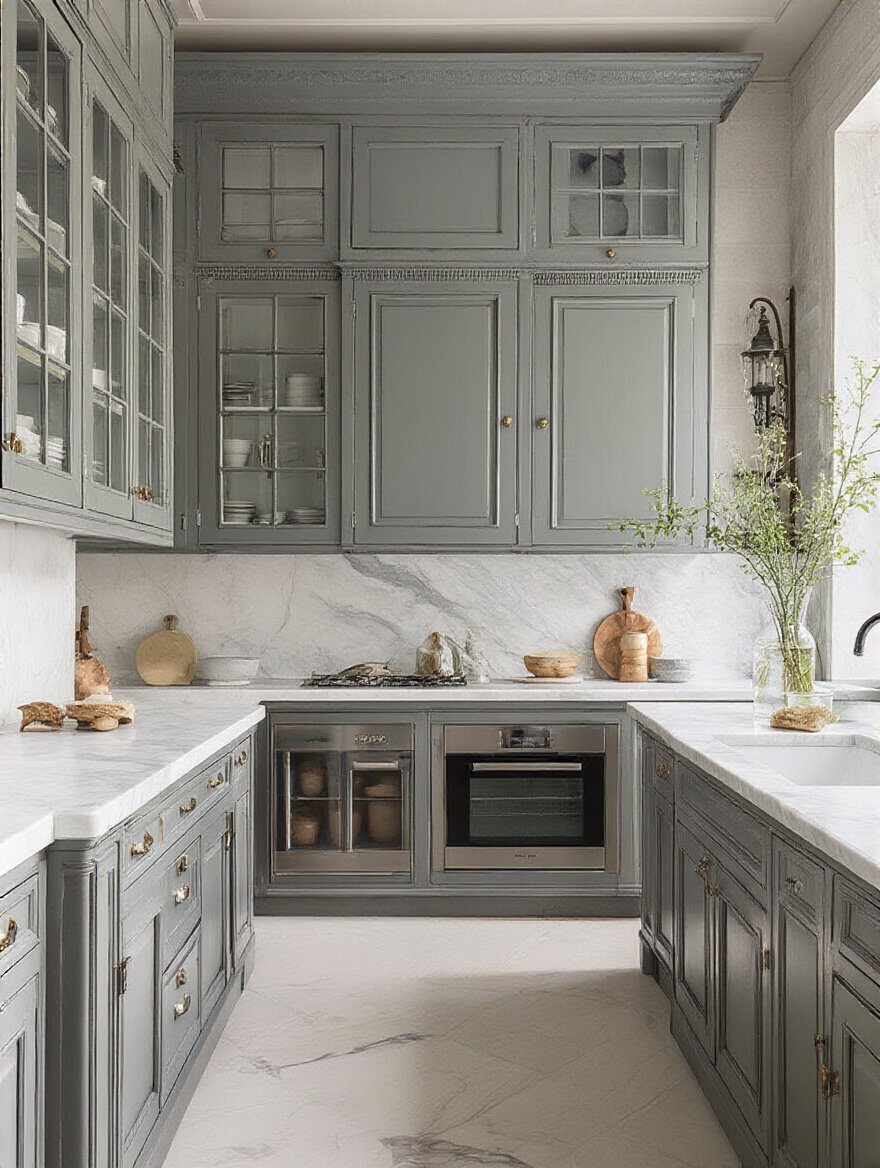
Cabinets are the backbone of your kitchen. They’re not just boxes; they are your primary storage system. Getting this right means the difference between a calm, organized space and a chaotic mess where you can never find the damn paprika. We’re going for functional muscle, not just a pretty face.
This is where you don’t want to cheap out. It’s like buying good running shoes. The cheap ones might look okay, but they’ll fall apart and leave you injured. Your cabinets, especially the “boxes” or carcasses, take a beating. I tell every single one of my clients to invest in plywood boxes over particle board, especially for the lower cabinets. They hold up better against weight from heavy countertops and the inevitable moisture around a sink.
The doors are where you can express your style—sleek flat panels for a modern look, classic Shaker for a transitional feel. But pay attention to the finish. A high-quality painted finish or a durable thermofoil will resist chips and be easy to wipe clean. Remember, your kitchen is a high-traffic area. It needs to stand up to daily use. Investing in quality materials here means you won’t be replacing them in five years, saving you a fortune in the long run.
Then we go up.
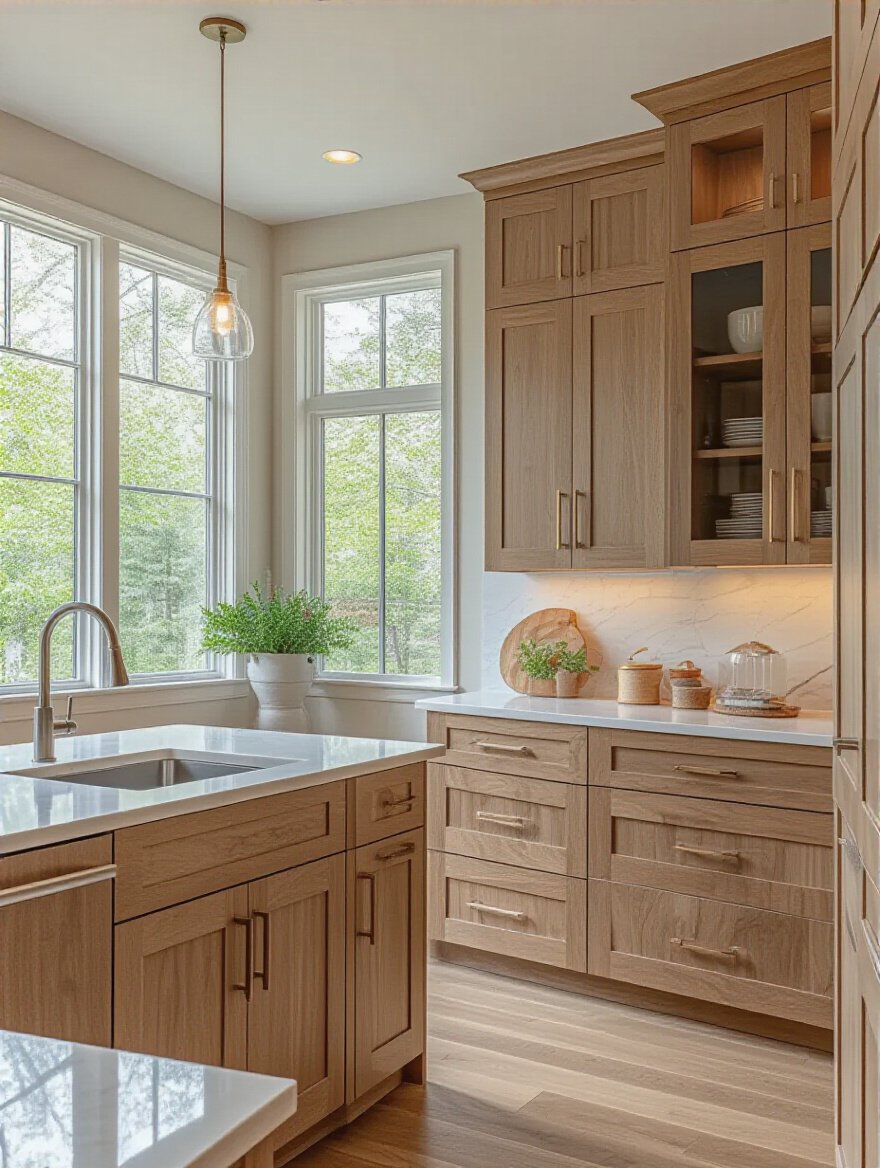
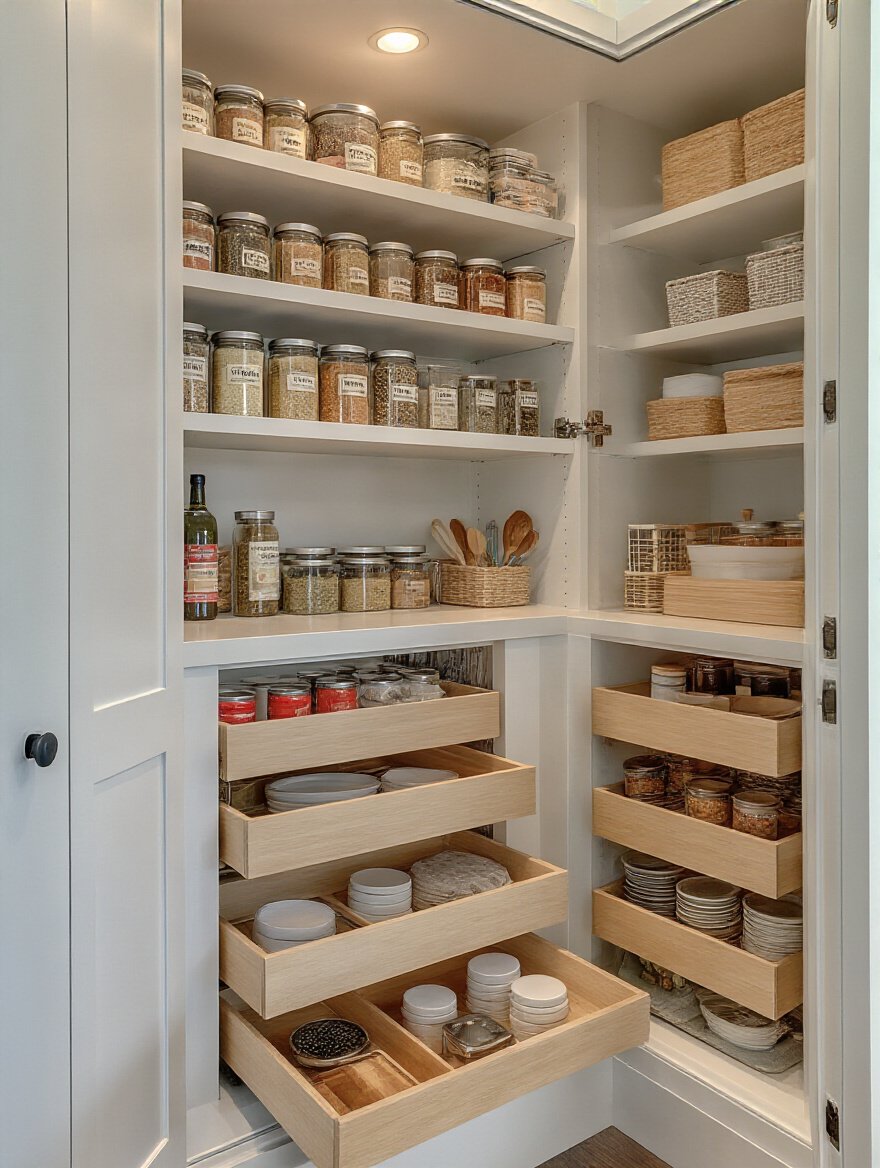
Most kitchens have tons of wasted space between the top of the cabinets and the ceiling. Why? Going vertical with tall, floor-to-ceiling pantry cabinets is one of the most powerful moves you can make, especially in smaller kitchens. This is your storage workhorse. It’s where you can hide your bulk items, your small appliances, your entire pantry—getting all that clutter off your precious countertops.
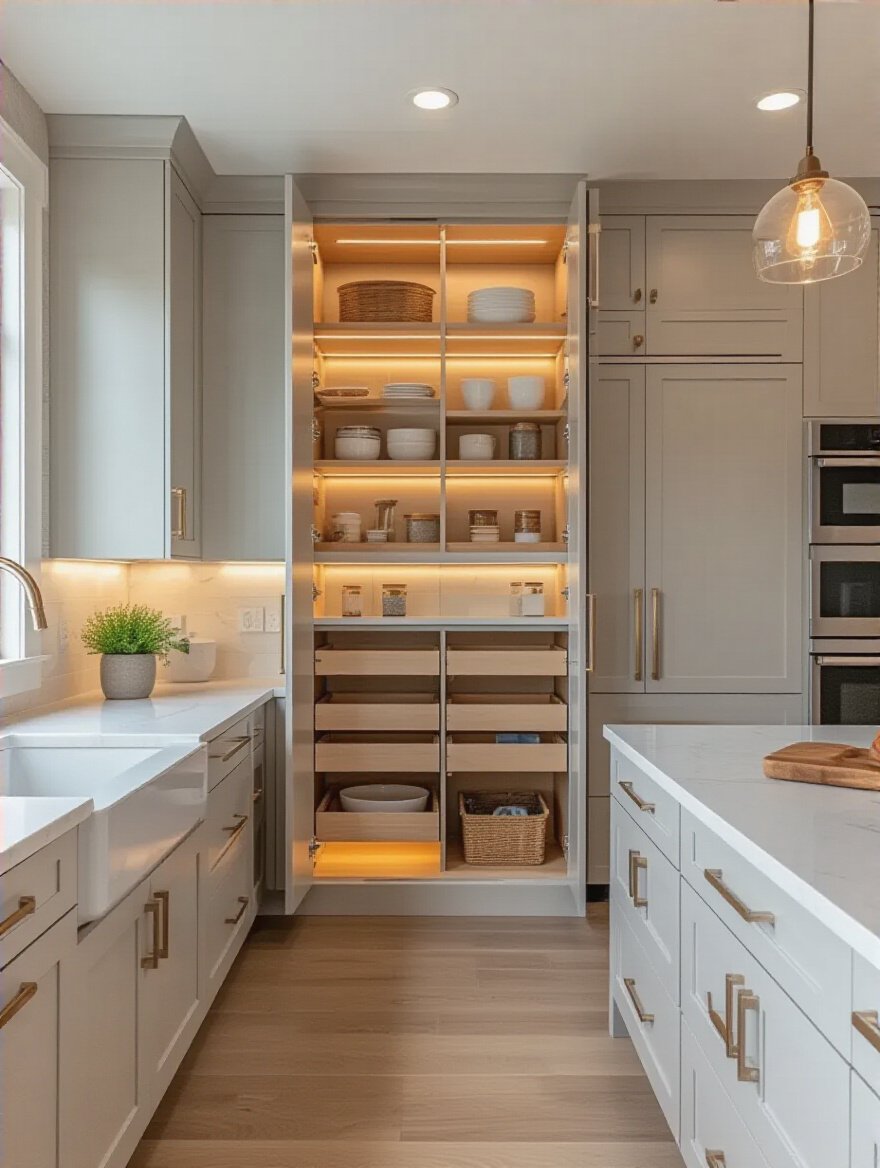
But don’t just put in deep shelves where everything gets lost in the back. That’s a rookie mistake. The game-changer is Pull-Out Pantry systems. You open the door, and the shelves slide out to meet you. You can see everything from front to back. No more finding expired cans of beans from 2017. These systems can literally double your usable storage space and make finding what you need ten times faster. It’s the single best upgrade for kitchen functionality.
And don’t forget the trickiest spot in the kitchen.
Ah, the dreaded corner cabinet. That deep, dark cave where Tupperware lids go to die. We’re fixing that. Leaving a corner as a “dead zone” is like skipping leg day—you’re sacrificing a huge opportunity for strength and stability. Modern hardware has completely solved this problem. There’s no excuse for an inaccessible corner anymore.
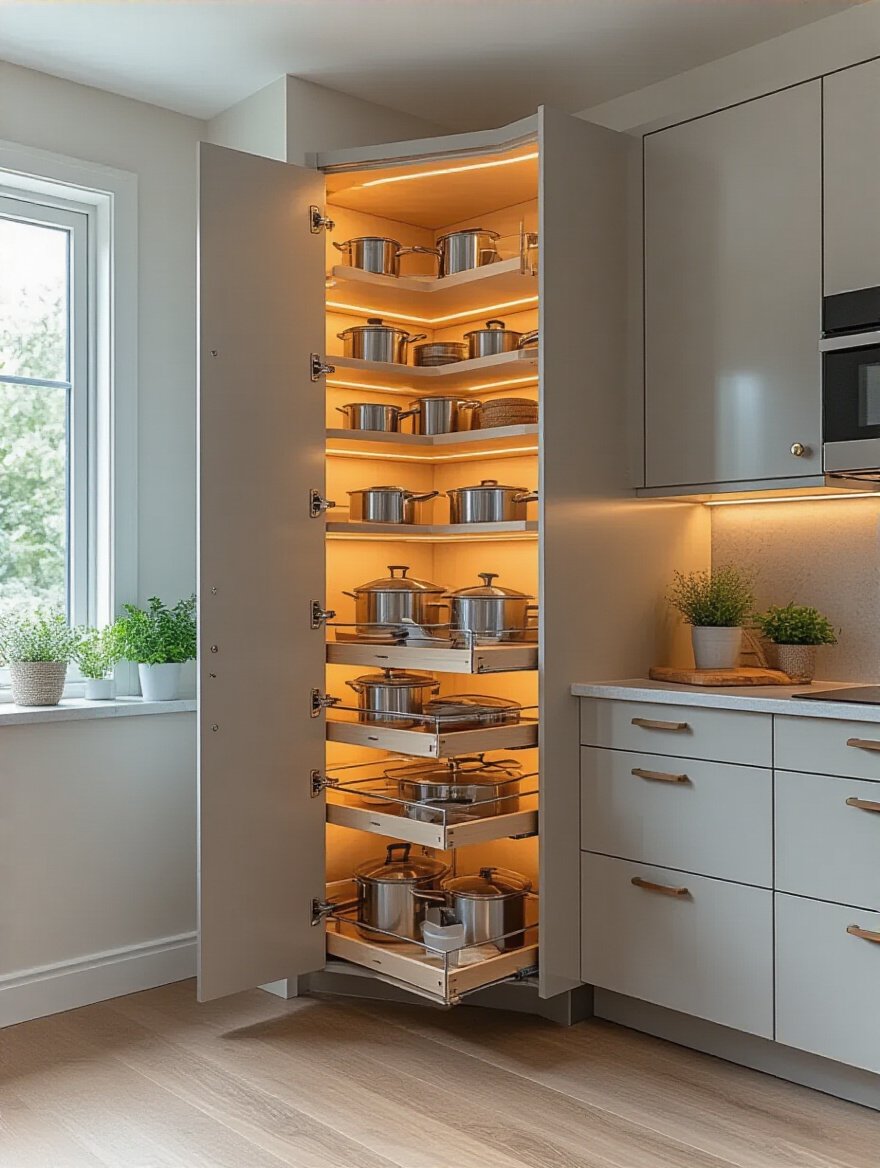
Systems like a LeMans or a “Magic Corner” pull-out are brilliant. They have these kidney-shaped shelves that swing completely out of the cabinet, bringing everything into the light. They are perfect for storing bulky pots, pans, or small appliances like your Instant Pot or stand mixer. A simple Lazy Susan is another great option, especially for canned goods or spices. The point is to make that corner work for you. It’s some of the most valuable real estate in your kitchen, so don’t let it go to waste.
Now let’s look down.
Here’s one of my non-negotiable rules for kitchen design: Drawers are better than lower cabinets with shelves. Period. Think about it. To get something from the back of a lower cabinet, you have to get on your hands and knees and pull everything out of the front. It’s terrible for your back and a total pain. From an ergonomic standpoint, it’s just bad form.
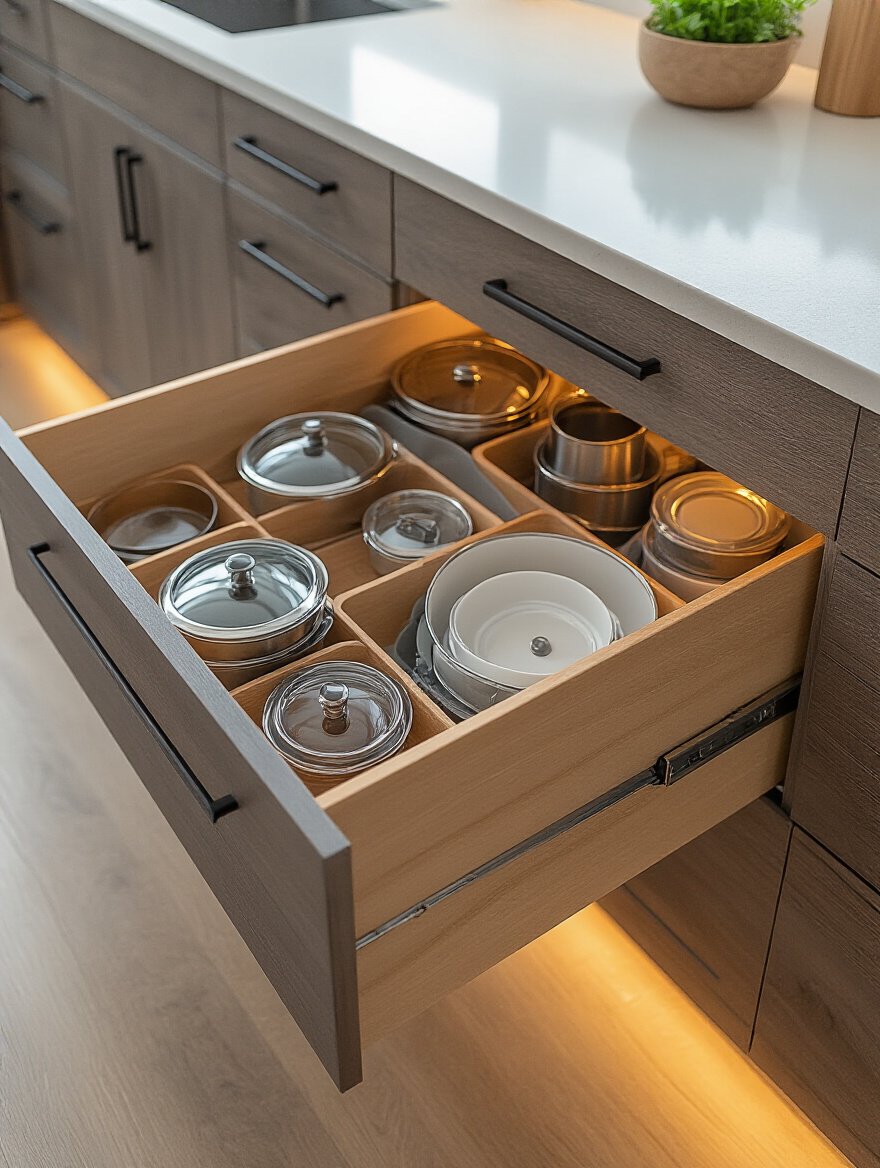
Deep, full-extension drawers, on the other hand, bring everything to you. You pull it open, and you can see every single item from above. They are fantastic for storing plates, bowls, and especially heavy pots and pans. With some simple peg-board style inserts or dividers, everything stays neatly organized. You’ll be shocked at how much more you can store and how much easier it is to access. This is one of those changes that will radically improve your daily quality of life in the kitchen.
Keep that same organized mindset for everything else.
Once you have your big storage figured out, it’s time for the detail work. This is like the small, stabilizing muscles in your body—they make all the big movements possible. A messy utensil drawer or a chaotic spice collection adds little bits of friction that slow you down and cause stress. We’re eliminating that. Internal organizers are your best friend.
Invest in good utensil drawer dividers. Get a tiered spice rack insert for a drawer so you can see all the labels. Use roll-out trays in your pantry cabinets. Vertical dividers are amazing for storing baking sheets, cutting boards, and pot lids so they’re not in a giant, clattering pile. It’s not about spending a ton of money; it’s about being intentional. A few smart organizers can make your kitchen feel twice as big and a hundred times more functional.
And yes, even your trash needs a plan.
A freestanding trash can in a brand new kitchen? No. Just… no. It’s an eyesore, it stinks, and it gets in the way. Waste and recycling management needs to be built into your cabinetry from the start. It’s a key part of your kitchen’s functional system. The best place for it is usually in a pull-out cabinet right next to your primary prep sink. You chop your veggies, and you can scrape the scraps right into the compost bin without taking a single step.
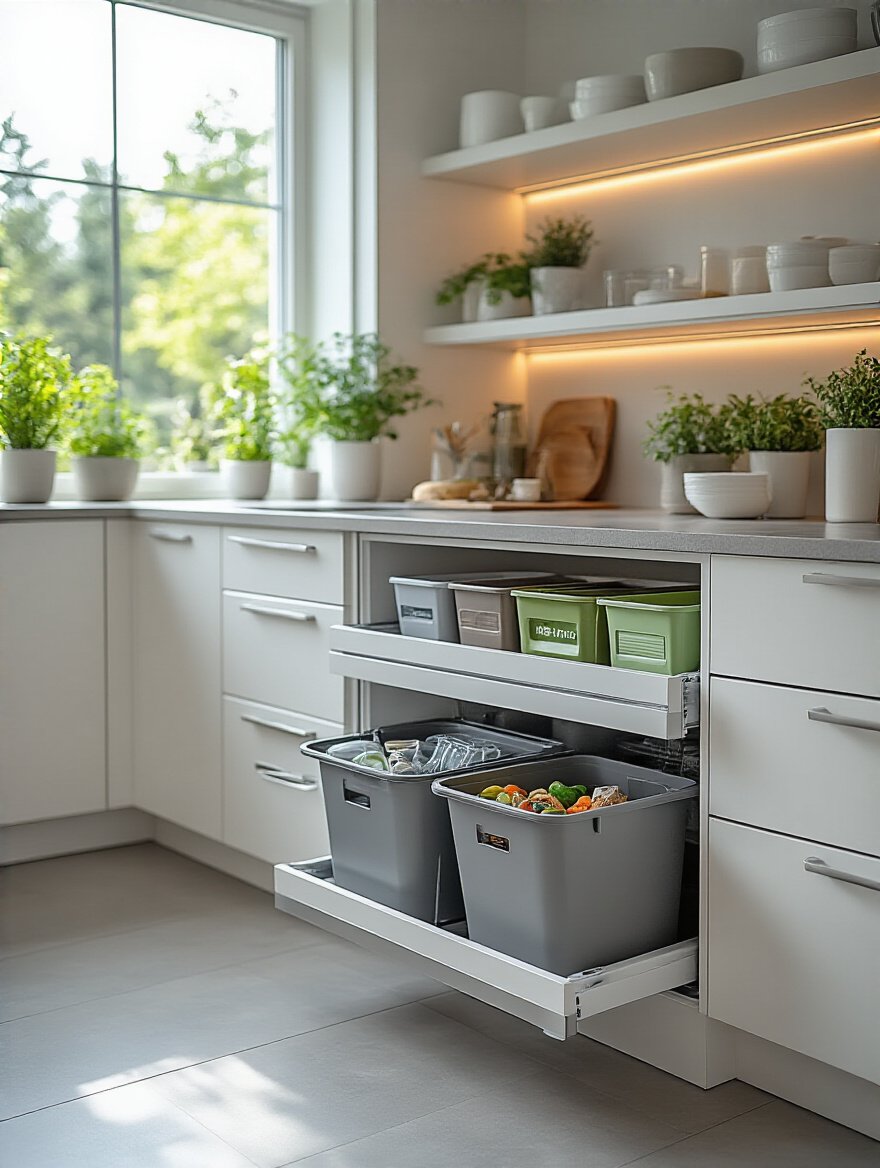
The most popular setup is a double pull-out bin system: one for trash, one for recycling. Some people even add a third, smaller bin for compost. A hands-free system with a foot pedal or a touch-latch is even better—super hygienic when your hands are covered in raw chicken. Getting your waste system integrated and out of sight is one of those details that elevates a kitchen from good to great.
Now we get to the cool stuff. This is where we blend technology and smart design to create a kitchen that feels seamless and intuitive. It’s about making the entire space a cohesive, high-tech machine for living.
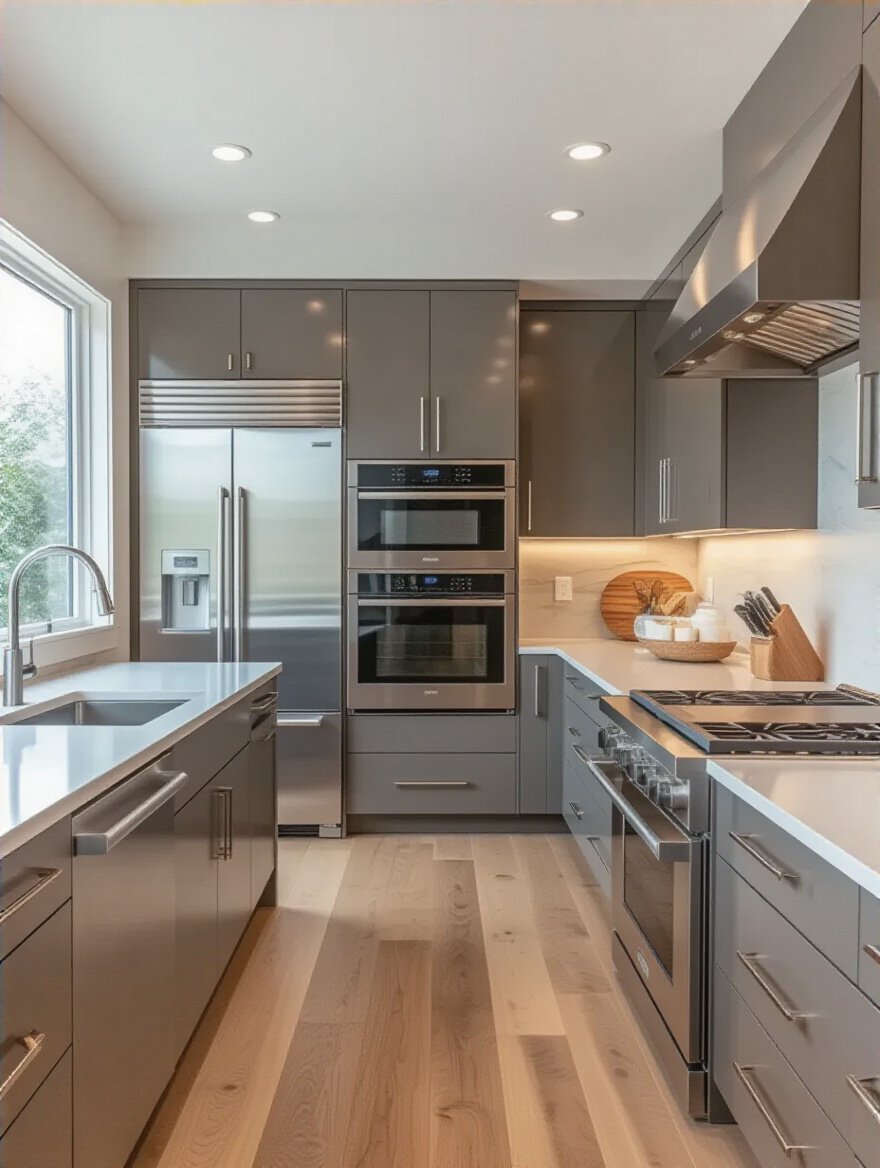
If you’re going for that super clean, minimalist aesthetic, integrated appliances are the way to go. This is where your refrigerator, dishwasher, and other appliances are hidden behind custom panels that match your cabinetry. The result is a seamless, uninterrupted wall of beautiful furniture, rather than a jumble of stainless steel. It makes a kitchen feel less like a utility room and more like a high-end living space.
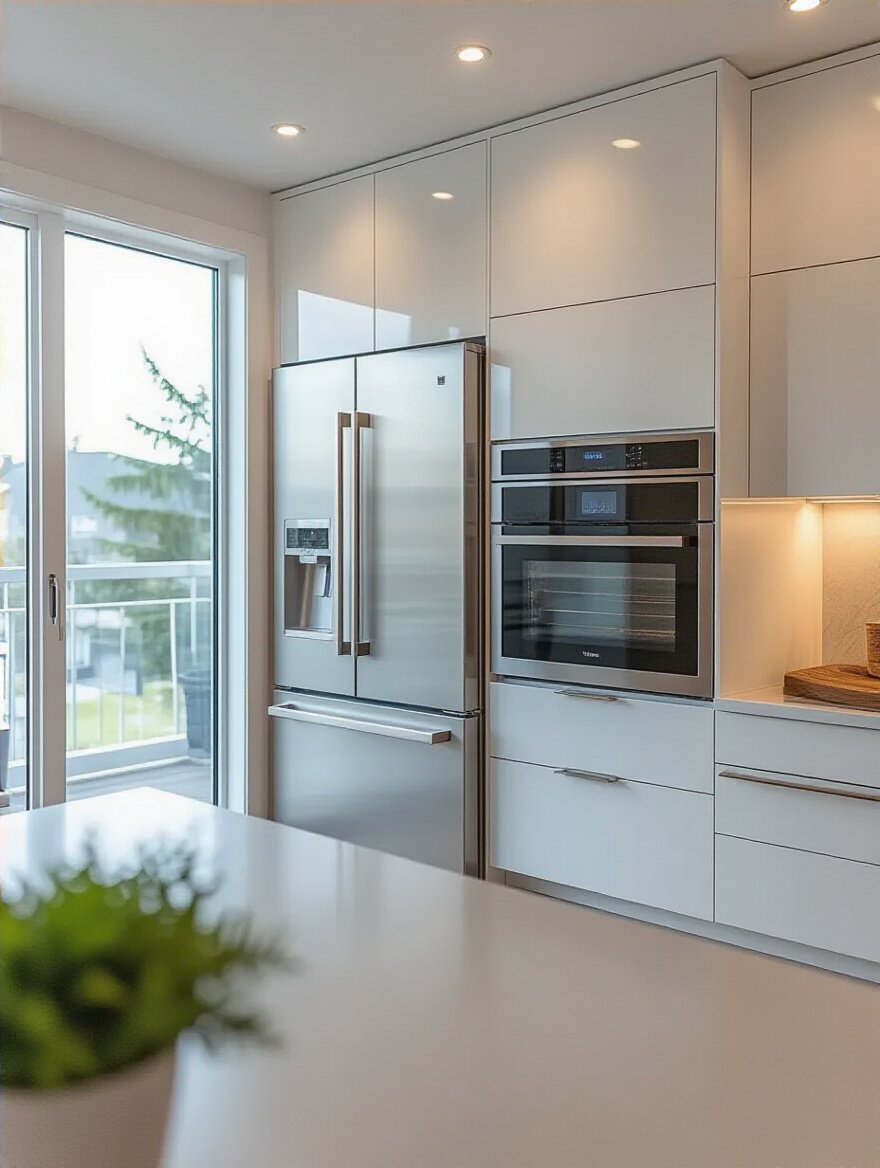
This requires careful planning with your cabinet maker, as everything has to be measured to the millimeter. You’ll need to buy “panel-ready” appliances specifically designed for this. It’s definitely a premium feature, but if the goal is a calm, zen-like space, eliminating the visual clutter of big metal boxes can be transformative, especially in an open-concept home where the kitchen flows into the living area.
The island, however, is meant to stand out.
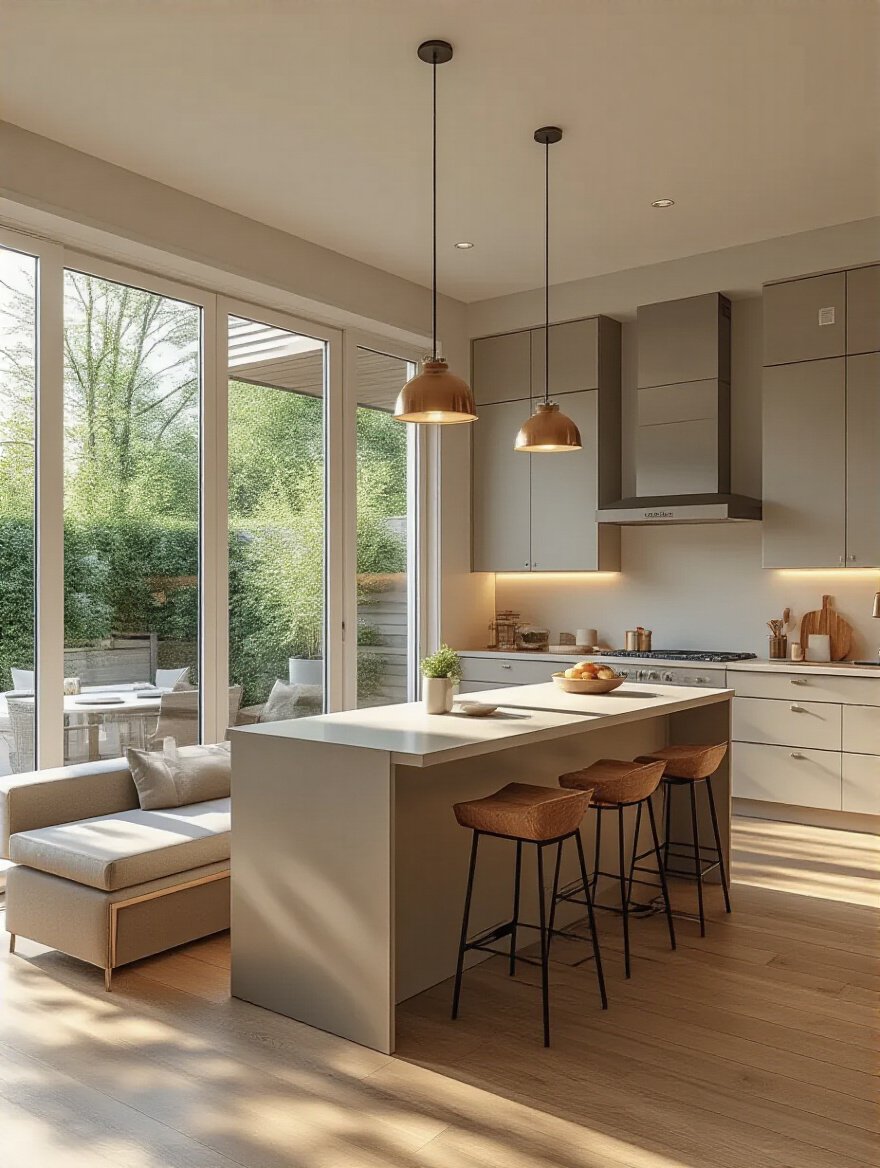
The kitchen island is the ultimate cross-training machine. It’s not just a block in the middle of the room; it’s the hub of your home. A great island can be a prep station, a dining table, a homework desk, and a social gathering spot all in one. To make it work, you have to zone it. Dedicate one end to prep, maybe with a small sink. The other end can be for seating, with a comfortable overhang for your knees (at least 12-15 inches!).
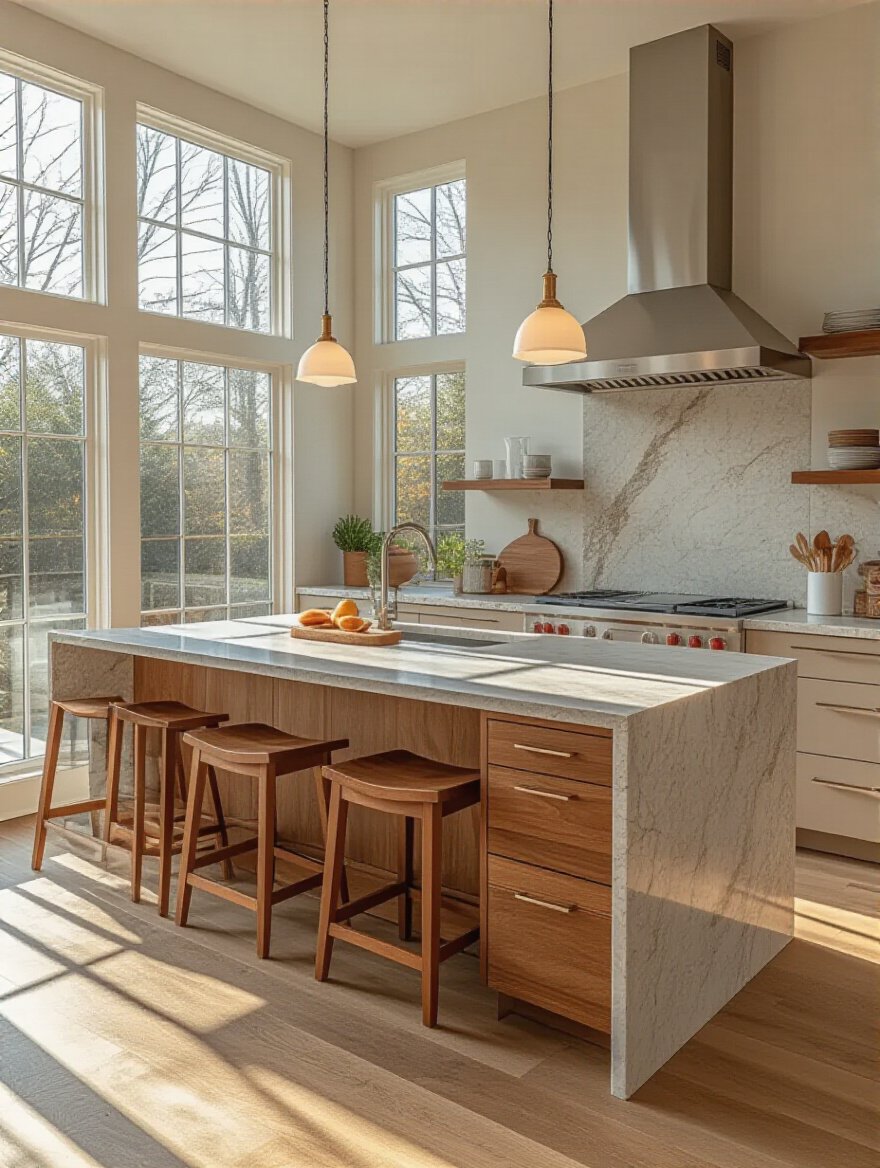
The shortcut I give all my clients is to load it with functionality. Integrate deep drawers for pots and pans on the “work” side. On the “social” side, add shallow cabinets for placemats and chargers. And don’t forget power! Building pop-up outlets or USB ports directly into the island is a non-negotiable these days. It keeps the surface clean while supporting all our modern-day tech needs, from following a recipe on a tablet to charging your phone while you eat.
To keep the island clear, give your drinks their own home.
Think about your morning routine. The coffee maker, the grinder, the toaster, the blender for your smoothie—it can completely take over your main prep counter. A dedicated beverage center is the solution. It’s a designated zone, away from your primary work triangle, just for drinks and small breakfast tasks. It can be a small section of counter, a built-in niche, or even a section of your pantry.
Consolidate everything there: the coffee machine, an electric kettle, maybe a small under-counter fridge for milk and creamers. Put shelving above for mugs and glasses. This move is huge. It frees up your main counters for actual cooking and keeps the “coffee traffic” out of the chef’s way. For families, it’s a lifesaver. One person can be making coffee while another is packing lunches, and nobody is in each other’s way.
And speaking of clutter… let’s deal with the cables.
Your kitchen counter is not a charging station. It’s a food prep surface. Spilling water on your phone or getting olive oil on your tablet is a real risk. The solution is to build a dedicated charging station right into your cabinetry. A “tech drawer” is one of my favorite tricks. It’s a standard drawer, usually near a common gathering spot like the end of an island, that we outfit with a built-in power strip with USB ports.
You open the drawer, plug in your devices, and close it. The clutter is gone. The devices are safe. It’s a simple, elegant solution to a very modern problem. You can also do this inside an “appliance garage” or a pantry cabinet. The key is to get the electronic clutter off your valuable work surfaces and hide it away, keeping your kitchen feeling clean and focused.
For even more flexibility, let’s get things rolling.
Sometimes the most functional piece of furniture is one that can move. A rolling cart or a butcher block on wheels is an incredibly versatile tool, especially for smaller kitchens or for people who love to entertain. Need more prep space next to the stove? Roll it over. Need a serving station next to the dining table? Roll it there. Need a bar cart for a party? Done.
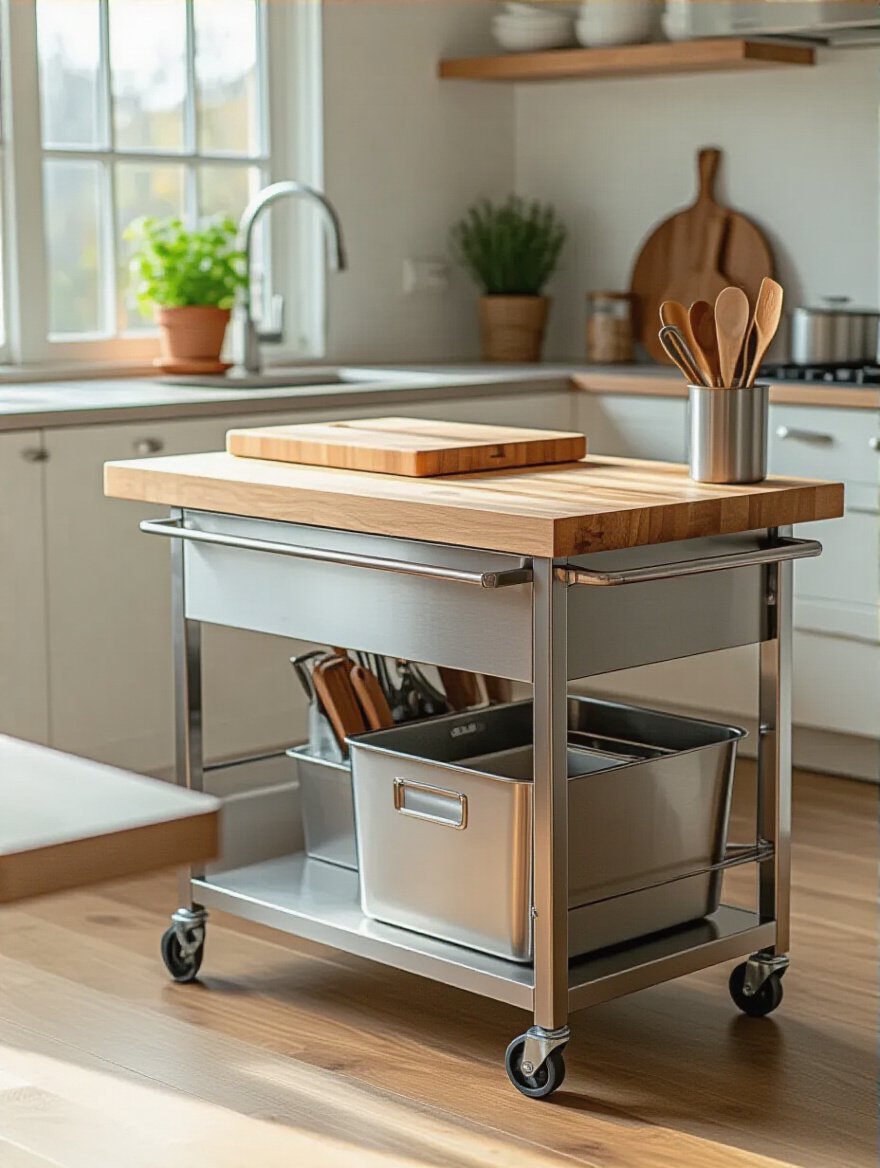
Look for a cart that fits your style but is built for work. That means a sturdy frame and, most importantly, high-quality castor wheels that lock. You don’t want your chopping station rolling away from you mid-slice. This piece can provide that extra bit of flexible workspace that makes all the difference, adapting to your needs on the fly without requiring a massive, permanent island.
We’ve built the engine, now let’s design the chassis. This is about the details that make the kitchen look and feel amazing. It’s the fit and finish, the ergonomics, and the lighting that transform a functional space into a place you genuinely love to be.
Hardware—the knobs and pulls on your cabinets—is the jewelry of your kitchen. It’s a small detail with a massive impact. The right hardware can make inexpensive cabinets look custom, and the wrong hardware can make an expensive kitchen look cheap. The key word here is cohesive. You want a unified look. This doesn’t mean every single piece has to be identical, but they should all feel like they belong to the same family.

A great shortcut is to create a “hardware hierarchy.” Use pulls on all your drawers and knobs on all your doors, but keep them in the same finish (like all matte black or all brushed brass). For integrated appliances like a paneled fridge or dishwasher, use a larger, more substantial “appliance pull” in the same style. This creates a layered, designer look that is still beautifully cohesive. Always order samples first to see how they look in your kitchen’s light and feel in your hand.
Your hardware should complement your countertops.
The countertop is the visual bridge that connects your vertical cabinets with your horizontal workspaces. If the countertop clashes with your cabinets, the whole room will feel off. The goal is harmony, not necessarily matching. If you have warm wood cabinets, a countertop with subtle warm veining can tie it all together beautifully. If you have stark white modern cabinets, a dramatic, dark soapstone countertop can provide a stunning contrast.
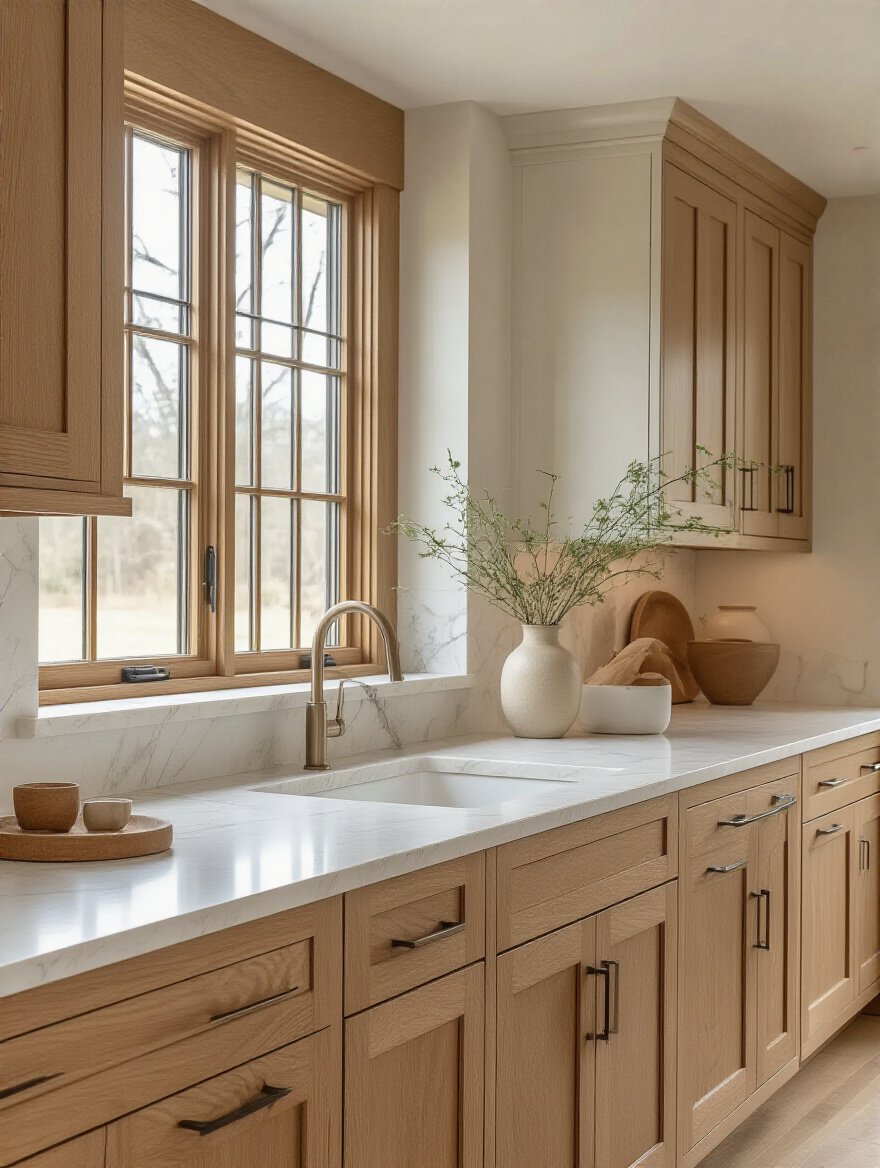
Get large samples. Don’t try to pick a countertop from a tiny 2-inch square. Bring a big sample home and put it right next to your cabinet door. Look at it in the morning light, in the afternoon, and under your artificial lights at night. The color can change dramatically. Seeing how the materials play together in your actual space is the only way to ensure you’ll love the result.
And you need the right light to see it.
Lighting is everything. I can’t stress this enough. A single ceiling light in the middle of the kitchen is a recipe for disaster. You’ll be standing in your own shadow while you try to chop vegetables. You need layers of light, each with its own job. First, Ambient light (the main overhead lighting) to fill the whole room. Second, Task light to illuminate your work surfaces. This is non-negotiable. Under-cabinet LED strips are the best investment you can make for kitchen functionality. They light up your counters perfectly.
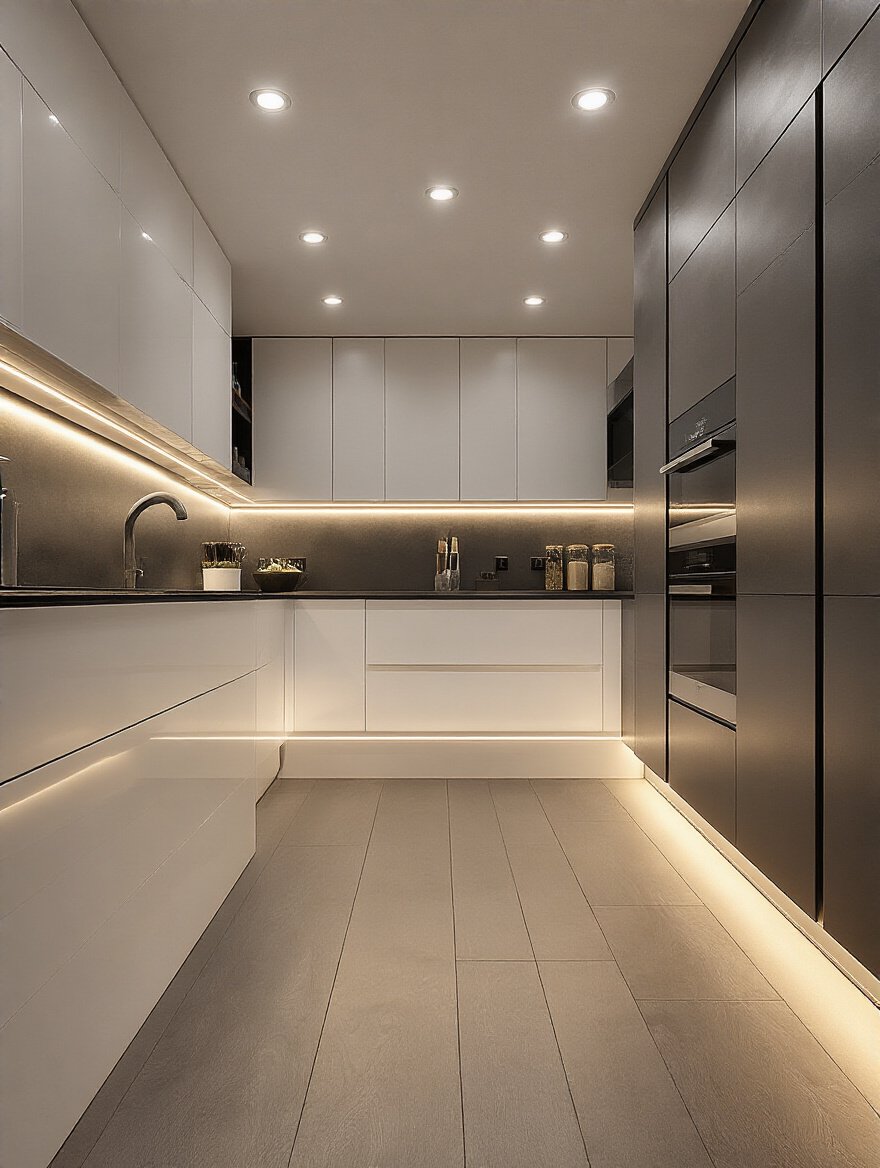
The third layer is Accent light. This is the fun stuff. It’s the light inside a glass-front cabinet, a cool pendant over the island, or even lighting along the toe-kick of your cabinets for a floating effect. Putting each layer on a separate dimmer switch gives you total control. You can have it bright and clinical for intense cooking, then dim it down to a warm, inviting glow for dinner. Proper lighting makes your kitchen safer, more functional, and a million times more beautiful.
Finally, let’s make it comfortable for your body.
Standard counter height is 36 inches. But who is that standard for? If you’re 6’4″, you’re going to be hunched over, killing your back. If you’re 5’2″, you’ll be reaching up, straining your shoulders. In a perfect world, your primary prep counter should be about 4-6 inches below your bent elbow. If you’re building a custom kitchen, you have the power to change this.
If you can’t customize everything, create at least one zone that works for you. A lower section of counter (around 32 inches) is fantastic for baking, as it gives you better leverage for kneading dough. Or, design a multi-level island. Placing your microwave at eye level in a wall cabinet instead of over the range means you’re not reaching up with hot food. Thinking about ergonomics will make your kitchen a place you can comfortably use for hours, and for decades to come.
This leads to the final, and maybe most important, point.
This isn’t just about designing for old age or wheelchairs. Universal Design is about making a space that works better for everyone. A kid who wants to help cook. A guest with a temporary sports injury on crutches. You, carrying a heavy pot. It’s about smart design that makes life easier, no matter your age or ability. It’s about training for life.
Simple things make a huge difference. Swapping cabinet knobs (which require pinching and twisting) for D-shaped pulls that you can open with one finger. Ensuring you have wide, clear pathways (42-48 inches). Installing pull-out shelves and drawers instead of deep cabinets. A faucet with a lever handle instead of a knob. These aren’t “special features”; they are just better design. Building this way from the start future-proofs your home and makes it a more welcoming, functional space for everyone you love.
Look, at the end of the day, your kitchen is more than just a room. It’s the command center for your health. A well-designed kitchen removes friction, makes healthy choices the easy choices, and inspires you to take care of your body. It becomes your partner in achieving your wellness goals.
Stop fighting with a space that wasn’t designed for you. Use these principles, whether you’re doing a full gut-renovation or just making a few smart upgrades. Invest in the flow, the storage, and the ergonomics. Create a space that fuels your ambitions and makes every moment you spend in it a little easier and a lot more enjoyable. Now go build a kitchen that performs as well as you do.