Physical Address
304 North Cardinal St.
Dorchester Center, MA 02124
Physical Address
304 North Cardinal St.
Dorchester Center, MA 02124
Elevate your sanctuary with 24 expert ideas for your bedroom art print. Learn hotel design secrets for planning, styling, and preserving your art for true luxury.
Can we talk about why so many people get bedroom art completely wrong? They treat it like an afterthought. They find a pretty picture online, stick it in a cheap frame, and hang it on a wall, wondering why their room still doesn’t feel like that incredible hotel suite they stayed in last year.
Here’s the secret they don’t tell you: in luxury hospitality design, a bedroom art print isn’t just decoration. It’s an architectural tool for crafting an emotional experience. It’s the silent conductor of the room’s entire mood. What separates a five-star sanctuary from a simple place to sleep isn’t the thread count—it’s the intention. I used to think it was about finding one perfect piece. Then, after designing dozens of suites, I realized the art is just the final note in a symphony that begins with how you want to feel. The noise is scrolling through thousands of trendy prints. What actually matters is the thoughtful strategy behind the choice. These 24 steps are the shortcuts I wish I’d known earlier, the framework we use to turn a wall into a world.
Before you even think about browsing a gallery, we have to lay the foundation. This is the part everyone skips, and it’s the most critical. This is where we define the soul of the room, ensuring every decision that follows serves one purpose: to create your personal sanctuary.
You know what people always ask me? “Where do I start?” My answer is always the same: start with a feeling, not a picture. Before you open a single browser tab, I want you to close your eyes and think about what you want your bedroom to feel like when you walk in at the end of a long day. Is it a “serene coastal retreat”? A “moody, intellectual haven”? A “bright, energizing sanctuary”? Forget trends, forget what’s popular—this is about your personal escape.
This is the single most important decision you will make. Getting this right is the difference between a room that looks nice and a room that feels like it was designed just for you. The art isn’t the goal; the ambiance is the goal. The art is simply the most powerful tool to get you there. Write down three words that capture that feeling. That’s your design brief. Every print, every frame, every placement will be measured against it.
With your emotional blueprint in hand, choosing the right visuals becomes intuitive and focused.
The silent killer of beautiful art? Sunlight. I’ve seen vibrant, expensive prints fade into a washed-out memory in less than a year because they were hung in the wrong spot. In hotel design, we map the sun’s path through a room before we even consider where art will go. You should do the same. Notice which walls get hit with that intense afternoon light and designate them as no-fly zones for your most cherished pieces.
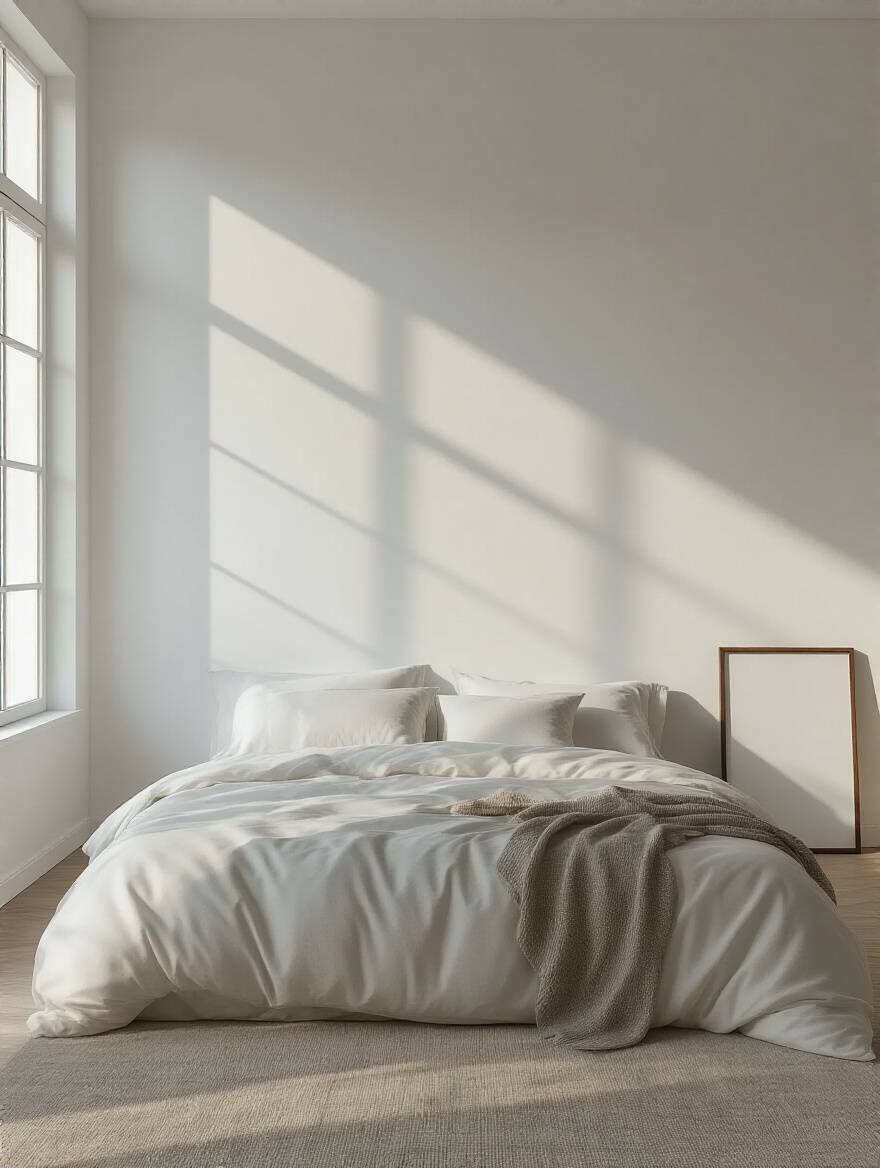
But it’s not just about protection; it’s about presentation. The amount of available wall space dictates the scale and impact of your art. A common mistake I see is a tiny, lonely print floating above a king-sized bed—it looks like a mistake, an afterthought. Your walls and your light are the stage. Before you choose the actors, you need to understand the stage itself.
Now that you know your stage, let’s talk about the color story you want to tell.
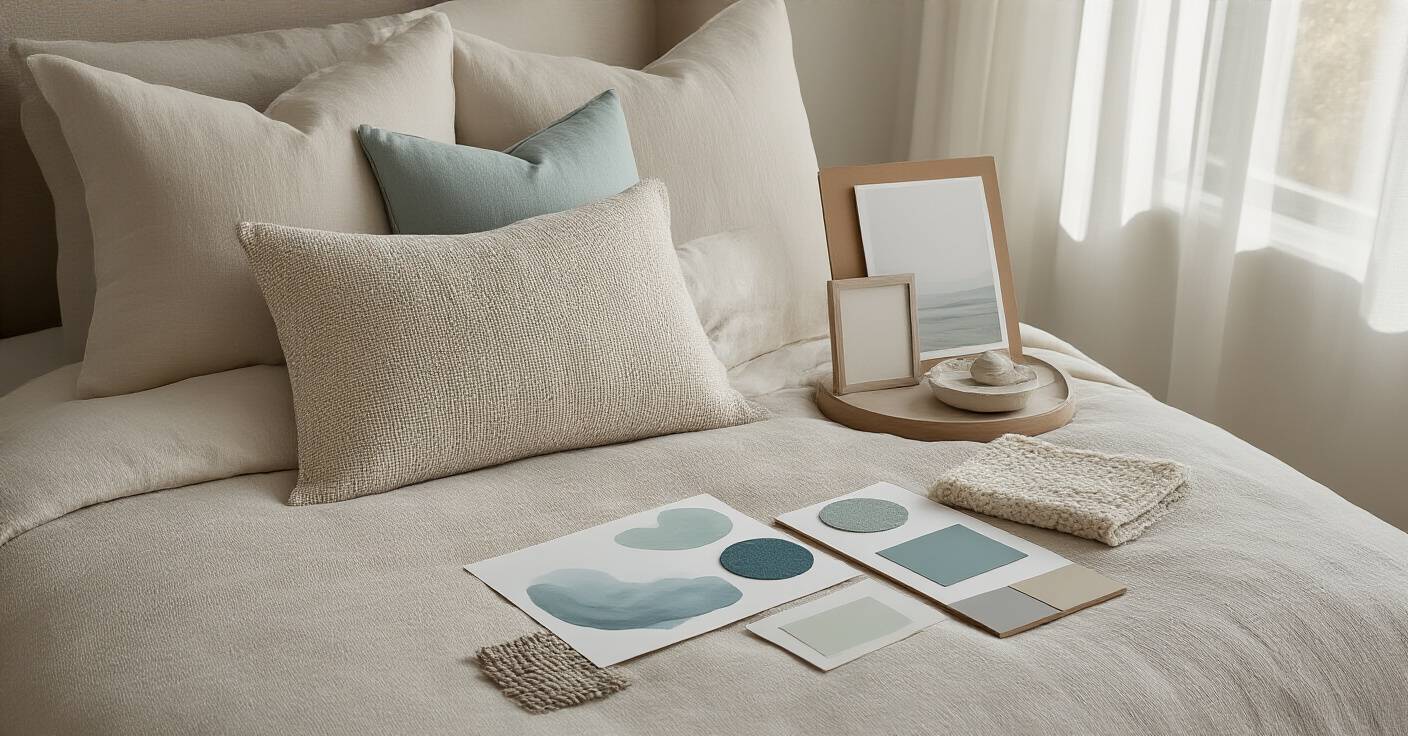
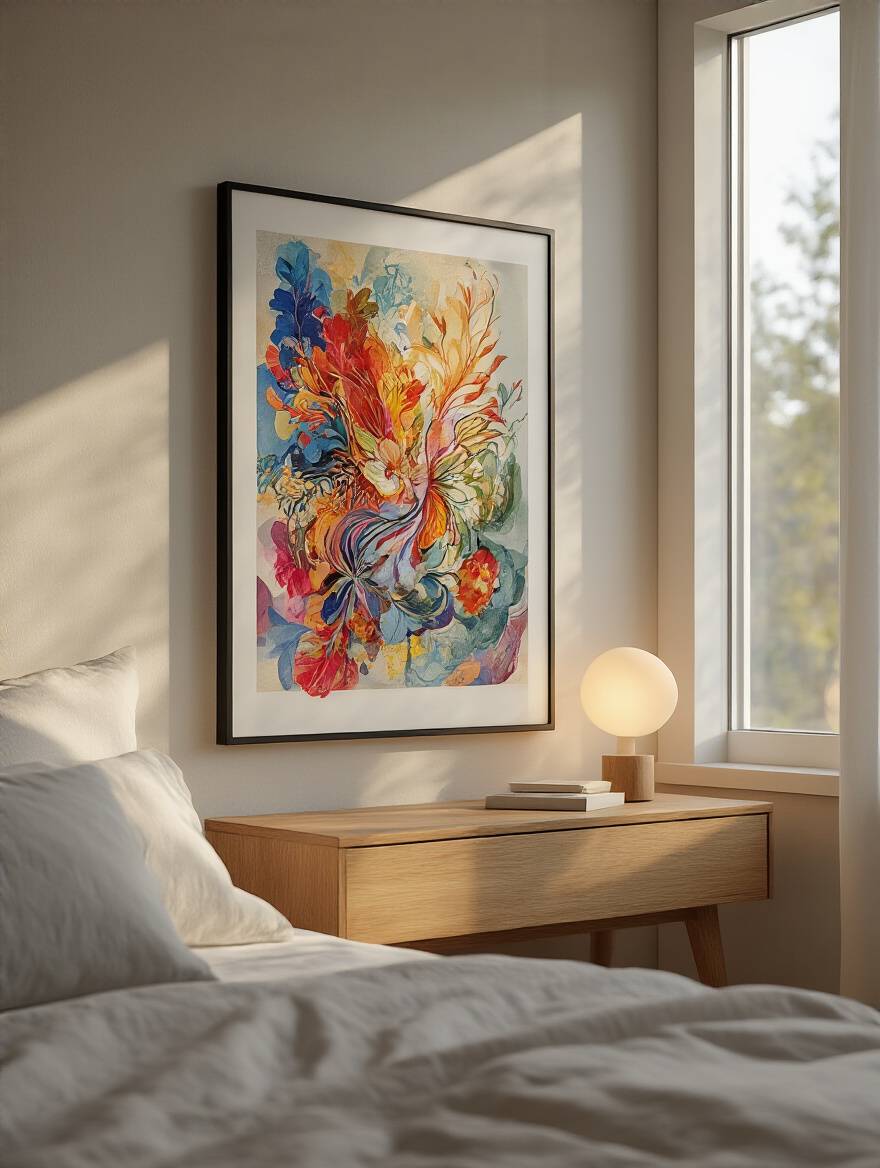
Can we just agree to stop trying to perfectly match the art to the throw pillows? It’s a tired rule that creates boring rooms. Instead, think of your room’s color palette as a chord in music. Your art shouldn’t just play the same note—it should introduce a harmony or a compelling complementary note. If your room is a canvas of soft neutrals, a bedroom art print with a whisper of muted teal or a deep, earthy terracotta can bring it to life without shouting.
I once worked on a hotel suite that was entirely grayscale. It was sophisticated, but a little cold. The client was hesitant to add color, so we introduced a single, large-scale black-and-white photograph of a misty forest. The texture and mood of the art provided the emotional warmth the room was missing, without adding a single drop of color. Don’t just think in terms of hues; consider tones, saturation, and emotional temperature. Your palette is a tool to reinforce the ambiance you defined in step one.
The colors will guide the eye, but the size of the art will ground the space.
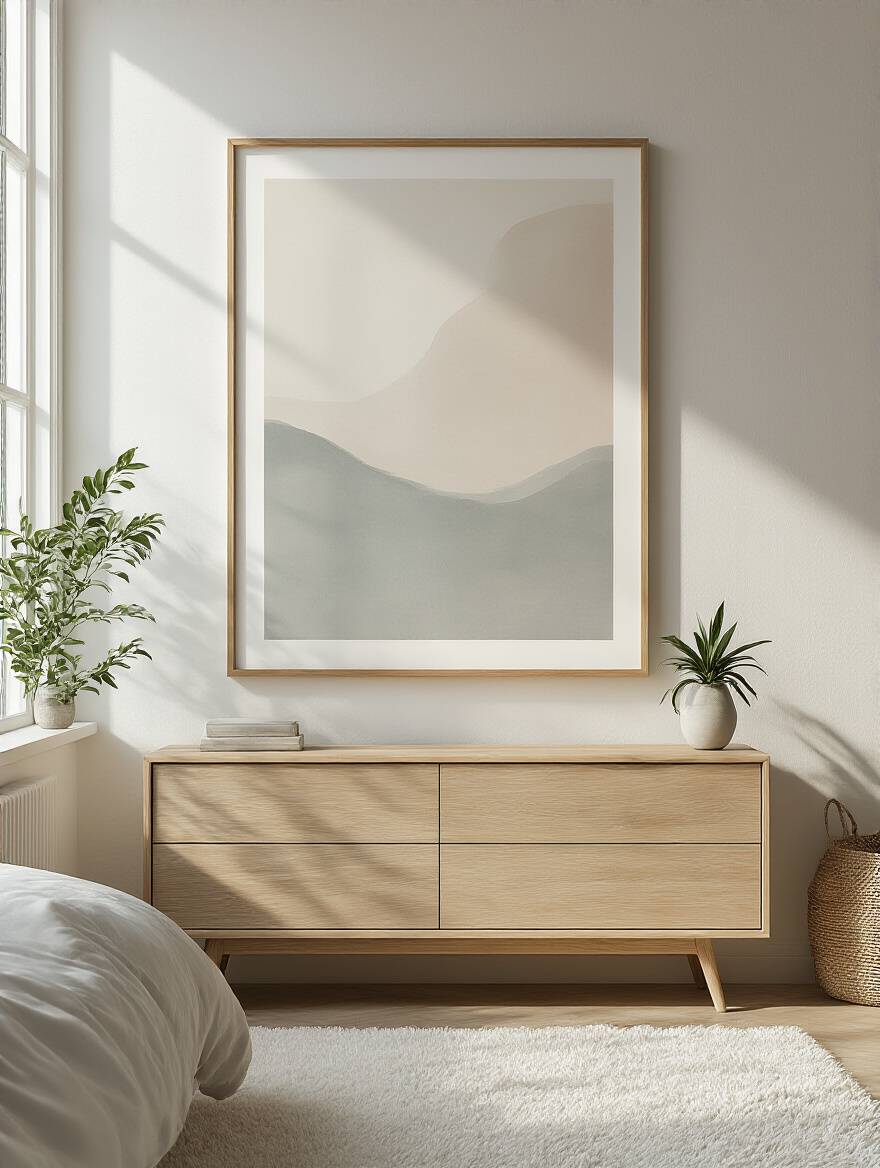
I have a design pet peeve: art that is wildly out of scale with the furniture it lives with. It’s like wearing a hat that’s two sizes too small. Nothing will undermine the sophistication of your bedroom faster. The most common offender is that small, lonely print above a giant Headboard. It looks tentative and lost, creating a sense of visual anxiety.
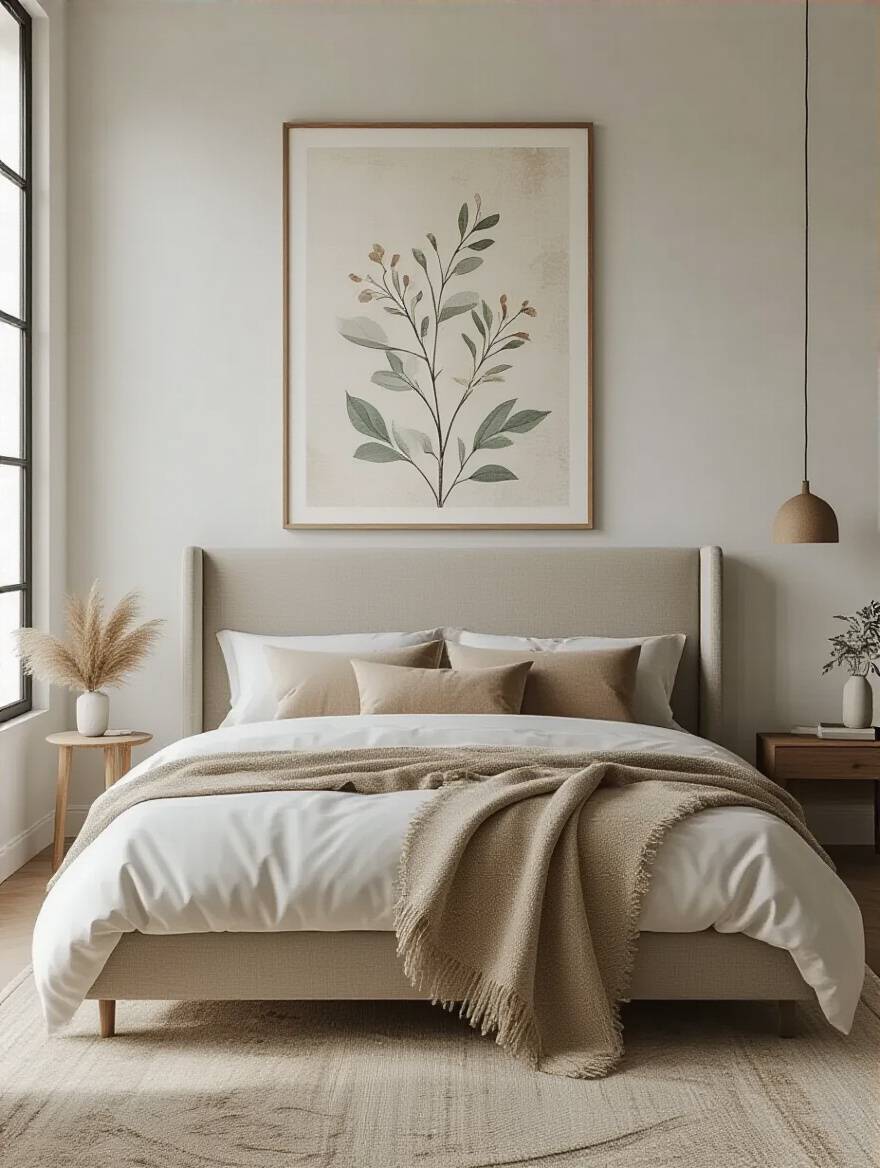
Here’s the shortcut you need: your art (or a grouping of art) should be approximately two-thirds the width of the piece of furniture it’s hanging over. That goes for your headboard, your dresser, your console table. This isn’t a suggestion; it’s a rule of visual balance that we use constantly in professional design. Following this one guideline will instantly make your room feel more cohesive and intentional, like every piece belongs together.
We’ve set the emotional and spatial groundwork. Now we get into the practical side of planning—the budget and the style. This is where aspiration meets reality, and where you can make smart decisions that deliver that high-end feel without breaking the bank.
Here’s a confession: I used to think the art was the investment and the frame was just the container. I was dead wrong. In reality, you should plan for your framing to cost at least as much as your print, and sometimes two or three times more. This is the insider secret that separates an amateur display from a professional one. A $50 print in a $250 archival, custom frame with museum glass will look infinitely more luxurious than a $500 print in a cheap, off-the-shelf frame.
Everyone gets this backward. They splurge on the art and then have nothing left for a frame that will protect and elevate it. Set your total art budget, then mentally allocate 50-70% of it to framing. It may seem shocking at first, but this is how you make your entire collection look more valuable. This approach protects your investment from UV damage and, more importantly, gives your art the visual presence it deserves.
With your budget allocated, it’s time to explore the vast world of styles.
“I don’t know what I like” is something I hear all the time. But you do, you just haven’t been given the right language for it yet. Your job isn’t to become an art historian; it’s to become an expert on yourself. Spend an hour creating a digital mood board—on Pinterest or just a folder on your desktop—and be ruthless. Save only the images that give you that gut-reaction feeling you’re after. Don’t analyze it, just react.

After an hour, look at what you’ve saved. You’ll see a pattern. Are you drawn to the calming, orderly lines of botanical illustrations? The emotional energy of abstract paintings? The narrative pull of black-and-white photography? The goal here isn’t to pick a single style and stick to it forever. The goal is to identify your dominant visual language. This becomes your anchor, ensuring that even if you mix styles, your collection feels curated and uniquely you, not random.
Alright, the strategy is in place. Now for the exciting part: selecting the art and getting it on the wall perfectly. This is where we translate all that thoughtful planning into tangible, beautiful reality.
Your bedroom is the most personal room in your home, yet so many people fill it with generic, impersonal art. Why have a stock photo of a beach on your wall when you could have a beautiful, artistic map of the city where you got engaged? Why hang a generic abstract when you could find a piece whose colors and movement genuinely calm your mind? Your art should be a mirror, not just a window.
The best hotel rooms feel personal even though they’re designed for thousands. They do this by choosing subject matter that evokes a universal feeling—serenity, curiosity, romance. For your own room, you can go a step further. Choose subjects that are deeply personal to you. It could be a subtle nod to a hobby, a landscape from a life-changing trip, or simply an abstract that feels like your inner world made visible. This is how a room develops soul.
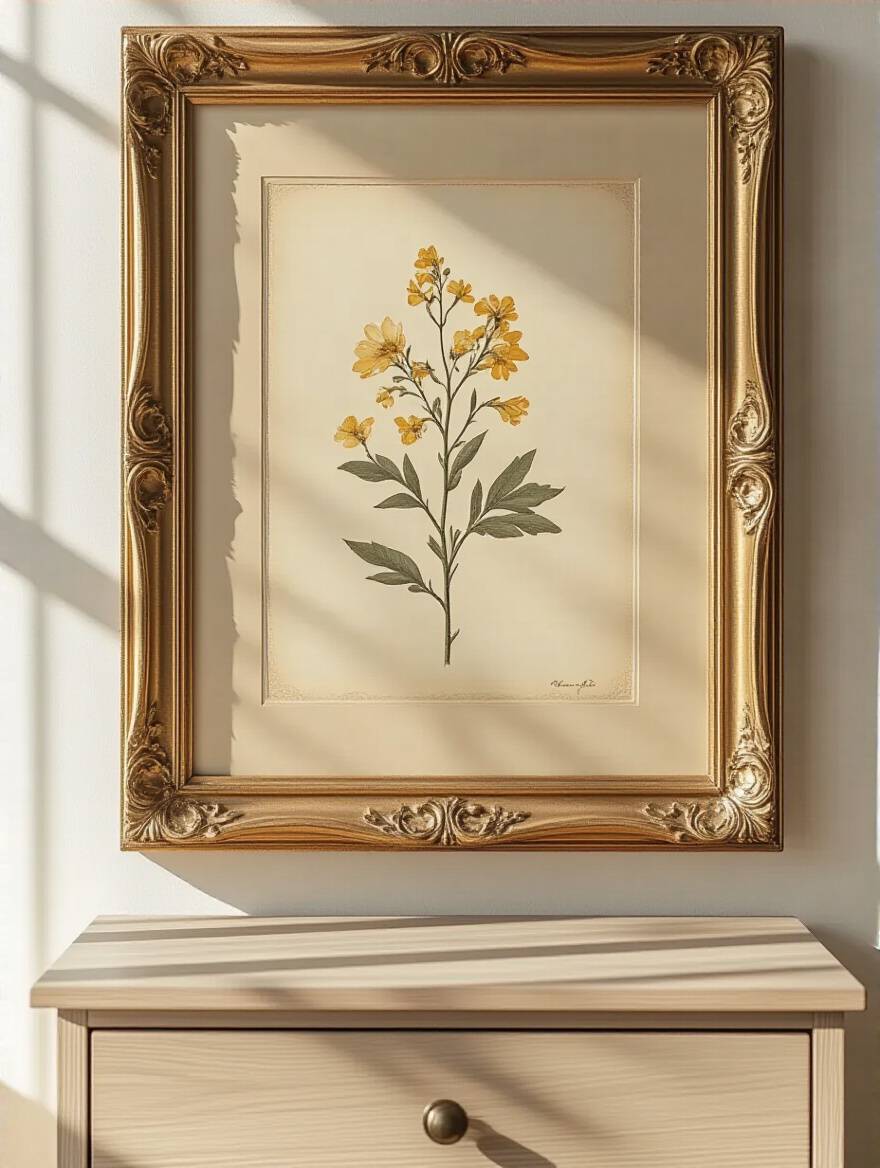
Once you find a piece that speaks to you, the frame becomes its tailored suit.
Let’s debunk a myth: your frame does not have to match the wood of your furniture. In fact, it’s often more sophisticated when it doesn’t. Think of the frame as the bridge between the artwork and the room. Its job is to complement both, not just disappear or mindlessly match. If your bedroom is filled with soft, organic textures, a sleek, cold metal frame might feel jarring. A warm oak or a soft gilded frame, however, would speak the same textural language.
My go-to shortcut for clients is to match the vibe of the frame to the vibe of the room. In a modern, minimalist space, a thin gallery frame in black, white, or natural wood almost always works. It’s clean, confident, and puts the focus squarely on the art. For a more traditional or eclectic room, feel free to play with more ornate or substantial frames. The key is that the frame should feel like an intentional part of the overall design narrative, not a forgotten detail.
And speaking of details, the glass within that frame is more important than you think.
You know that frustrating glare on a TV screen? The same thing happens to your art. You find the perfect piece, hang it beautifully, and then spend half the day looking at a reflection of your window or bedside lamp instead of the art itself. This is a rookie mistake, and it’s one we never, ever make in high-end hospitality design. The art must be perfectly visible from every angle, in any light.
Investing in glare-reducing glass or acrylic is a non-negotiable for any significant piece. I know it’s an added expense during framing, but it makes an incredible difference in your daily experience of the art. My personal favorite is Museum Glass, which not only has near-invisible anti-reflective properties but also offers 99% UV protection. It makes the glass seem to disappear, offering a stunningly clear, direct connection to the artwork. This one upgrade will instantly make your collection feel more professional and luxurious.
With the art perfectly framed, it’s time to build your story on the wall.
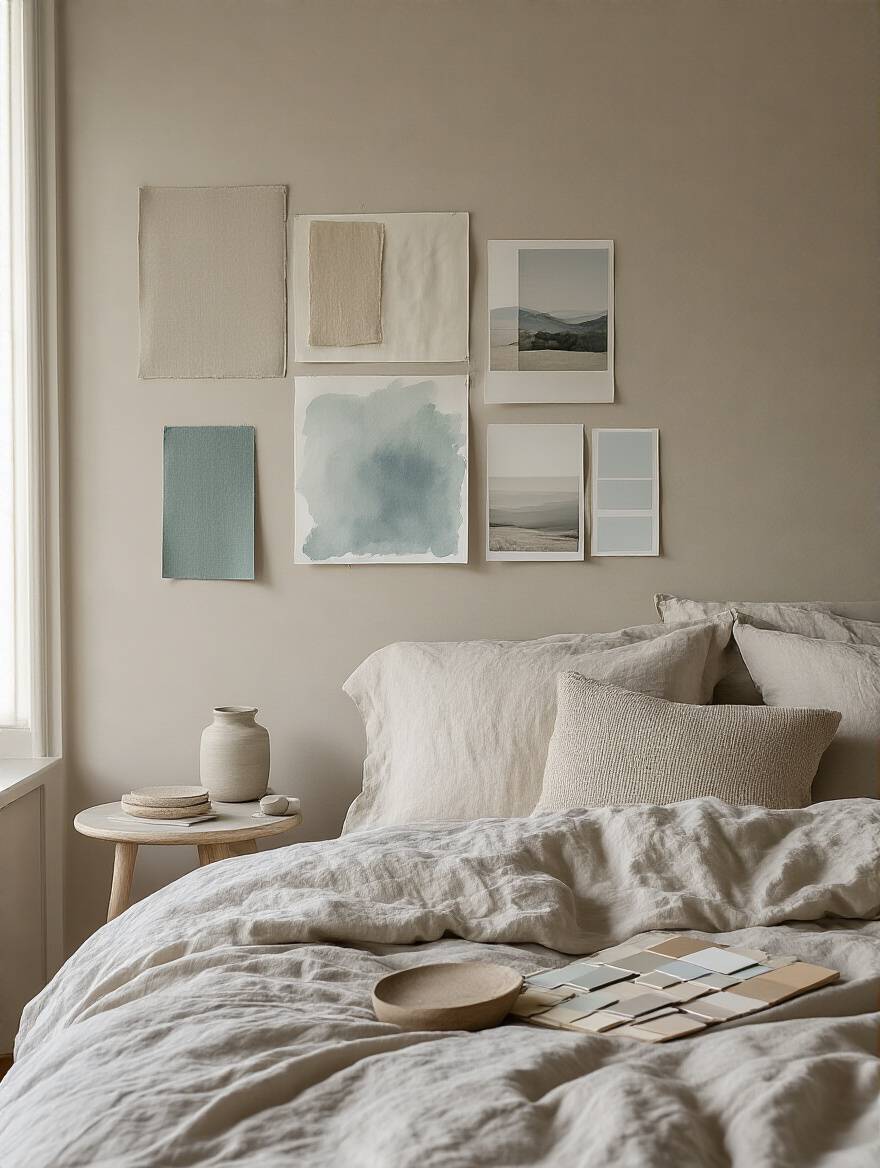
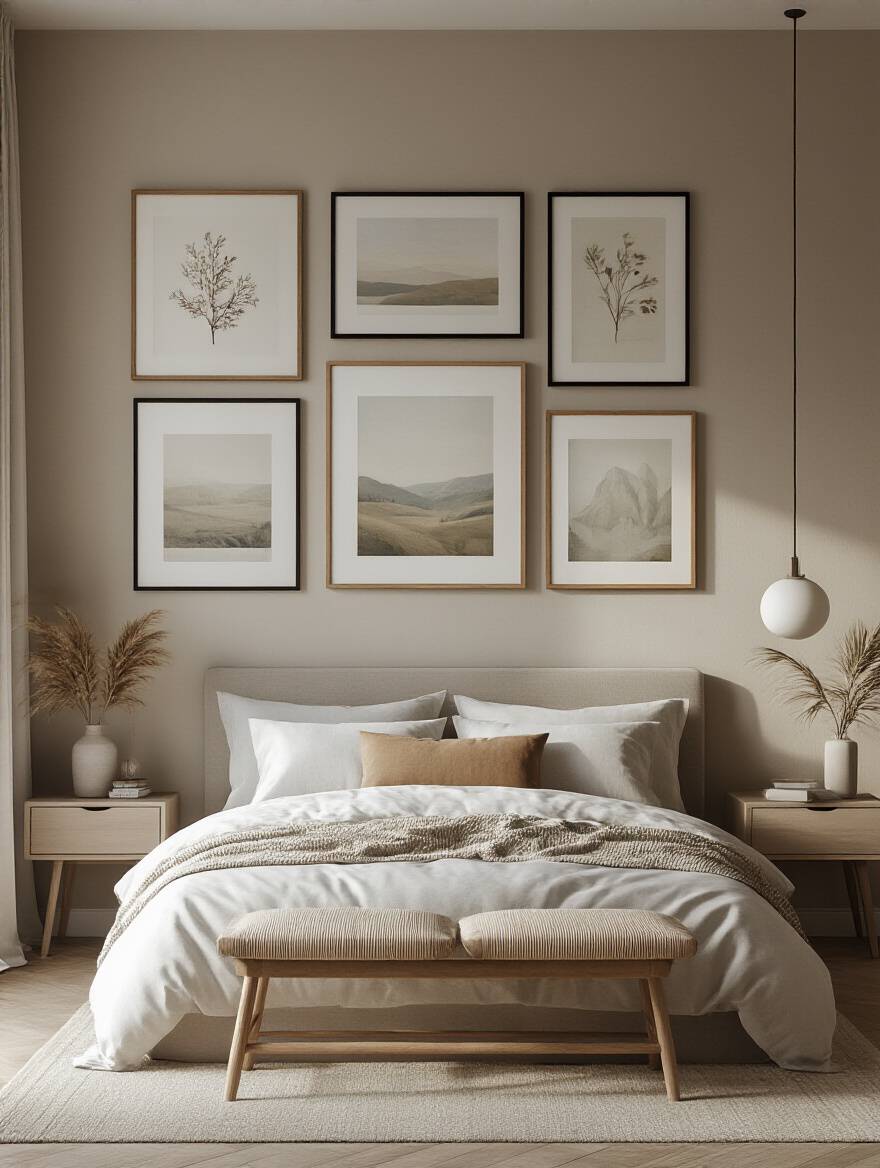
The secret to a stunning gallery wall isn’t the art; it’s the math. A truly chic gallery wall feels effortless and organic, but I promise you it was planned with near-mathematical precision. The biggest mistake people make is trying to eyeball it on the wall, hammering nails as they go. This leads to crooked frames, awkward gaps, and a dozen unnecessary holes.
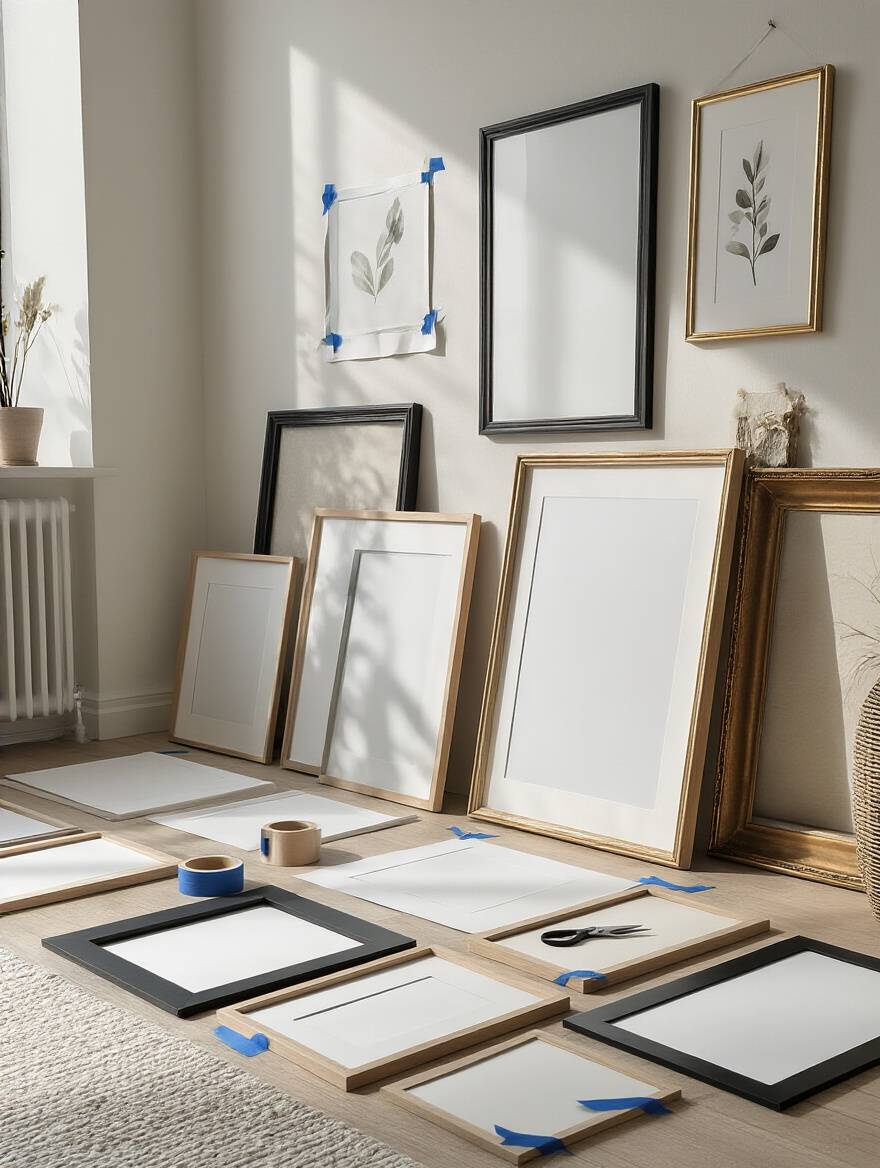
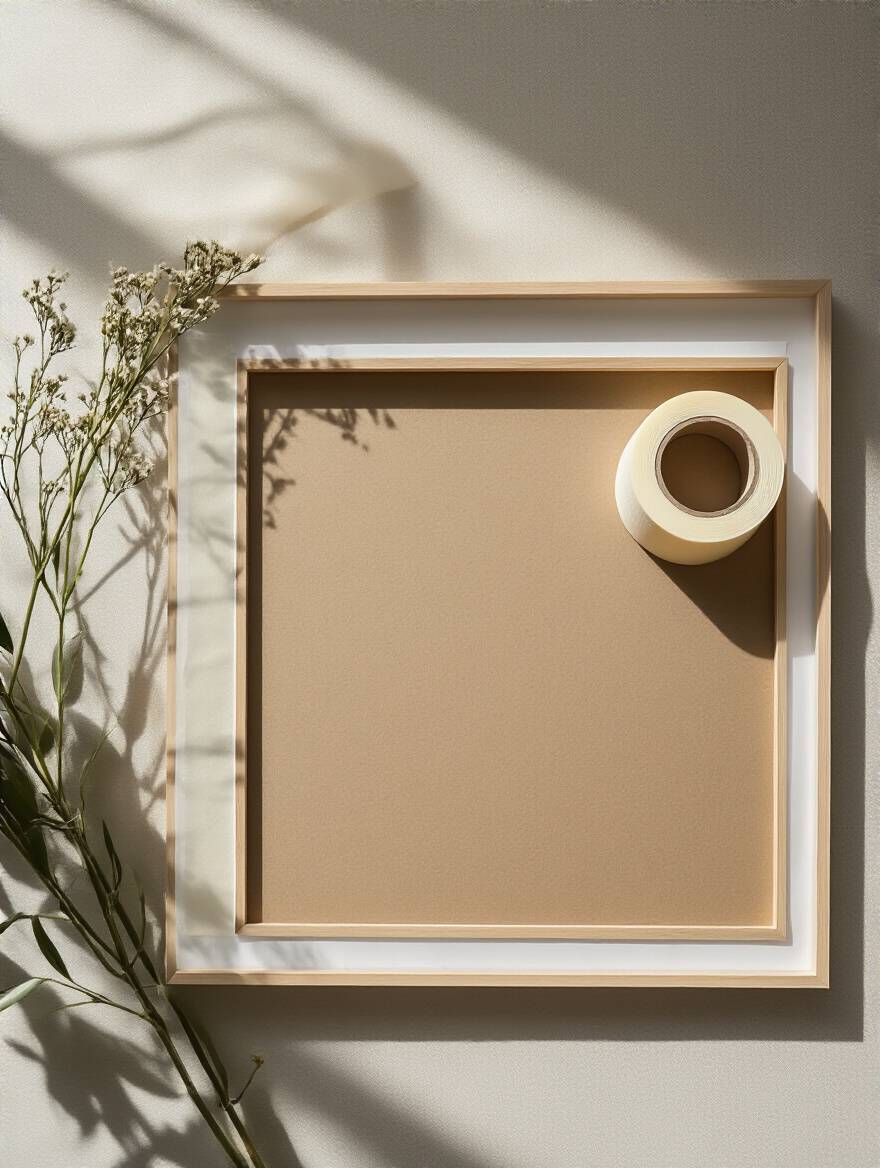
Here’s the professional shortcut: trace every single one of your frames onto kraft paper, cut them out, and arrange the paper templates on your wall with painter’s tape. Live with it for a day or two. This allows you to perfect the spacing, balance, and flow without making a single mark on your wall. Once you love the arrangement, you simply hammer your nail through the top center of each paper template before tearing it away. Perfect placement, every time, with zero regrets.
We’ve got the what, now let’s nail the how. Flawless installation is about more than just keeping a picture straight. It’s about ergonomics, visual comfort, and the security of knowing your cherished pieces are safe.
Can we please talk about why everyone hangs their art too high? It’s a design epidemic. Art in a home isn’t meant to be viewed like you’re in a museum looking up at a cathedral ceiling. It should feel intimate and connected to the human scale of the room. It should engage with you, not float above you. This is especially true in a bedroom, where you’re often seeing it from a lower vantage point, like when you’re sitting in bed.
The only rule you ever need to remember is this: the center of the artwork (or the center of the entire gallery wall grouping) should be 57 to 60 inches from the floor. This is the average human eye level, and it’s the standard used by galleries and designers worldwide. It instantly makes the art feel grounded and integrated with your furniture, rather than disconnected and adrift near the ceiling. It’s a simple adjustment that makes an enormous difference.
Once it’s at the right height, you have to make sure it stays there.
Picture this: you’re fast asleep, and you’re woken by a crash. A heavy, glass-fronted frame has fallen off the wall above your head. This isn’t just a design problem; it’s a genuine safety hazard. Using a single, flimsy nail for anything other than the lightest of prints is a huge mistake. We spend a lot of time in hotel design specifying exactly the right hardware to ensure this never happens.

My rule of thumb is this: if a framed piece weighs more than five pounds, use two anchor points. This not only provides better security but also keeps the frame perfectly level over time. And please, invest in proper wall anchors for drywall. They provide vastly more support than a nail alone. A trip to the hardware store for the right hangers is a small price to pay for the peace of mind of knowing your beautiful art is—and will remain—securely on the wall.
With your art safely and beautifully installed, we can move on to the master class. This is about styling around your art to create rich, layered, and deeply personal vignettes that feel like they belong in a design magazine.
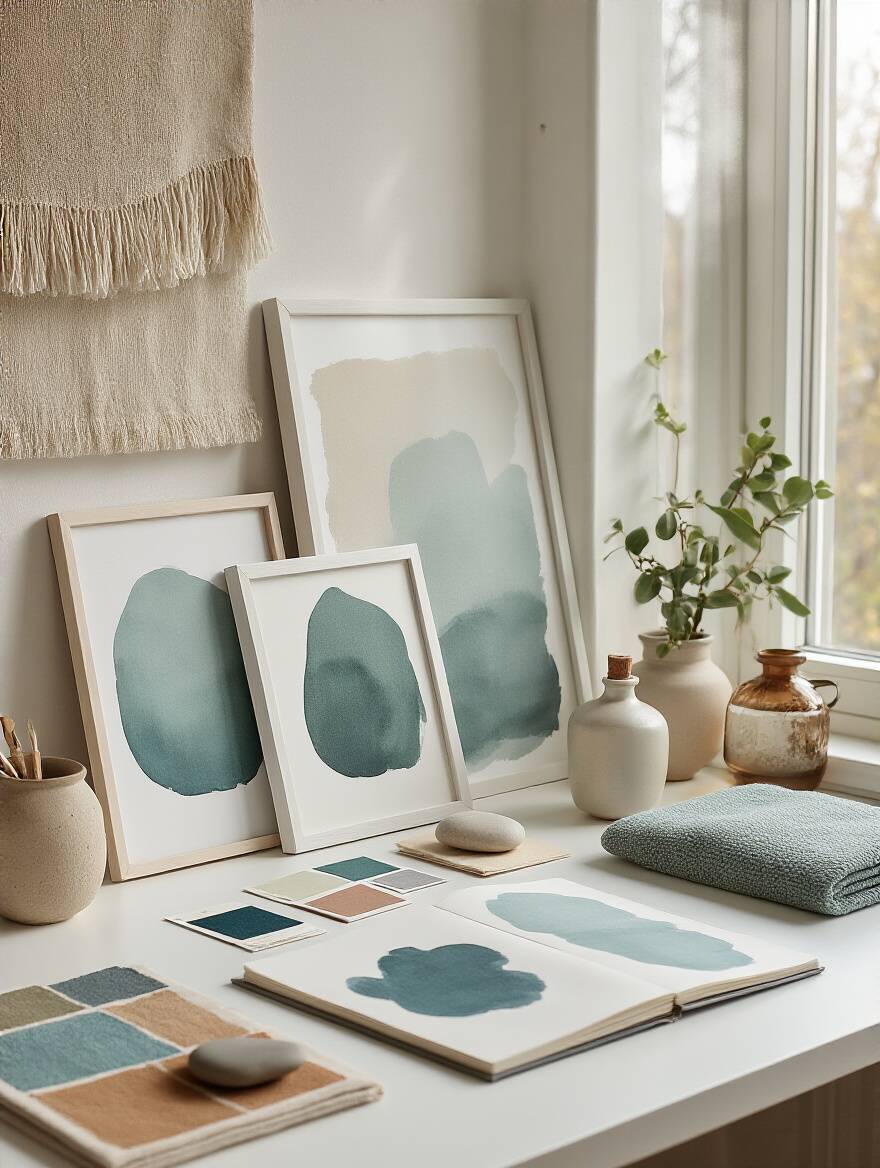
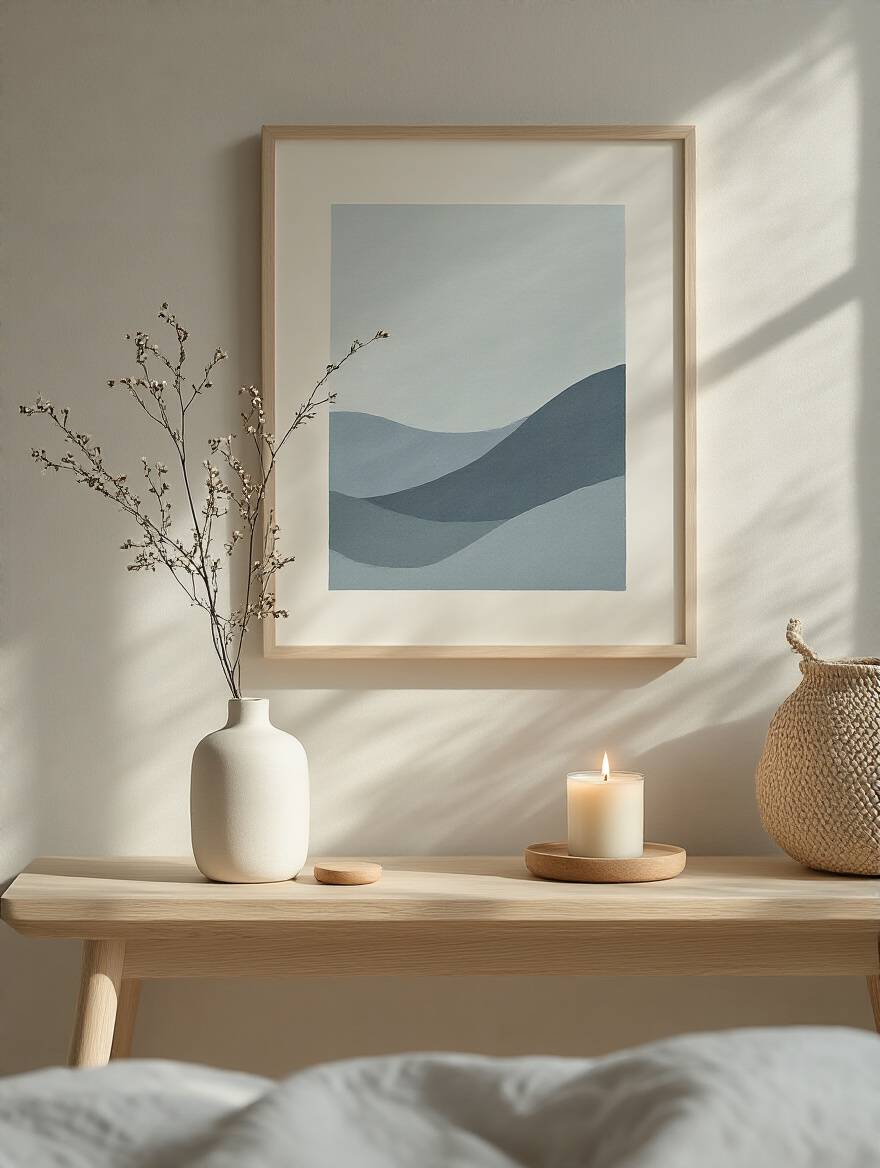
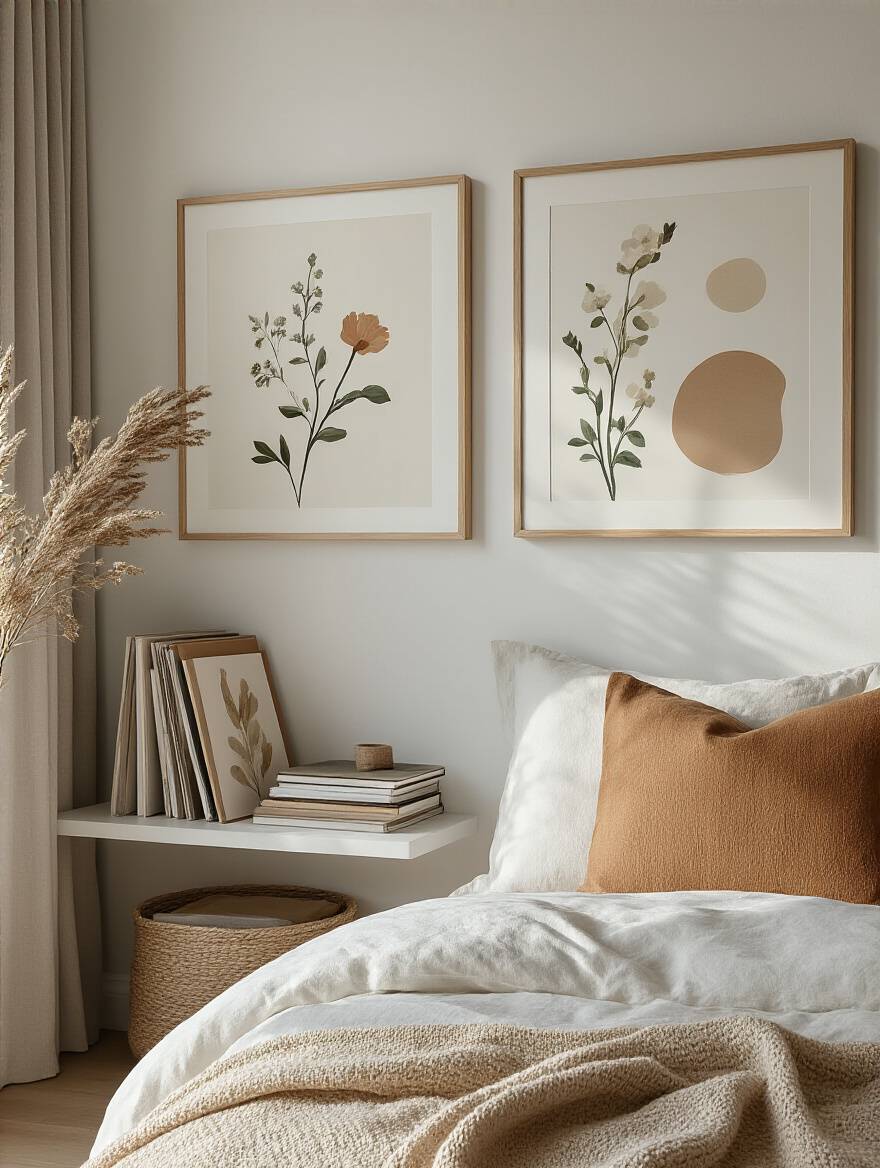
Your art doesn’t exist in a vacuum. A great print can be made extraordinary by what you place around it. A common misstep is creating a room where everything is visually flat—smooth walls, smooth frames, smooth furniture. In luxury design, texture is everything. It’s what makes a space feel rich, cozy, and inviting. Place your framed art print above a console table, and then add a rough-hewn ceramic vase, a stack of fabric-bound books, and a small brass object.
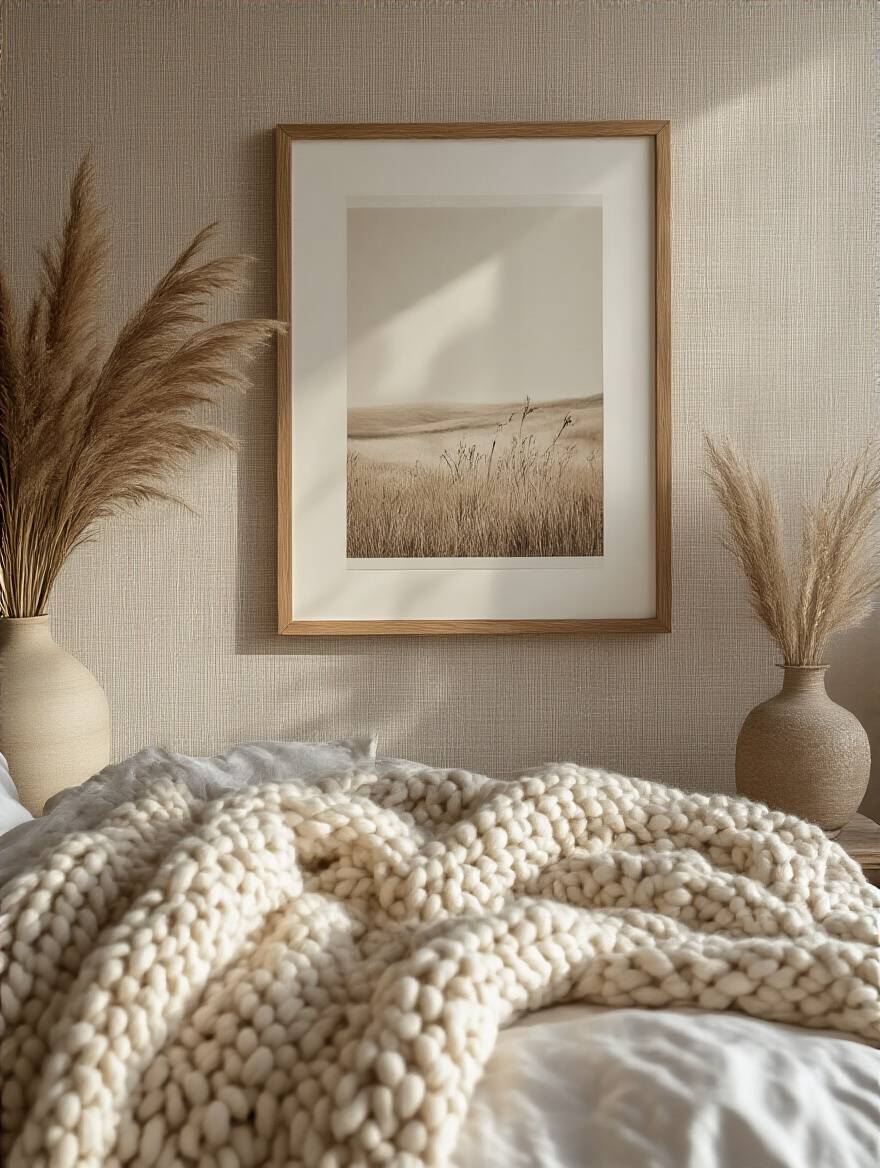
Suddenly, you have a dynamic conversation of materials: the smooth glass of the frame, the matte texture of the paper, the rough ceramic, the soft fabric, the warm metal. I once saved a client’s sterile guest room not by changing the art, but by placing a large, chunky knit throw on the end of the bed and adding a live-edge wood shelf beneath the existing prints. This interplay of textures is what creates visual depth and makes a room feel complete and lived-in.
These textural moments are perfect opportunities to tell a more specific story.
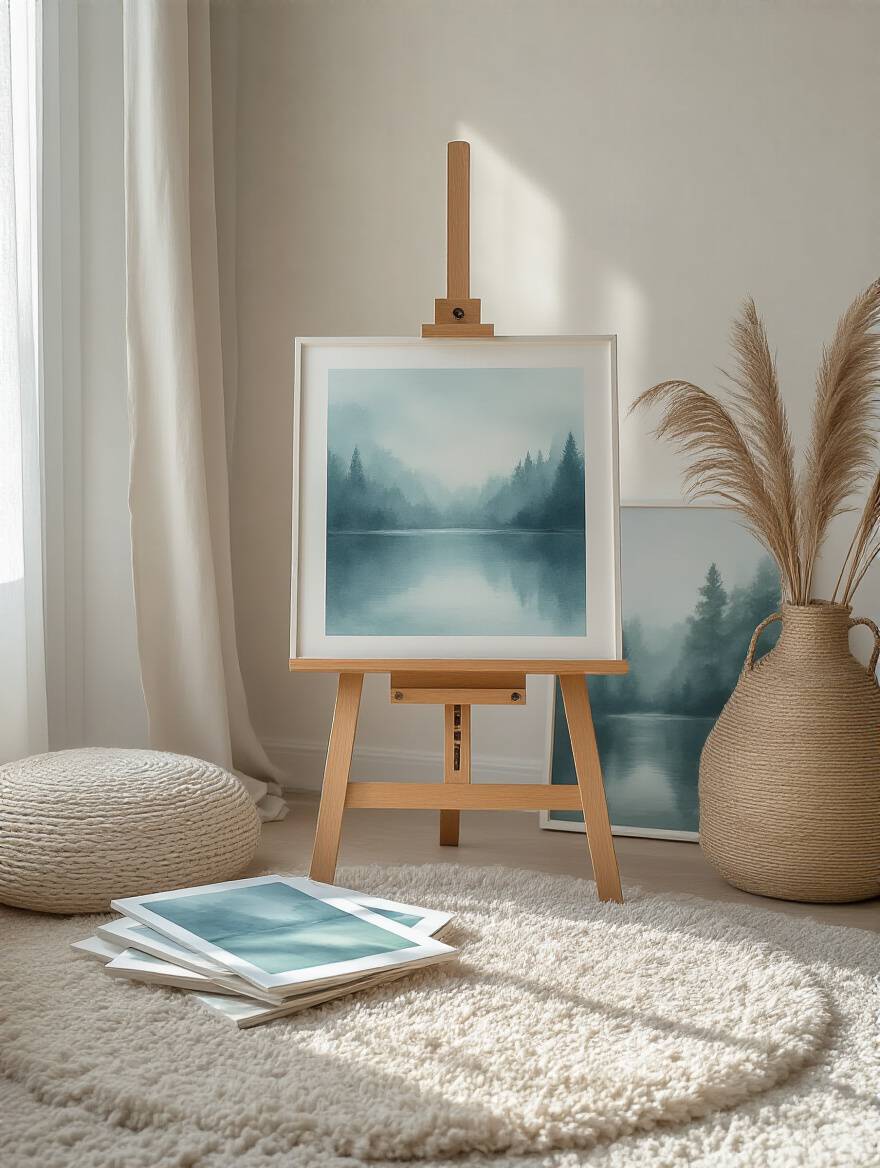
A vignette is a small, curated story told through objects. Instead of just a piece of art on a dresser, you create a scene. Let’s say you have a beautiful print of the Italian coast. Don’t just hang it. Lean it against the wall on your dresser and place a small dish of sea glass, a Diptyque candle that smells of Mediterranean fig, and a stack of your favorite travel books next to it. You’ve just transformed a surface into an experience.
This is a technique we use constantly in hotels to give suites a unique personality. It makes a space feel collected and personal, not just decorated. A great vignette invites you to look closer. It adds layers of meaning and interest, turning a simple bedroom art print into the anchor of a beautiful, thoughtful moment. It’s the difference between a house and a home.
These individual moments can then be woven into a larger room narrative.
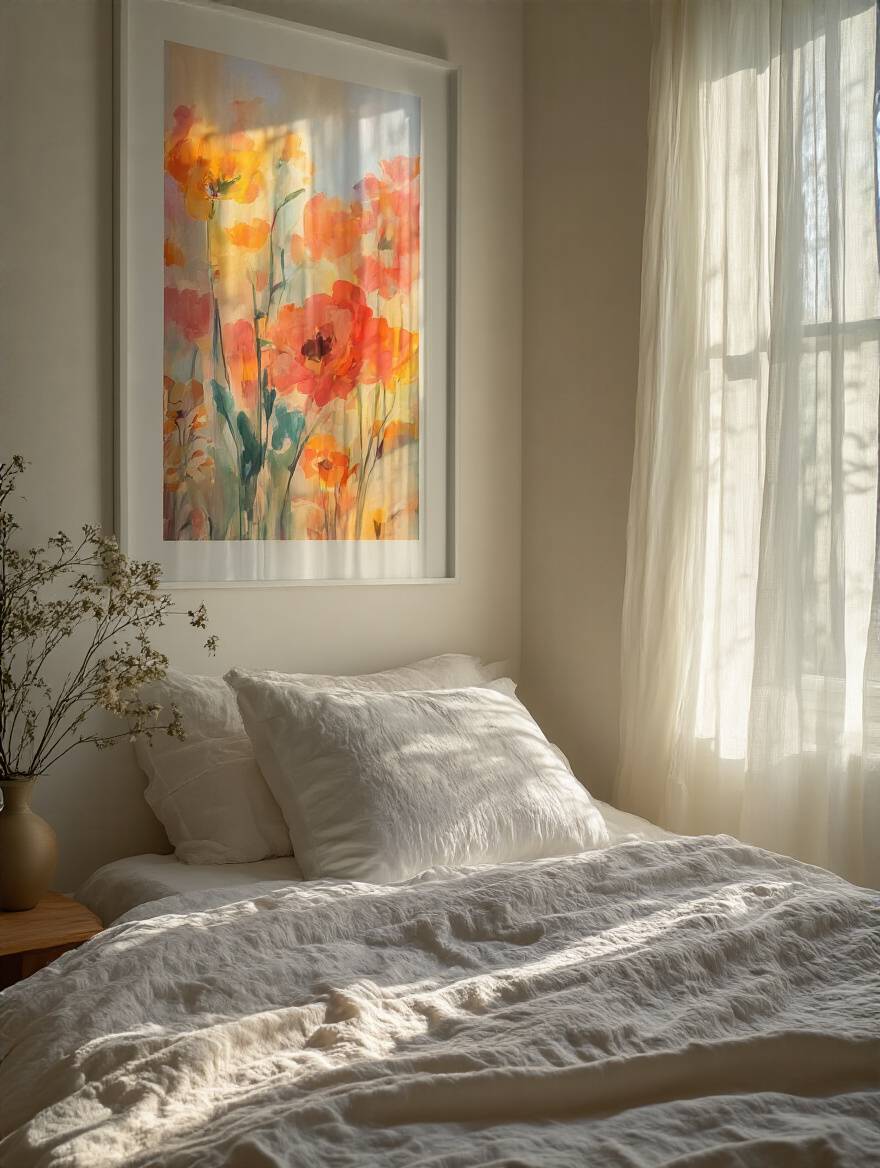
Think of your art prints as visual breadcrumbs that guide the eye through your bedroom. If you have a collection of prints, don’t just lump them all together on one gallery wall. Strategic placement creates flow and makes a room feel more unified and expansive. Hang a large piece above the bed as the main focal point, then place a smaller, complementary piece on the wall opposite the door to draw you into the room.
 Reading Nook, showcasing a flowing room design.” class=”wp-image-10709″/>
The trick is to create a common thread. It could be a consistent frame style (like all thin black frames), a shared color palette (every piece has a touch of blue), or a common theme (like abstract landscapes). I once designed a suite where we used a series of botanical prints: a large triptych over the bed, a single medium print in the reading nook, and two small prints in the hallway leading to the bathroom. The consistent subject matter and framing created a seamless, serene narrative that connected the entire space.
And within that narrative, you can play with different kinds of rhythm and balance.
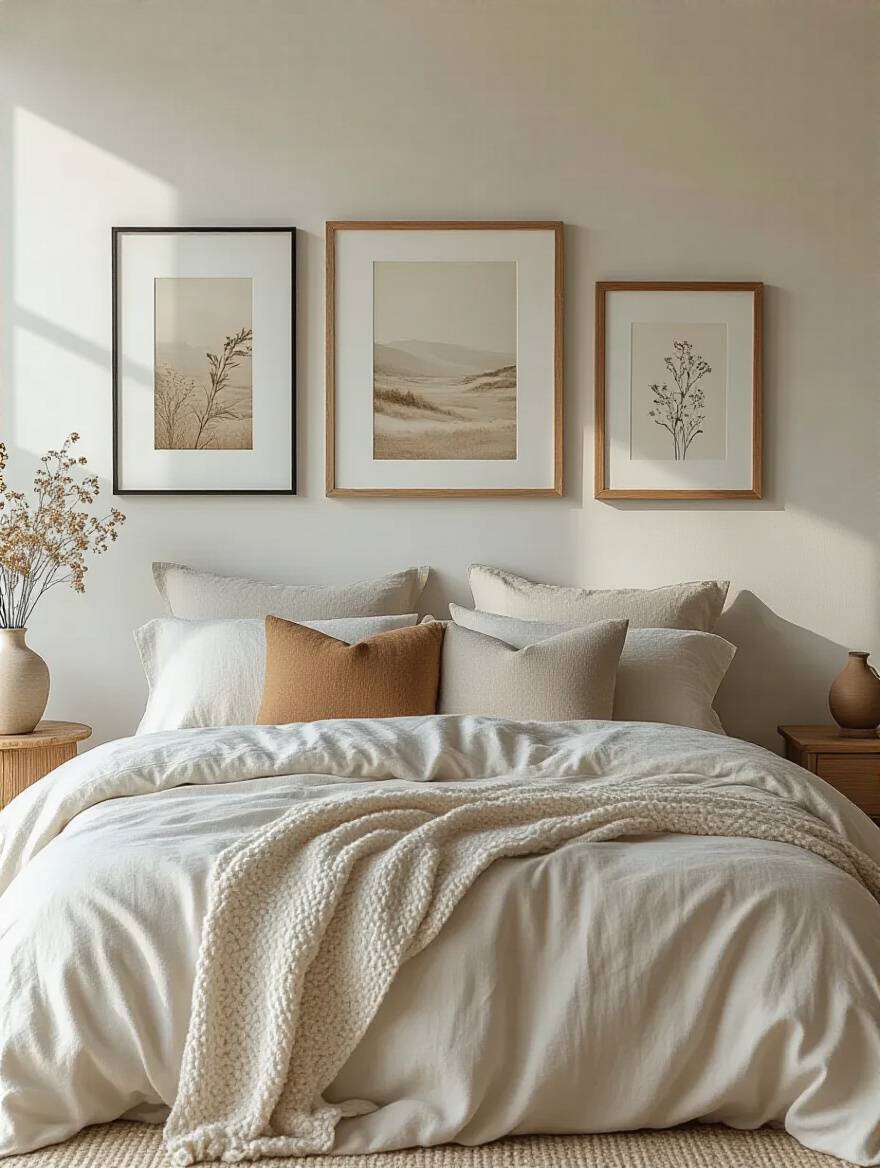
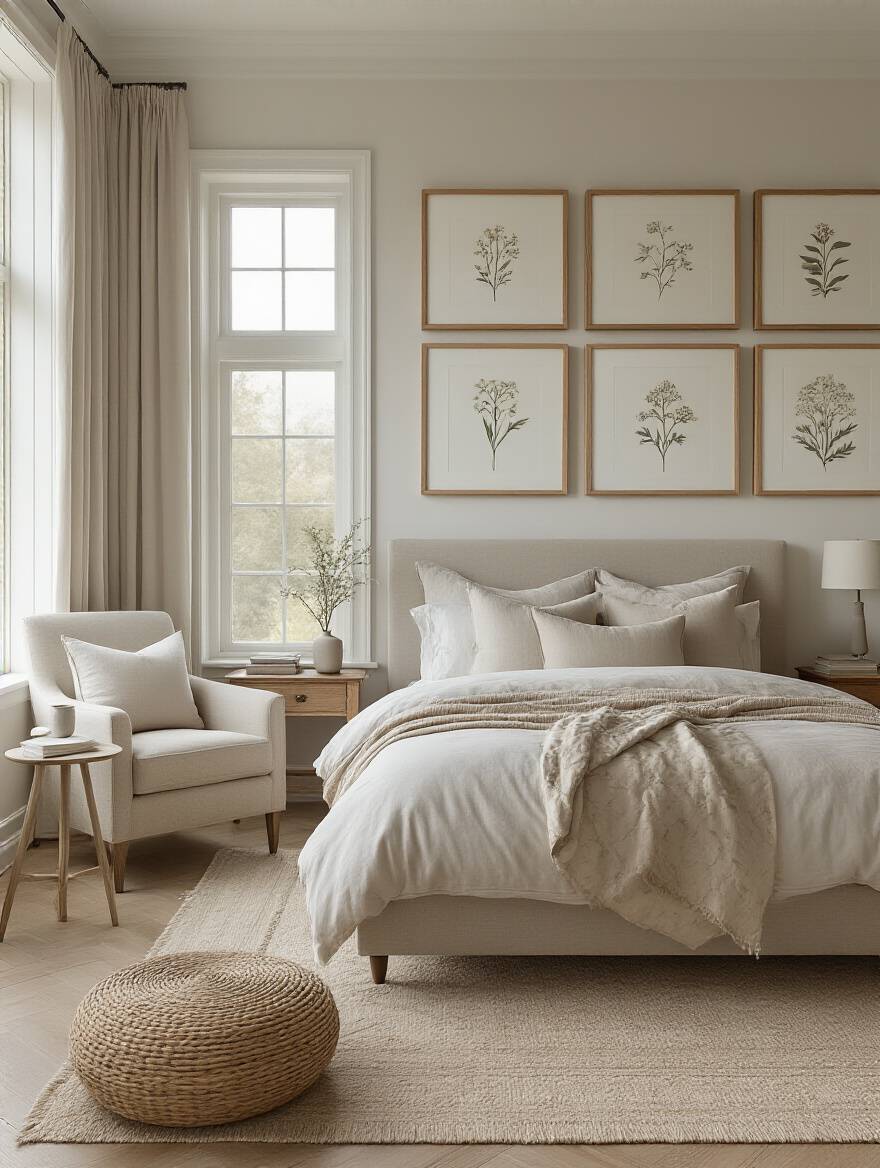
Symmetry communicates calm, order, and tradition. It’s a powerful tool for creating a serene, restful environment. A pair of matching prints perfectly flanking a bed, for example, creates an immediate sense of balanced, quiet luxury. It’s a classic, foolproof approach that we often use in more traditional hotel designs. It’s incredibly soothing to the human brain.
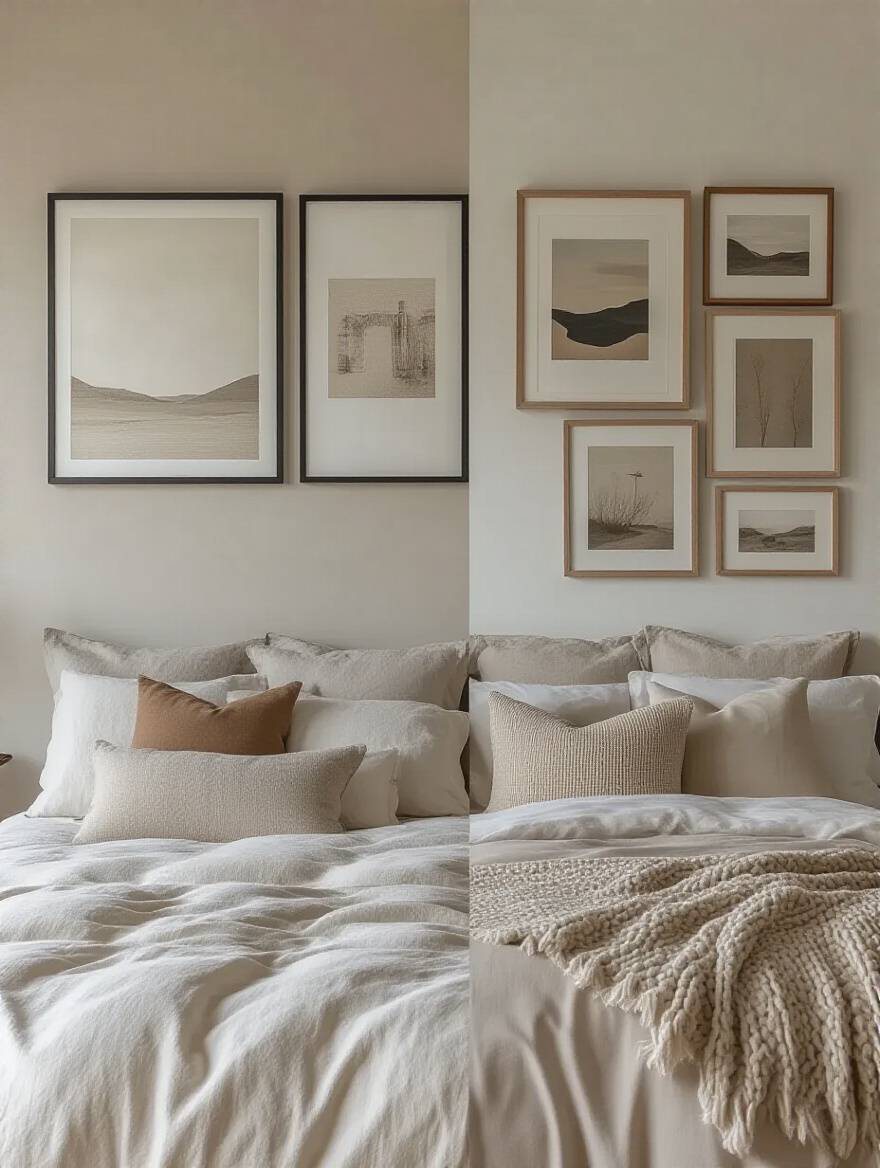
But if your goal is to create energy, dynamism, and a more modern feel, asymmetry is your best friend. An artfully balanced but non-symmetrical gallery wall feels more alive and unexpected. The key word is balanced. An asymmetrical layout isn’t random; it’s about balancing the visual weight. A large, dark piece on one side might be balanced by three smaller, lighter pieces on the other. It’s a more advanced technique, but when done right, it infuses a room with personality and sophisticated flair.
We’ve covered the art and its immediate surroundings. Now let’s add the final layers of professional polish: lighting and evolution. These are the details that truly set a designer space apart.
Nothing says luxury like dedicated art lighting. It’s the single most effective way to elevate a piece of art from a simple wall hanging to a true focal point. A picture light mounted above a frame or a carefully aimed ceiling spotlight instantly signals that this piece is important. It adds a layer of drama and sophistication that general room lighting simply cannot achieve.
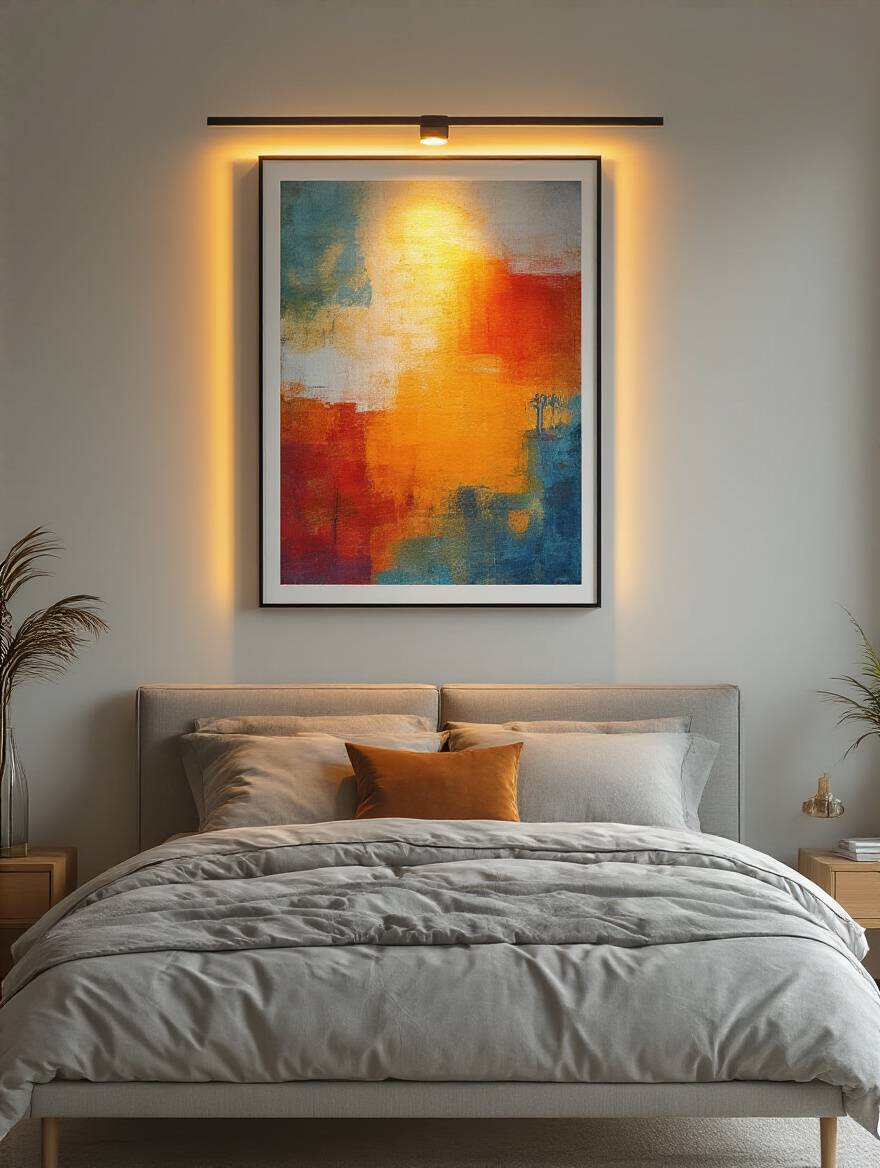
You don’t need to be a lighting designer to do this. There are incredible, easy-to-install battery-powered LED picture lights available now that don’t require any complicated wiring. I often recommend these to clients for an instant, high-impact upgrade. Putting your favorite bedroom art print under its own dedicated spotlight not only makes the colors pop but also creates a beautiful, moody glow in the evening, completely transforming the ambiance of your room.
And just as lighting can change, so can the art itself.
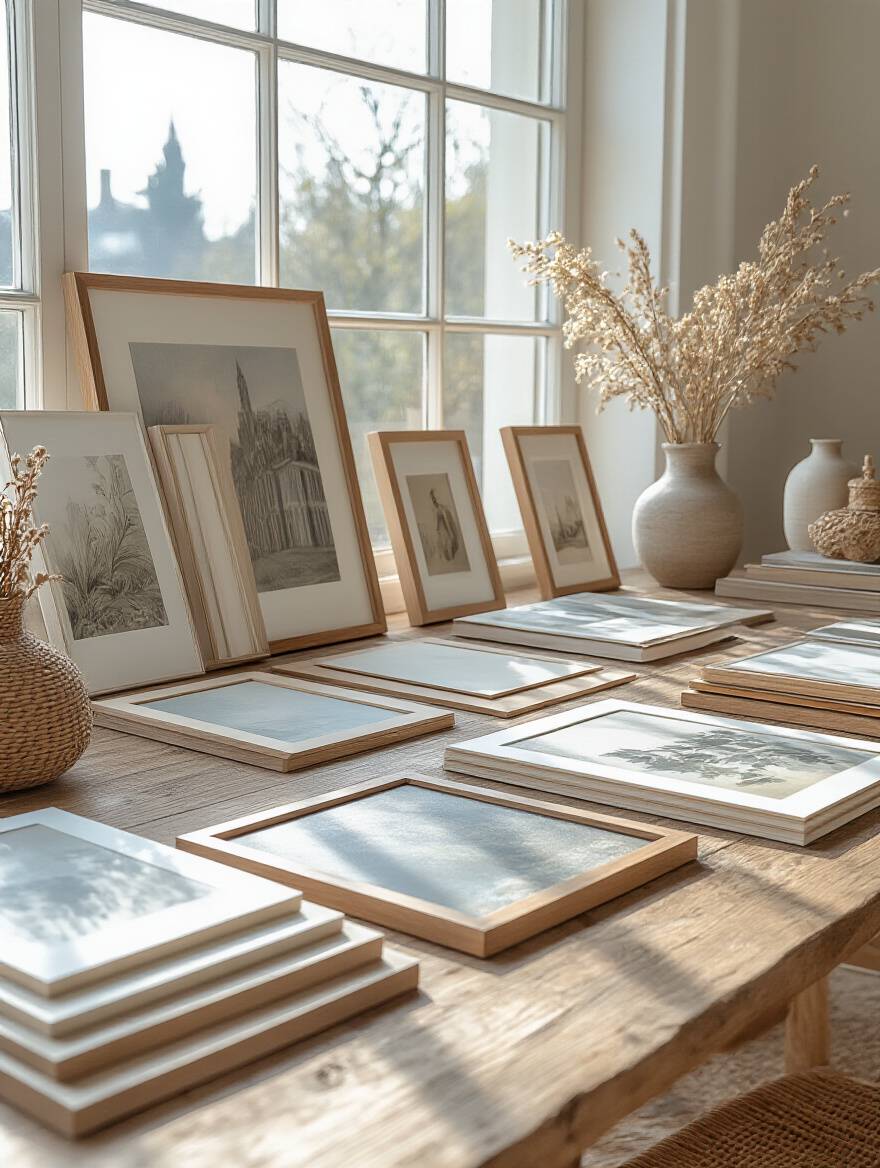
Who says your decor has to be static? The most stylish people I know don’t treat their homes like museums; they treat them like living, breathing spaces that evolve. One of the easiest and most cost-effective ways to do this is to build a small collection of art prints that you can rotate seasonally. It’s a brilliant way to keep your bedroom feeling fresh and inspiring all year long.
Invest in a few standard-sized, high-quality frames with easy-to-open backs. Then, curate a small collection of prints. Perhaps light, airy botanicals for spring and summer, and moodier, textural abstracts for fall and winter. Storing the off-season prints is easy—just keep them in a flat portfolio box under the bed. This simple practice keeps you from getting bored with your space and allows your room to reflect the feeling of the world outside.
You’ve made the investment in beautiful art; now you must protect it. Maintenance isn’t the most glamorous part of design, but it’s what ensures your sanctuary remains beautiful for years, not just months.
I mentioned this in the planning stage, but it bears repeating with more urgency: direct sunlight will destroy your art. It’s not a matter of if, but when. The UV rays act like a slow, steady bleach, irreversibly fading the delicate pigments in your prints. If a cherished piece must live in a bright room, the investment in UV-protective glazing is not optional—it is essential.
Think of it like sunscreen for your art. Products like Museum Glass and Conservation Clear acrylic block up to 99% of harmful UV rays. For rooms with massive windows, you can also apply a clear UV-filtering film directly to the window glass. This protects not only your art but also your rugs, upholstery, and wood furniture from fading. It’s a one-time investment that pays dividends for decades in preserved beauty.
And just as you protect from light, you must protect from dust.
Never, ever spray glass cleaner directly onto your framed art. This is my number one cleaning pet peeve. The liquid will inevitably seep down under the edge of the frame, and once moisture gets trapped in there, it can lead to devastating mold growth or water damage on the mat and the print itself. It happens more often than you’d think, and it’s completely preventable.

The correct way is to spray a small amount of ammonia-free cleaner onto a soft, lint-free microfiber cloth, and then wipe the glass. For the frame itself, a dry microfiber cloth is usually sufficient for dusting. This gentle approach prevents chemical damage to the frame’s finish and eliminates the risk of moisture creeping inside. It’s a small change in habit that makes a world of difference in art preservation.
As you care for your art, it’s also wise to re-evaluate its home.
Have you ever noticed how you stop “seeing” things that are in the same place for too long? Your art is no exception. A layout that felt perfect two years ago might now feel tired or imbalanced, especially if you’ve changed your furniture. Once a year, take everything off the walls and see your room with fresh eyes.
This doesn’t mean you have to buy new art. Simply rearranging what you already own can completely revitalize your space. That triptych that was over your bed? Maybe it would have more impact as a linear arrangement along the wall by your dresser. Those two smaller prints that were hung side-by-side? Try stacking them vertically in a narrow space. This is a no-cost way to give yourself the gift of a refreshed room and fall in love with your collection all over again.
Part of this reassessment is knowing when a piece has served its time.
Not all art is meant to last forever. A trendy, inexpensive print that you loved five years ago might now look dated or faded, and that’s okay. Recognizing when it’s time to retire a piece is a key part of curating an evolving collection. But sometimes, the print is still wonderful, but its frame is letting it down. A chipped, scuffed, or stylistically dated frame can make even the most beautiful art look shabby.
Before you decide to get rid of a piece, ask yourself: is it the art I no longer love, or the presentation? Often, a simple re-mat and re-frame can give a tired piece a breathtaking new life. Swapping an old, chunky wood frame for a sleek, modern float frame, for example, can completely change its personality and make it feel perfectly at home in your updated decor.
Finally, let’s cover two advanced, pro-level techniques that will ensure your collection grows beautifully and is preserved impeccably from front to back.
Wondering if that new print you’re eyeing will actually work with your existing gallery wall? Don’t guess—know for sure. Before you make another art purchase, take a photo of your wall and use a simple app like Canva or even Instagram Stories to digitally mock it up. Place a screenshot of the new print onto the photo of your room.

This simple step takes less than five minutes and is an absolute game-changer. You can instantly see if the scale is right, if the colors harmonize, and if the subject matter fits your narrative. This is exactly what we do with professional rendering software, but you can achieve 90% of the benefit with your phone. It has saved my clients (and me!) from countless costly and frustrating purchasing mistakes.
And while we’re focused on the front, never forget what’s going on behind the scenes.
We’ve talked about the glass on the front, but the back of the frame is just as important for preservation. A professional framer will always finish the job with a paper dust cover sealed across the back. This isn’t just for looks; it’s a critical barrier that prevents dust, insects, and humidity from getting inside the frame and onto your art.
If your frames are missing this, it’s an easy fix. You can buy archival frame backing paper and tape online. This is also a good time to check that your artwork isn’t resting against acidic cardboard, which is common in cheap frames and will cause yellowing over time. For maximum protection, your print should be sandwiched between an acid-free mat and an acid-free foam core backing. It’s the final, invisible detail that ensures your bedroom art print is truly preserved for the long haul.
So, you see, a bedroom art print is never just a picture on a wall. It is the very heart of your room’s narrative. From defining the exact feeling you want to evoke to mastering the mathematics of a gallery wall, from choosing the right glass to understanding the protective power of a paper backing, you now have the insider’s framework. You have the tools to move beyond simple decorating and begin to truly design the personal sanctuary you deserve.
Your bedroom walls are not waiting for decoration; they are waiting for your story. Don’t just scroll for inspiration—create it. Choose a single idea from this list and try it this weekend. See how a small, intentional change can completely shift the energy of your space. This is how you transform a house into a haven, one thoughtful detail at a time. This is how you bring the art of hospitality home.