Physical Address
304 North Cardinal St.
Dorchester Center, MA 02124
Physical Address
304 North Cardinal St.
Dorchester Center, MA 02124
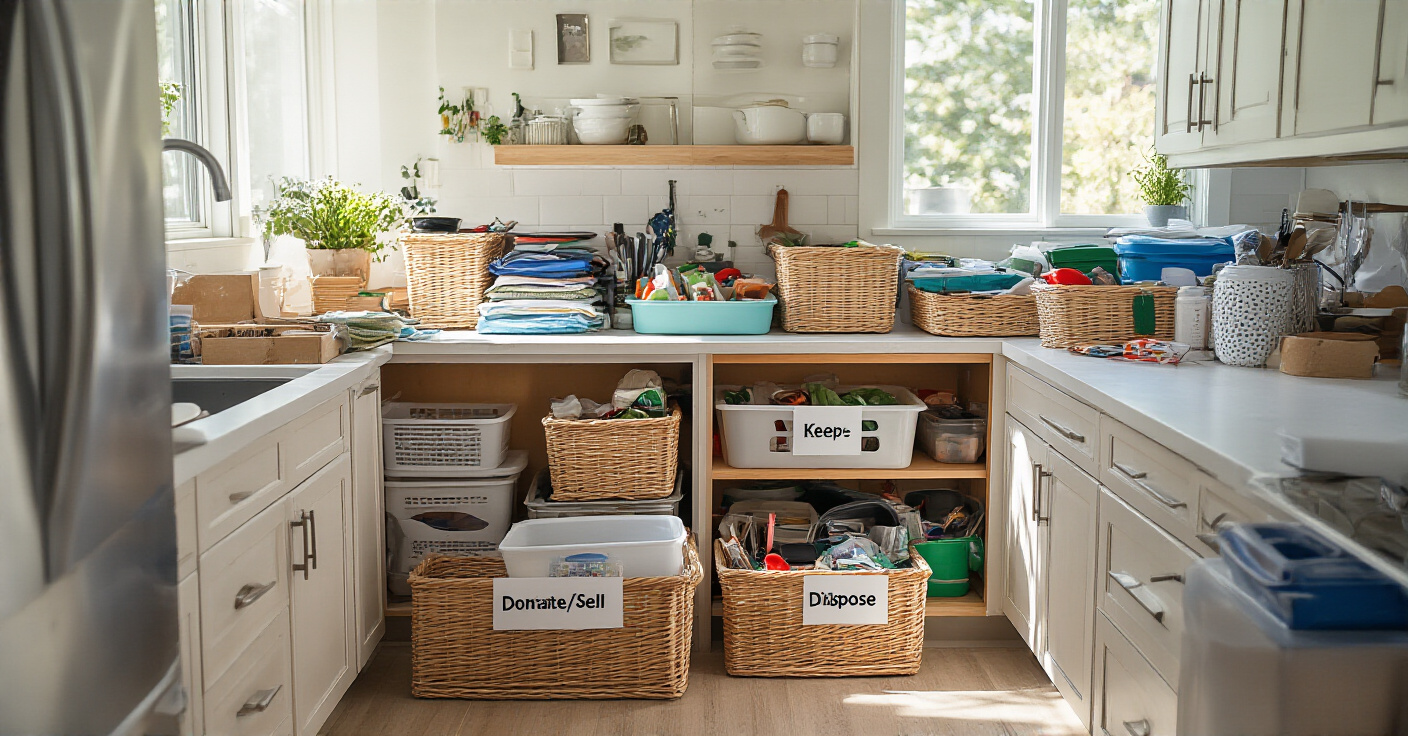
Tired of a chaotic kitchen sabotaging your health? Learn 23 genius hacks to build a high-performance fueling station that makes healthy eating effortless.
Can we talk about something that drives me crazy? It’s when I see a client crushing it in their home gym—nailing their deadlifts, hitting PRs—but they can’t make any real progress because their kitchen is a disaster zone. They’ll tell me they “don’t have time” for meal prep, but the real problem is that their kitchen is actively working against them. It’s pure chaos. You can’t find the blender, the healthy ingredients are buried behind bags of stale chips, and the counter space you need for prep is a graveyard of single-use gadgets and junk mail.
Look, your body is built in the gym, but it’s fueled in the kitchen. If your kitchen—your personal fueling station—is cluttered and inefficient, your nutrition will be too. It’s that simple. Forget the corporate blogs and the perfectly staged, unrealistic photos. You’re busy. You need a system that works in the real world, a space that makes it easier to make healthy choices, not harder.
This is my no-BS guide to getting it done. We’re going to turn your kitchen from a source of stress into a high-performance hub that powers your life.
Before you buy a single bin or basket, you have to build the foundation. This is the warm-up. It’s the most important part because it sets the stage for everything else. You can’t build strength on a weak foundation, and you can’t organize clutter.
Picture this: You’re about to start a new training program. What’s the first step? You get rid of the junk food that will derail you. This is the exact same principle. A true purge isn’t a gentle “let me think about it” process. It’s a quick, decisive mission to get rid of the dead weight that is clogging up your space and your energy. I’m not just talking about expired food; I’m talking about the panini press you used once in 2017, the eight mismatched coffee mugs, and the drawer full of soy sauce packets.
I had a client, a super-sharp lawyer, who was struggling with his nutrition. He complained he never had time to make his morning protein shake. When I took a look, I saw why: his high-end blender was buried in a cabinet behind three old coffee makers and a box of holiday-themed plates. To get to it, he had to excavate. The fix? We set a timer for 60 minutes and went beast mode. We created three piles: Keep, Donate, Trash. The rule was simple: If you haven’t used it in a year or it doesn’t directly support your goals, it’s out. By the end, we’d cleared out 40% of his cabinet space. The next day, he sent me a picture of his protein shake. The friction was gone.
Now that you’ve shed the dead weight, it’s time to get strategic and put things into logical teams.
The biggest mistake people make is organizing by size or putting things wherever they happen to fit. That’s like loading a barbell with random plates you found on the floor. It’s inefficient and makes no sense. The secret to a high-performance kitchen is organizing by function. This means creating zones for the actions you perform. All your coffee-making gear goes in one spot. All your smoothie stuff in another. Baking supplies, meal-prep containers, grilling tools—each gets its own dedicated zone.
Everyone gets sold on making things look pretty first. That’s pure BS. A beautiful but dysfunctional kitchen is useless. Function always, always comes before form. I learned this the hard way when I first designed my own space. I arranged all my spices in a neat, alphabetized rainbow on a beautiful rack. Looked amazing. The problem? The cinnamon I used daily was at the back, while the asafoetida I’ve used twice in my life was front and center. I was wasting time every single morning. The shortcut is to think in terms of recipes or routines. What are the 5 things you need to make your post-workout meal? Group them together. That’s your first functional zone.
With your gear sorted into functional squads, it’s time to map out the entire playing field for maximum efficiency.
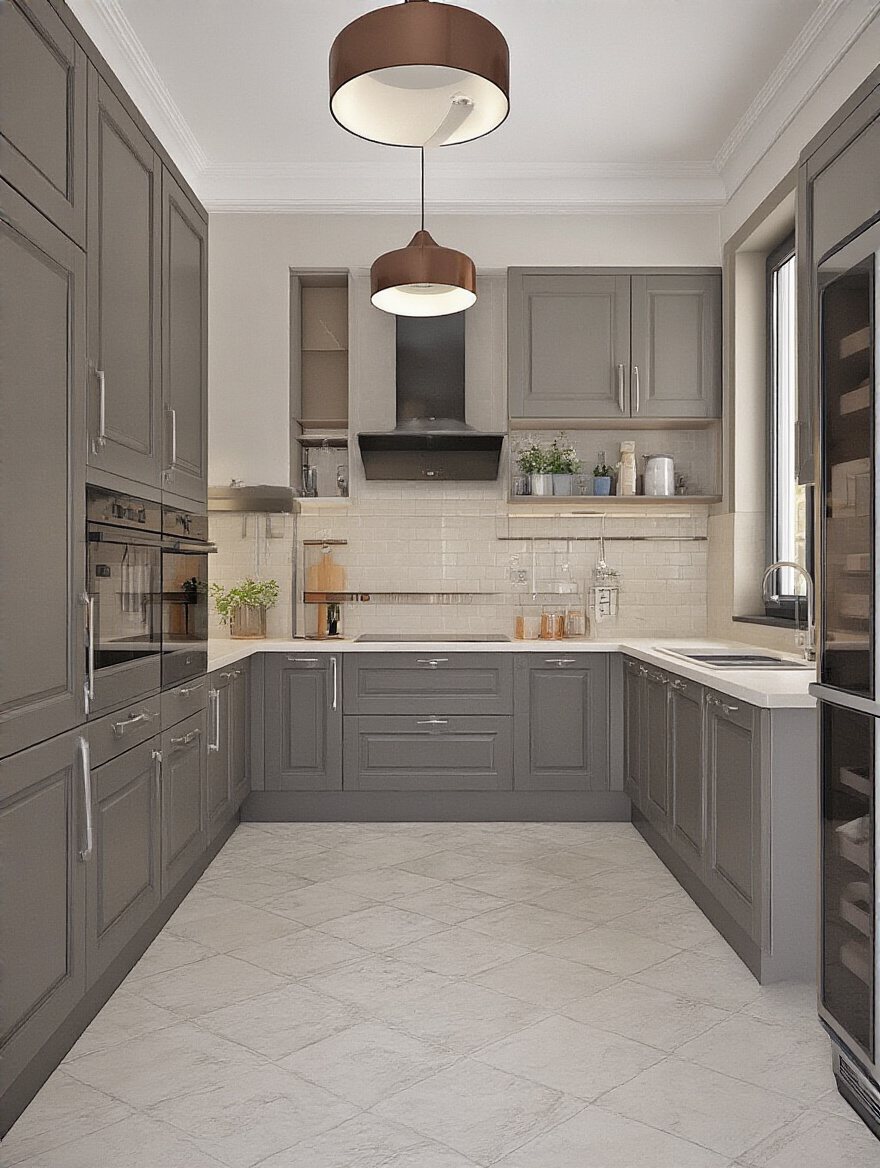
You’ve heard of the “work triangle” (sink, stove, fridge), right? It’s a classic design principle, and it’s based on one thing: efficiency. You want to minimize wasted steps. Think of it like setting up circuit training stations. You want a smooth, logical flow from one movement to the next without tripping over benches or walking across the gym to grab a different dumbbell. Your kitchen is the same. You need a Prep Zone, a Cooking Zone, a Cleaning Zone, and a Storage Zone (your pantry).
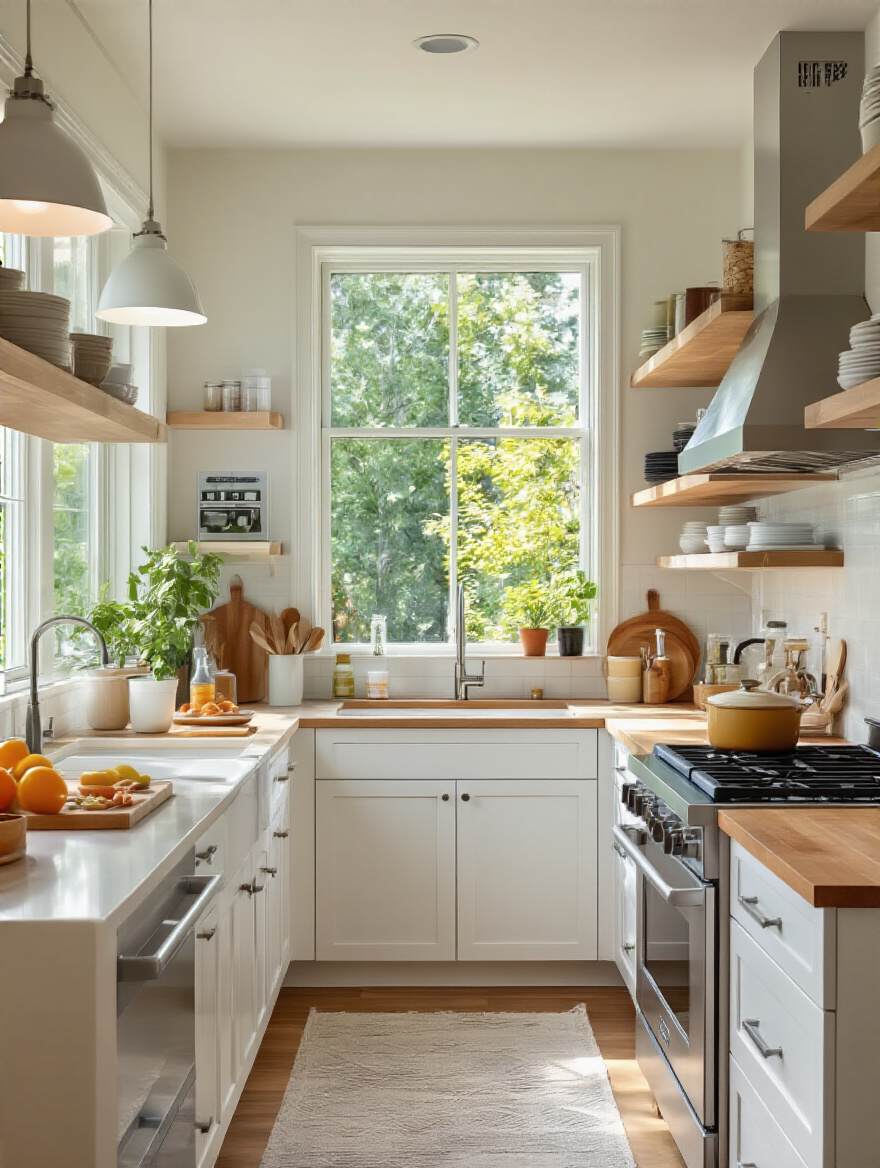
This is where you stop thinking like someone just “tidying up” and start thinking like a designer. Your cutting boards, knives, and mixing bowls belong in your Prep Zone, probably on the biggest stretch of open counter space. Your pots, pans, and cooking oils belong in the Cooking Zone, right next to the stove. It sounds obvious, but you’d be shocked how many people store their most-used pan in a cabinet across the room because “that’s where it fits.” Map out your own flow. For a few days, just pay attention to how you move. Where are the bottlenecks? Where do you find yourself constantly walking back and forth? That’s the area that needs re-zoning.
Now that you know your layout and what goes where, you might be tempted to rush out and buy organizers. Don’t.
Okay, a big pet peeve of mine. People finish a purge, feel that hit of motivation, and immediately drive to The Container Store to spend $300 on clear acrylic bins. This is like buying a whole rack of dumbbells before you even have a workout plan. It’s a total waste of money and, ironically, just creates more clutter. You end up with a bunch of expensive containers that don’t actually fit your stuff or your space.
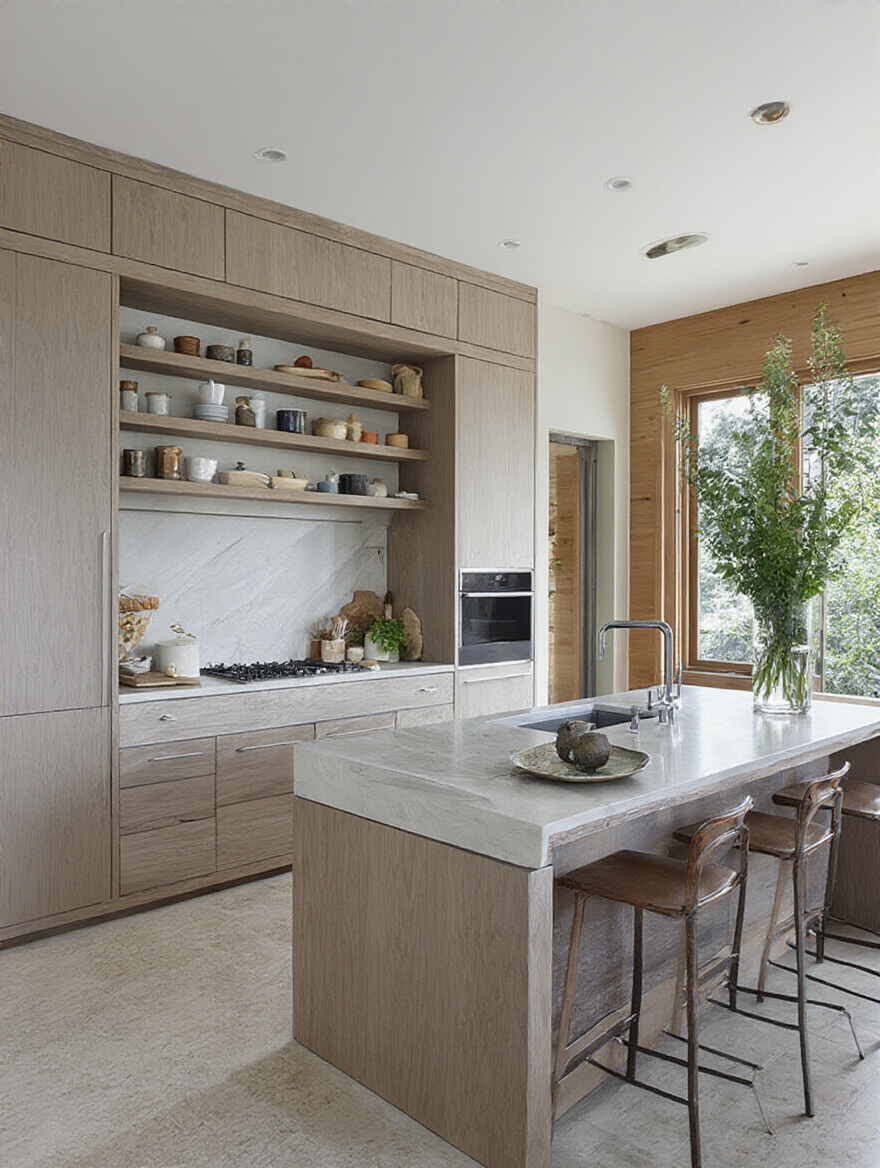
You need to diagnose before you prescribe. Once you’ve purged and zoned everything, lay it all out. Get a tape measure. Measure your drawers. Measure your cabinets. Measure that stack of meal prep containers. Now you know what you actually need. Do you need a narrow divider for your spice drawer or three big bins for your pantry? The stuff you own and the space you have will give you the answer. My shortcut? I use cardboard from old shipping boxes to create makeshift dividers and “test” layouts in my drawers and cabinets. It lets me see exactly how a configuration will work before I spend a dime. It’s ugly, but it’s effective. And it’s temporary.
Once your system is set up, you need a rule to keep it from collapsing back into chaos.
An organized kitchen isn’t a one-and-done project. It’s a habit, just like training. You don’t hit your goal weight and then go back to eating garbage and sitting on the couch, right? You maintain it. The “One-In, One-Out” rule is your maintenance plan. It’s brutally simple: every time you bring a new item into the kitchen, a similar item has to leave. New shaker bottle comes in? The old, cracked one goes in the recycling bin. You buy a new, better non-stick pan? The old, scratched-up one gets donated. Immediately.
The BS everyone tells themselves is, “I’ll get rid of the old one later.” No, you won’t. It’ll get shoved in the back of a cabinet, creating the very clutter you just worked so hard to eliminate. This rule forces you to be a ruthless gatekeeper of your space. For this to work, you have to be honest with yourself. When you buy that new air fryer, you need to admit that you’re probably not going to use your old deep-fryer anymore. It had a good run. Let it go. This single habit is the difference between a kitchen that stays organized and one that needs a major overhaul every six months.
Now that we have the foundation solid, let’s drill down and optimize the hell out of your existing space.
You don’t need a bigger kitchen; you need a smarter kitchen. Your cabinets and drawers are packed with hidden potential. It’s time to stop seeing them as simple boxes and start seeing them as high-performance storage systems.
Lower cabinets are black holes. It’s where pots, pans, and small appliances go to die. You know the drill: you have to get on your hands and knees and unload half the cabinet just to get that one pot at the back. It’s an ergonomic nightmare and a huge waste of time. Installing pull-out shelves is a total game-changer. It essentially turns your deep, useless cabinets into giant, accessible drawers. Everything glides out to you. No more digging, no more mystery items from 2012 lurking in the back.
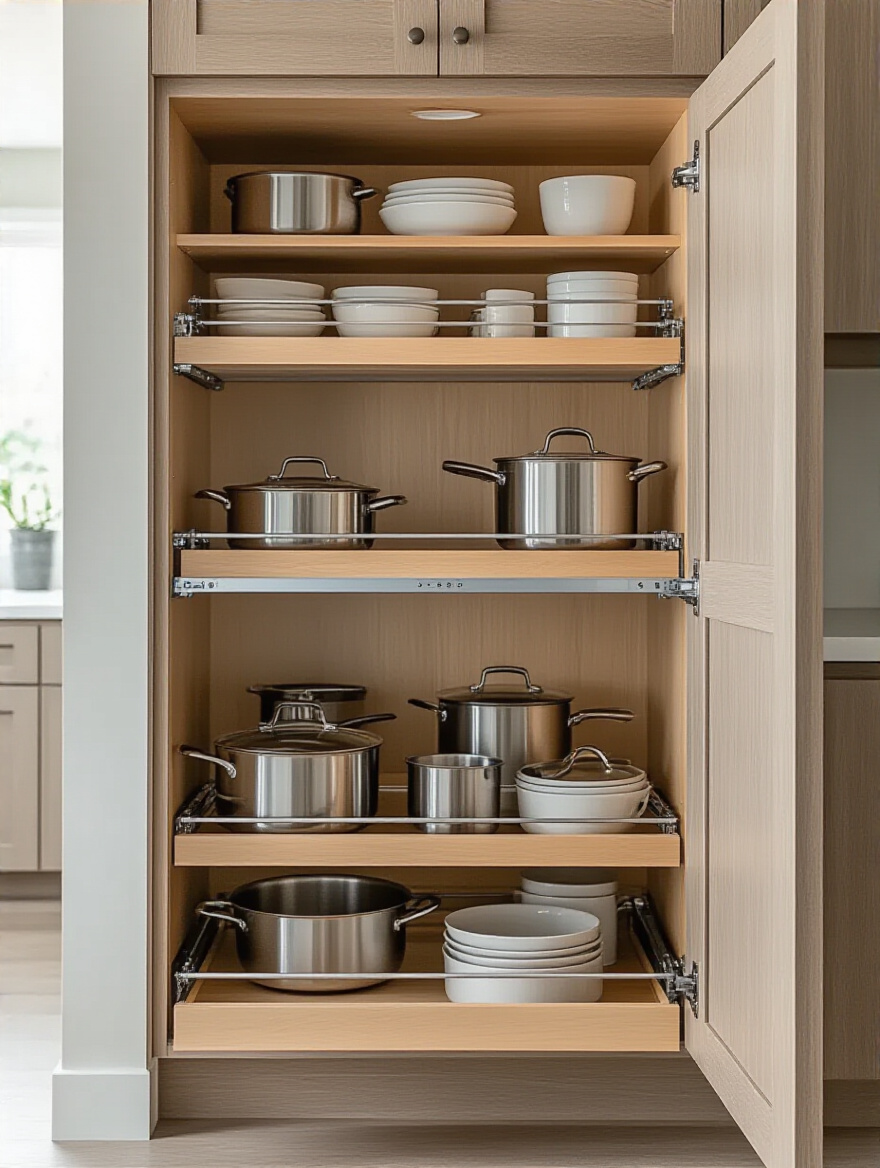
This isn’t just a convenience; it’s an efficiency hack that directly impacts your ability to cook quickly. Think about it: if getting your favorite pan is effortless, you’re more likely to cook. If it’s a 5-minute struggle, you’re more likely to order takeout. When you buy these, don’t cheap out. My pro tip is to always get the full-extension glides. They cost a bit more, but they allow the shelf to pull completely clear of the cabinet, so you can see and reach 100% of what’s on it. It’s the difference between a proper deadlift and a sloppy half-rep. Go full range of motion.
With the big stuff handled, let’s bring that same ruthless efficiency to your smaller tools.
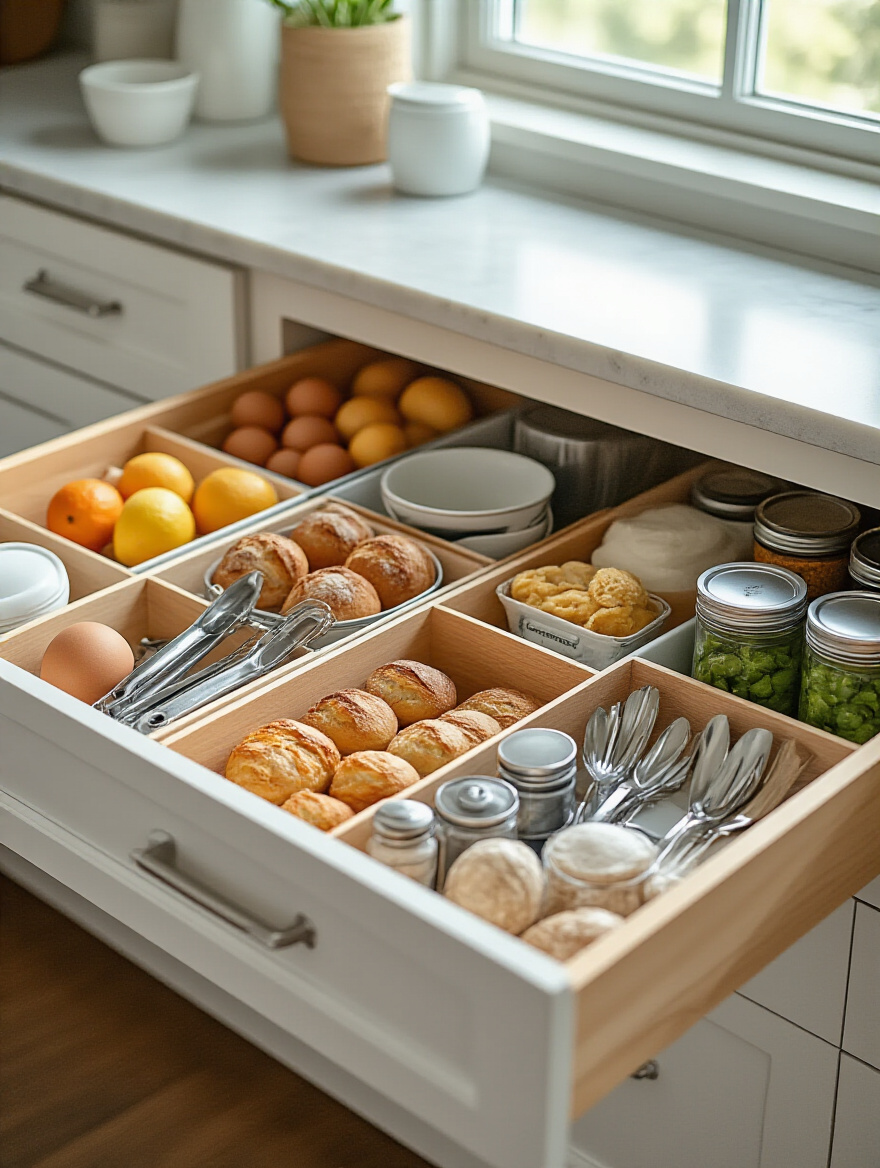
The junk drawer is a universal symbol of domestic failure. But for most people, every utensil drawer is a junk drawer—a tangled mess of whisks, spatulas, and can openers. Drawer dividers are the answer. They are the simplest, most effective way to give every single tool a designated home. No more rummaging. You open the drawer, and the tool you need is exactly where it’s supposed to be. It’s a small thing that saves you seconds every time you cook, which adds up to minutes every week.
But don’t just throw any old plastic tray in there. The shortcut is to buy adjustable or modular dividers. Your tool collection changes over time, and adjustable dividers (I like the bamboo spring-loaded ones) let you reconfigure the space as needed. Think about your workflow. The stuff you use every day—spatulas, cooking spoons—should be in the most accessible spot. The specialty gadgets, like a melon baller or apple corer, can go in a section at the back. It’s about creating an intuitive layout that supports the way you actually cook.
Next up, we’re tackling the number one enemy of cabinet organization: pots and their rogue lids.
Stacking pans is a recipe for disaster. It’s noisy, it scratches your cookware, and it’s horribly inefficient. You always need the one on the bottom, right? The solution is to stop thinking horizontally and start thinking vertically. Using simple wire racks or adjustable dividers to store your pans and baking sheets on their sides is revolutionary. You just reach in and grab the one you need, like pulling a file from a filing cabinet. It saves a massive amount of space and completely eliminates the clang-and-crash of unstacking everything.
And don’t even get me started on the lids. They are the gremlins of the kitchen. They never stack, they slide around, and they get lost. A simple lid rack, mounted on the inside of a cabinet door or on a shelf, is one of the best five-dollar investments you can make. Suddenly, every lid has a home, it’s visible, and it’s perfectly matched to its pot. One client of mine installed a vertical pan rack and a door-mounted lid rack and reclaimed an entire cabinet shelf. That shelf became his dedicated “post-workout nutrition” station, with his protein powder, creatine, and shaker bottles all in one spot. A small change with a massive impact.
This vertical-thinking strategy also applies to the dishes you use every single day.
Your cabinet shelves have a ton of wasted vertical space. You’ve got these tall cabinets, but you can only stack plates so high before the tower becomes a wobbly, chip-prone Jenga game. Adjustable shelf risers are the answer. These are essentially mini-shelves that you place inside your cabinet, instantly creating a second or even third tier of storage. This allows you to separate your big dinner plates from your salad plates and your bowls, so you can grab what you need without unstacking anything.
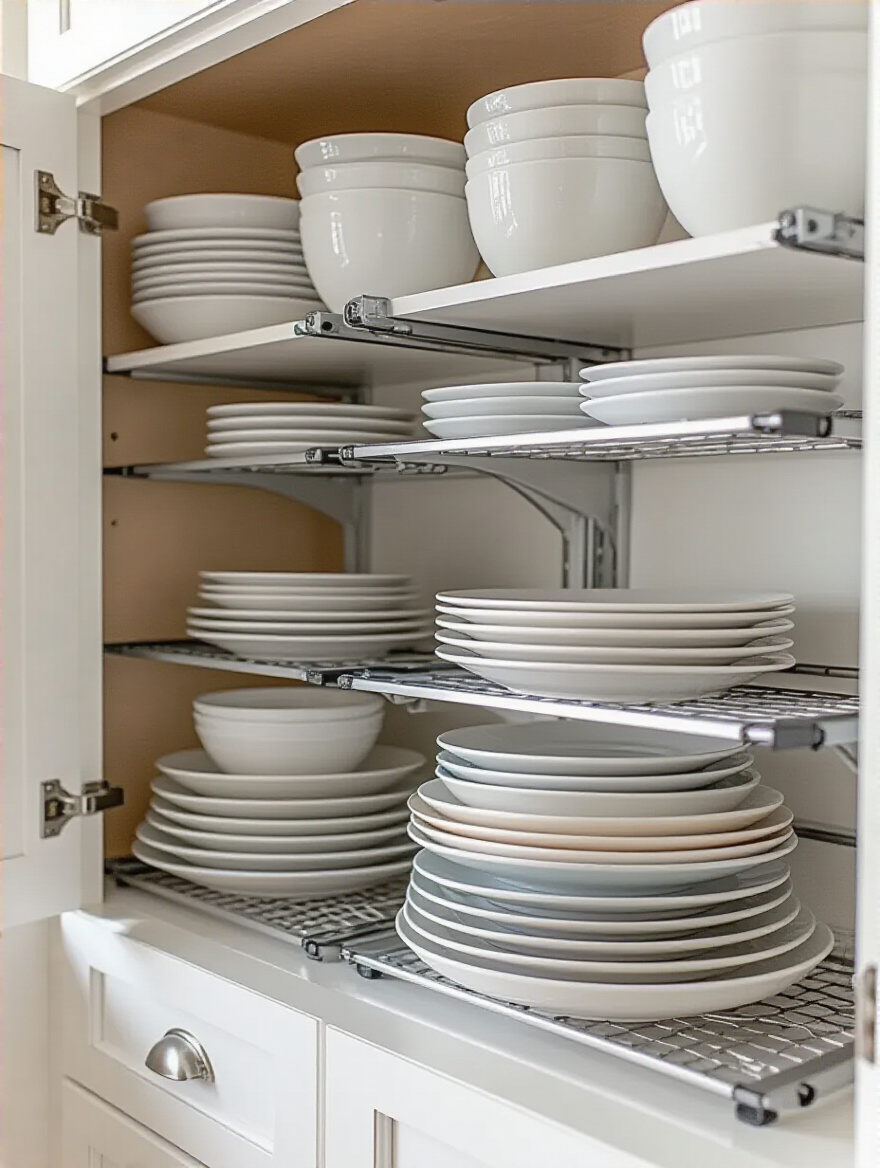
This isn’t just about fitting more stuff in; it’s about accessibility and protecting your gear. I see people with beautiful, expensive dishware who treat it like crap, stacking it precariously and causing chips and cracks. A simple set of sturdy metal risers protects your investment and makes daily life easier. A pro-tip: Get some non-slip liner and cut it to size for both the cabinet bottom and the top of the riser. This prevents your dishes from sliding around when you open and close the door, adding a layer of security to the system.
From your dishes, let’s move on to the powerhouse of your nutrition plan: the pantry.
Your pantry should be a clear, easy-to-read inventory of your fuel, not a dark cave where half-empty bags of quinoa go to expire. If you can’t see it, you won’t use it, and you’ll end up buying it again. This is why clear bins are a non-negotiable hack for pantry organization. Transferring things like pasta, rice, oats, and snacks from their bulky, opaque packaging into clear, stackable containers is a game-changer. You can see exactly what you have and how much is left with a single glance.
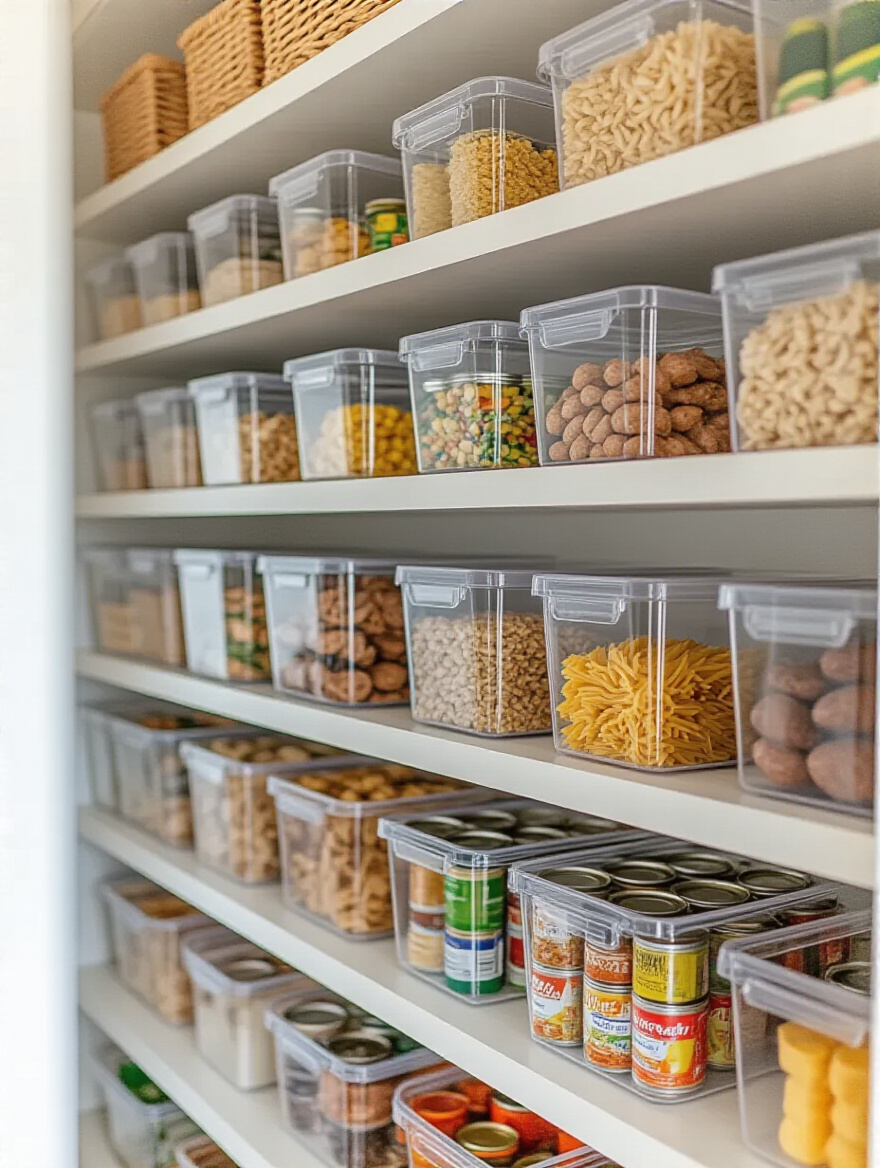
“What you can see, you can manage. Clear containers are a game-changer for pantry visibility, reducing decision fatigue and impulse re-buying because you instantly know what you have.”
This directly impacts your wallet and reduces food waste. I used to be the king of having three open bags of almonds because I could never find the one I’d opened last week. Now, all my nuts are in labeled, clear containers. I know exactly what I have. And please, label everything. Even if it seems obvious. When you’re in a hurry, you don’t want to play the “is this almond flour or bread flour?” game. Clear bins + clear labels = a pantry that works for you, not against you.
To take it a step further, let’s build dedicated command centers for your most frequent routines.
Think about the most repetitive tasks in your kitchen. For most people, it’s making coffee in the morning. For others who are serious about their nutrition, it might be blending a daily smoothie or prepping weekly meals. Instead of having the supplies for these tasks scattered all over the kitchen, consolidate them into one dedicated station. This is the ‘point-of-use’ principle in action. It’s about creating a hyper-efficient micro-zone where everything you need is within arm’s reach.
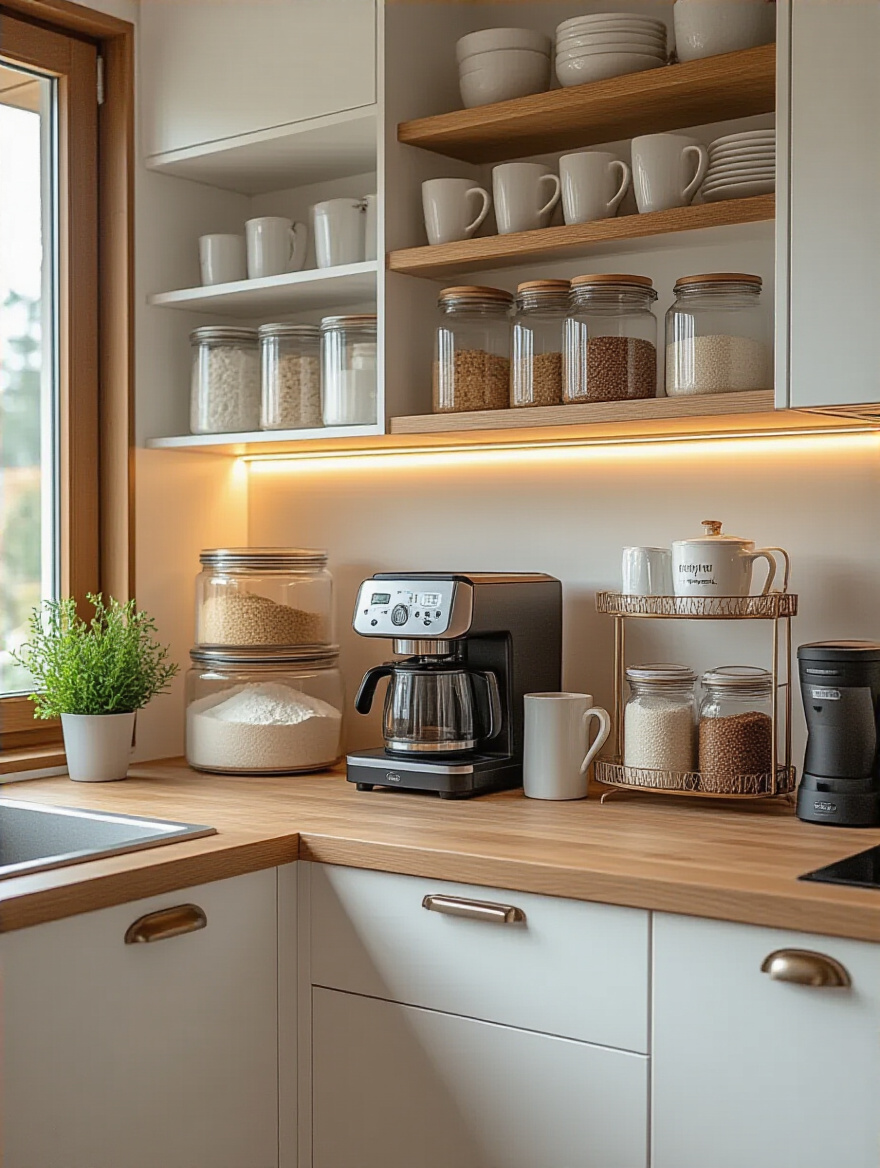
A coffee station is the perfect example. Get a tray or designate a small section of counter. On it, place your coffee maker, your grinder, a container with your beans, and maybe some mugs on a shelf right above. Boom. Your entire morning coffee routine happens in one two-foot-square area. Same for a “Smoothie Station”: put your blender, protein powder, chia seeds, and shaker bottles all in one cabinet near an outlet. This simple act of consolidation can shave precious minutes off your busiest moments and makes the habit of healthy eating feel effortless.
With your internal spaces humming, let’s unlock the hidden potential on your walls and other forgotten surfaces.
Your floor plan is fixed, but your walls offer a huge, untapped reserve of storage space. Getting things up off your counters and onto the walls is the fastest way to make your kitchen feel bigger and function better.
Pegboards aren’t just for dusty workshops. In a kitchen, a pegboard is like a custom, modular weight rack for your tools. It takes all your most-used utensils—spatulas, whisks, measuring cups, even small pans—off the cluttered countertop and out of jammed drawers, putting them on display for instant access. It’s an incredibly efficient and visually organized system. The best part is its flexibility. With a collection of hooks, baskets, and small shelves, you can change the layout anytime you want as your needs or tools evolve.
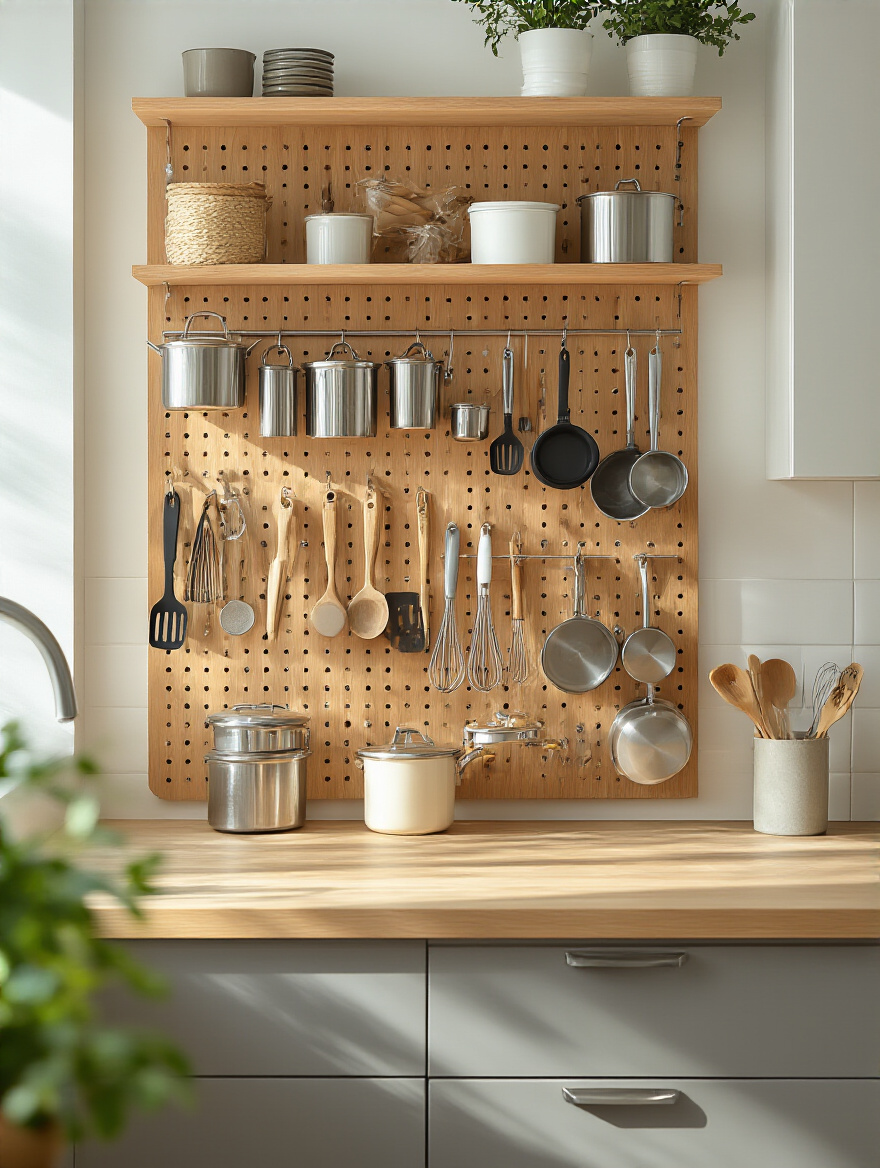
I put one up in my own kitchen right next to my stove, and it became my “chef’s command center.” All my essential tools are right there, in my line of sight, ready to go. It makes cooking faster and more intuitive. My advice: don’t just hang things randomly. Think about ergonomics. Place the tools you use most often in the easiest-to-reach spots. One trick I love is to trace the outline of each tool with a pencil. It creates a “home” for each item, making it mindless to put things back where they belong and keeping the system from falling apart.
From a full pegboard system, let’s move to a simpler, damage-free option for gaining back space.
The inside of your cabinet doors is some of the most underutilized real estate in your entire kitchen. Using simple, adhesive Command hooks here is a brilliant, damage-free way to create instant storage for lightweight items. We’re talking measuring cups and spoons, small cutting boards, oven mitts, and dish towels. Getting these things out of your precious drawer space and onto a door is a huge win, especially in smaller kitchens.
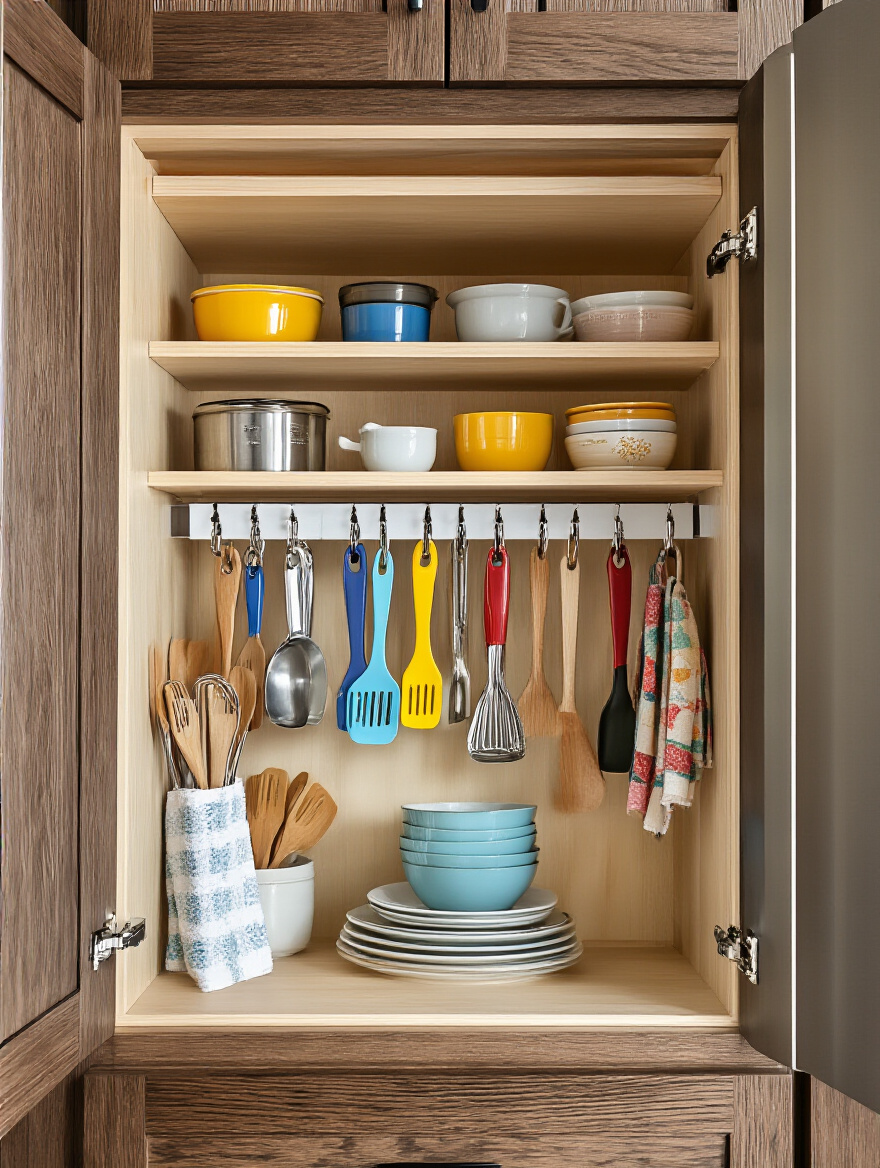
The key is to clean the surface properly with rubbing alcohol before you stick the hook on. This ensures a strong bond. And respect the weight limits! Don’t try to hang your cast iron skillet with a hook meant for a dish towel. One of my favorite uses is inside the cabinet under the sink. I hang my bottle brushes, rubber gloves, and a small cloth. It keeps the space under the sink from becoming a damp, cluttered mess and lets everything air dry properly. It’s a tiny, cheap hack that provides a surprisingly large amount of daily satisfaction.
Let’s scale up that door-storage idea for one of the biggest clutter culprits: the pantry.
If the inside of a cabinet door is prime real estate, the back of your pantry door is a skyscraper. An over-the-door rack is one of the most powerful storage solutions you can add to a kitchen. It can instantly create a massive amount of visible, accessible storage for spices, condiments, cans, snack bags, and baking supplies. This frees up your deep pantry shelves for bulkier items like cereal boxes, flour bags, and appliances.
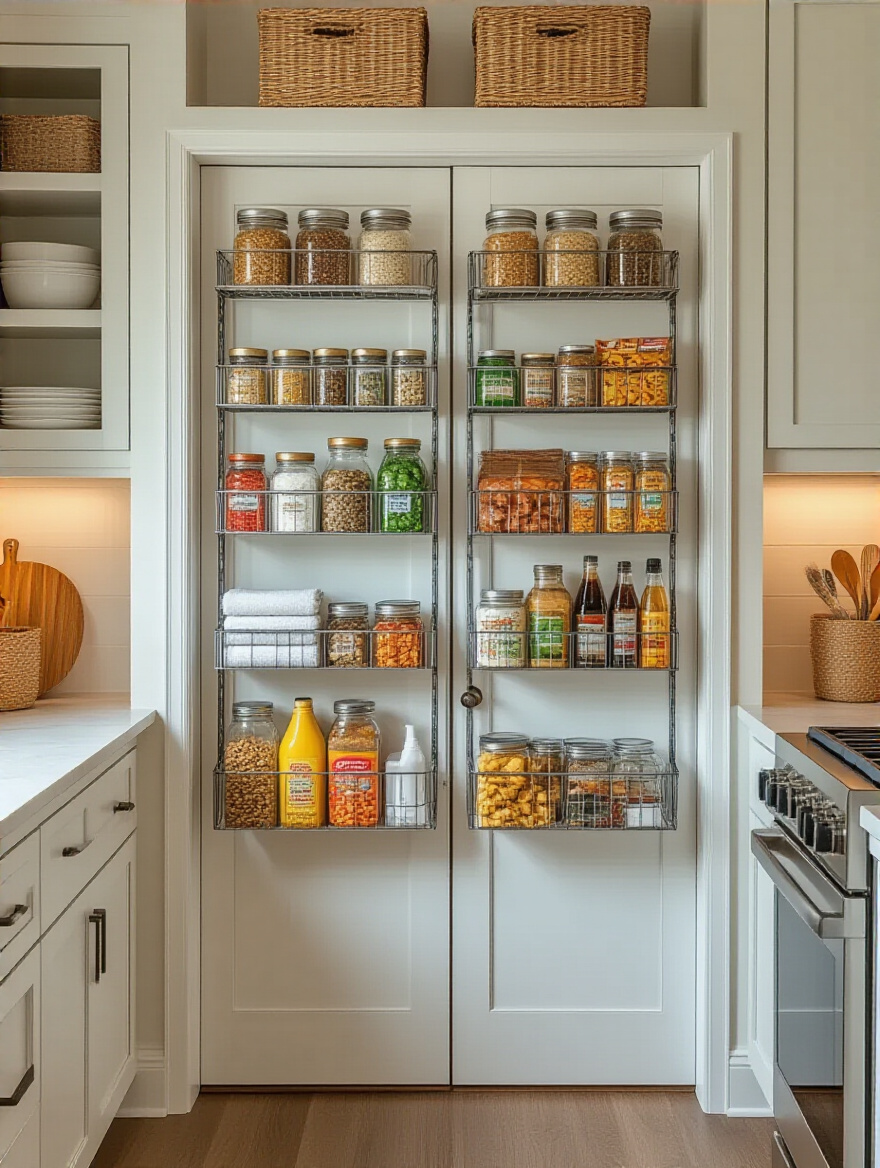
This is a game-changer for seeing your inventory. No more finding three half-empty jars of paprika because they were hiding behind a giant tub of oats. Everything is front and center. I had a client, a family with three kids, whose pantry was a constant battleground. We installed a heavy-duty, adjustable wire rack on the pantry door and designated it as the “snack hub.” All the kids’ snacks went into the baskets at their eye level. It empowered them to get their own snacks and freed up two entire shelves inside the pantry. Pro tip: make sure you measure the clearance between your shelves and the door when it’s closed. You need to ensure the door can shut fully with the rack installed.
While you’re working on the walls, it’s time to tackle the knife block that’s hogging your counter space.
That big, clunky knife block is eating up valuable prep space on your countertop. Ditch it. A wall-mounted Magnetic Knife Strip is a sleek, space-saving, and more hygienic way to store your knives. It gets your most important tools off the counter and up onto the wall, freeing up a square foot or more of prime real estate. Your counter is a workspace, a surface for action, not a parking lot for tools.
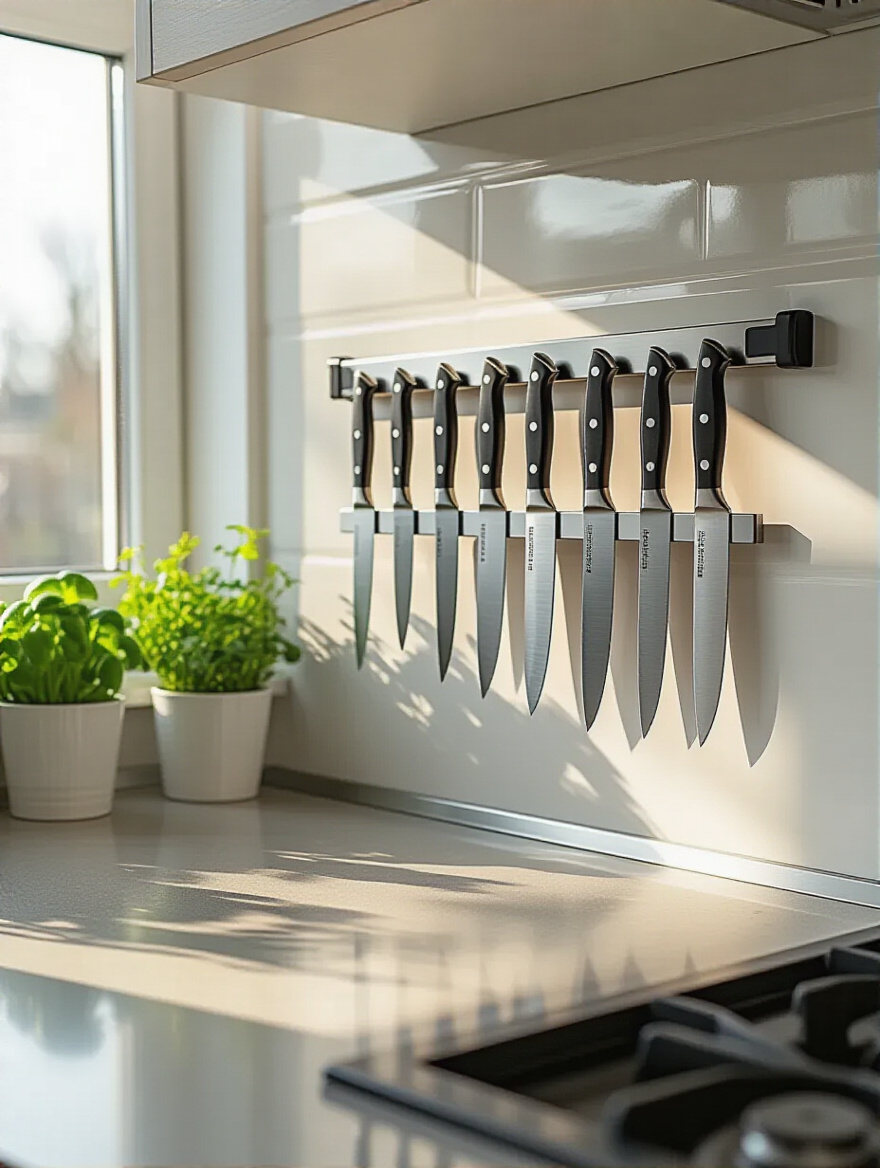
Plus, it’s better for your knives. In a block, moisture can get trapped in the slots, and dragging the blades in and out can dull them over time. A magnetic strip lets them air dry and keeps the edges from making contact with anything. When you install it, use a stud finder to anchor it securely into the wall—you don’t want your chef’s knife taking a dive. Arrange the knives with the handles pointing in the same direction for a clean look, and leave a little space between them so you can grab them easily and safely.
Even the most awkward spaces in your kitchen can be turned into functional assets.
Kitchen corners are notoriously awful. That deep, awkward corner cabinet—the “blind corner”—is where Tupperware lids and forgotten wedding gifts go to disappear forever. But that dead space can be reclaimed. Solutions range from simple floating shelves mounted in an open corner to sophisticated pull-out systems like a Lazy Susan or a “Magic Corner” unit that brings the entire contents of the cabinet out to you.
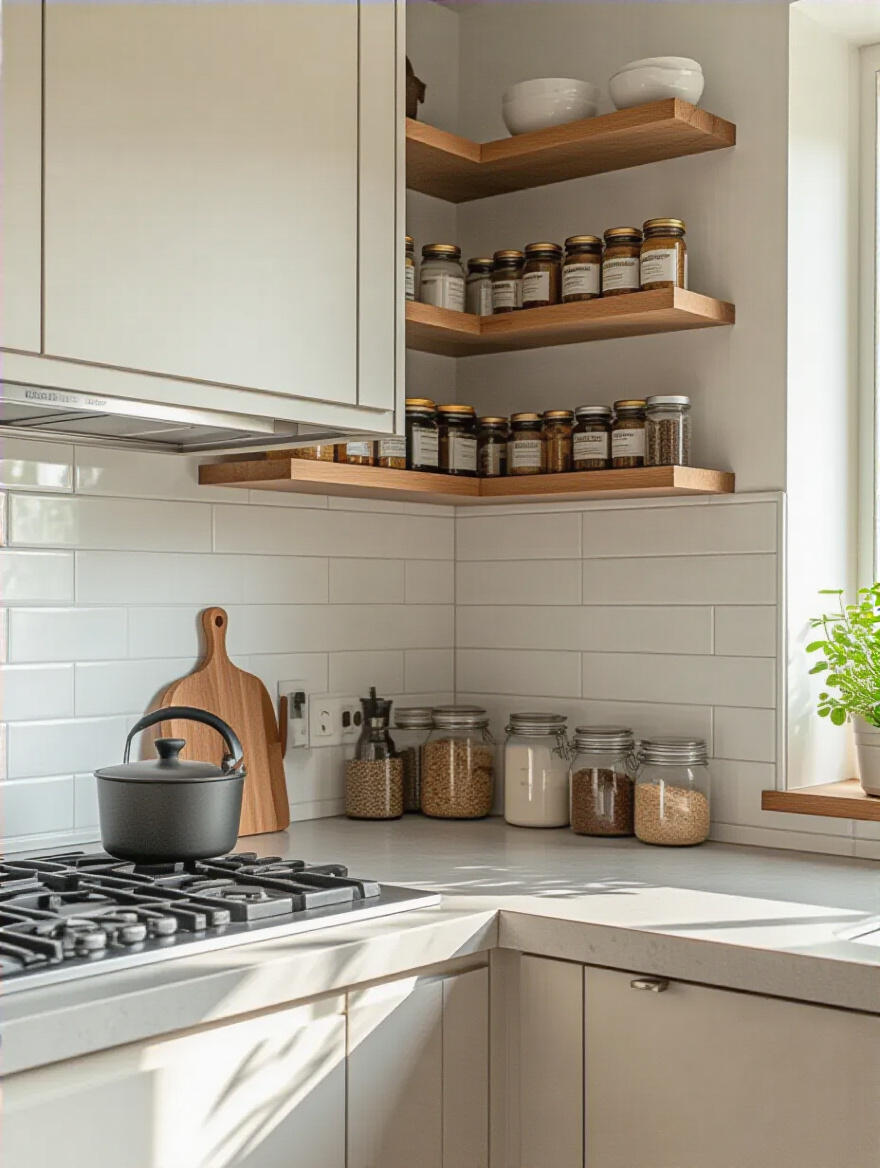
These solutions can be a bit more of an investment or a project, but the payoff in usable space is massive. For a simpler fix, adding open floating shelves in a corner above your counter is a fantastic way to store and display things you use often, like mugs, small bowls, or your most-used spices. I helped a client in a tiny Galley kitchen install a set of triangular corner shelves. It became their breakfast station—holding their toaster, a bowl of fruit, and their favorite mugs. It took a useless corner and turned it into a highly functional hub.
Finally, for the ultimate in adaptability, you need storage that can move with you.
Sometimes the best solution isn’t fixed; it’s mobile. A simple roll-out utility cart is one of the most versatile pieces you can have in your arsenal. It can be a mobile pantry for overflow items, a portable coffee or bar cart for entertaining, or a dedicated baking station that you can roll out when you need it and tuck away when you don’t. In a small kitchen, a cart with a butcher block top can even serve as an extra 4-5 square feet of desperately needed counter space.
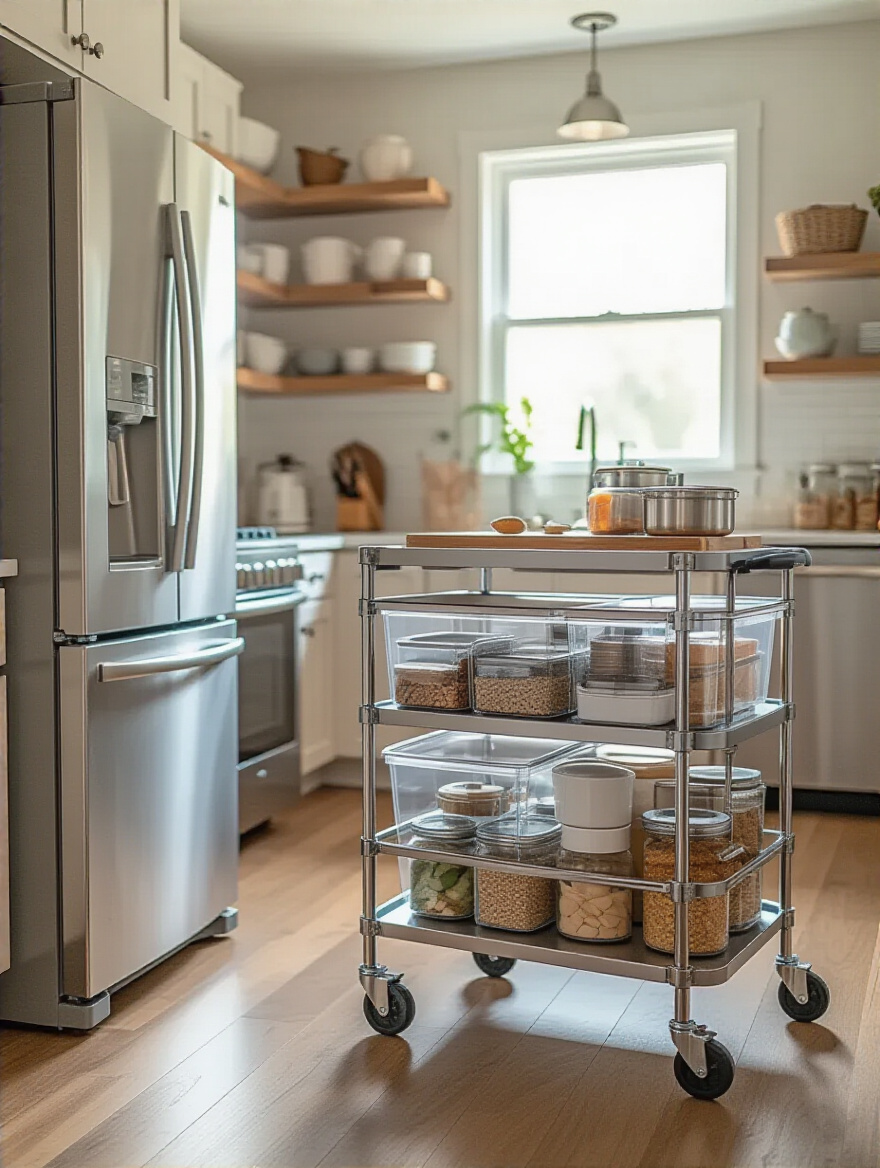
I have one that serves as my “appliance garage.” It holds my big stand mixer, my food processor, and my juicer. I keep it tucked away in a corner, and when I need one of the heavy appliances, I just roll the whole cart over to my prep area. No heavy lifting, no digging through deep cabinets. Look for one with locking casters so it stays put when you’re using it as a work surface. The sheer flexibility of a roll-out cart makes it a secret weapon for anyone looking to maximize a small or awkward space.
Now that your kitchen is a well-oiled machine, we need to talk about how to keep it that way for the long haul.
Look, getting organized is the easy part. The real challenge is staying organized. This is where you transition from a project to a lifestyle. These are the habits and final touches that make the whole system sustainable, turning it into an effortless part of your daily life.
You can’t just train hard for a month and expect to stay fit forever. You need consistent effort. Your kitchen is the same. The “Weekly Reset” is your maintenance workout. It’s not a deep clean or a massive re-org. It’s a quick, 10-15 minute blitz to put things back in order. Just put on some music, set a timer, and go. Wipe down the counters, put away the mail that’s accumulated, make sure everything is back in its designated “home.”
This simple habit prevents clutter creep. It stops small messes from turning into overwhelming disasters. I do mine on Sunday evenings. It sets the tone for the entire week. I walk into a clean, functional fueling station on Monday morning, ready to go. The BS people believe is that they need to wait until it’s a “disaster” to clean up. No! A little bit of maintenance every week saves you hours of frustrating work down the line. It’s your form check for your kitchen.
To make the system work for everyone in the house, you need to make it foolproof. That means labels.
You can create the most brilliant, intuitive system in the world, but if you’re the only one who understands it, it will fail. Especially if you live with family, a partner, or roommates. Labeling is the user manual for your kitchen. It tells everyone where things are and, more importantly, where they go back. No more “Honey, where’s the olive oil?” No more finding the cereal in the baking supplies bin.
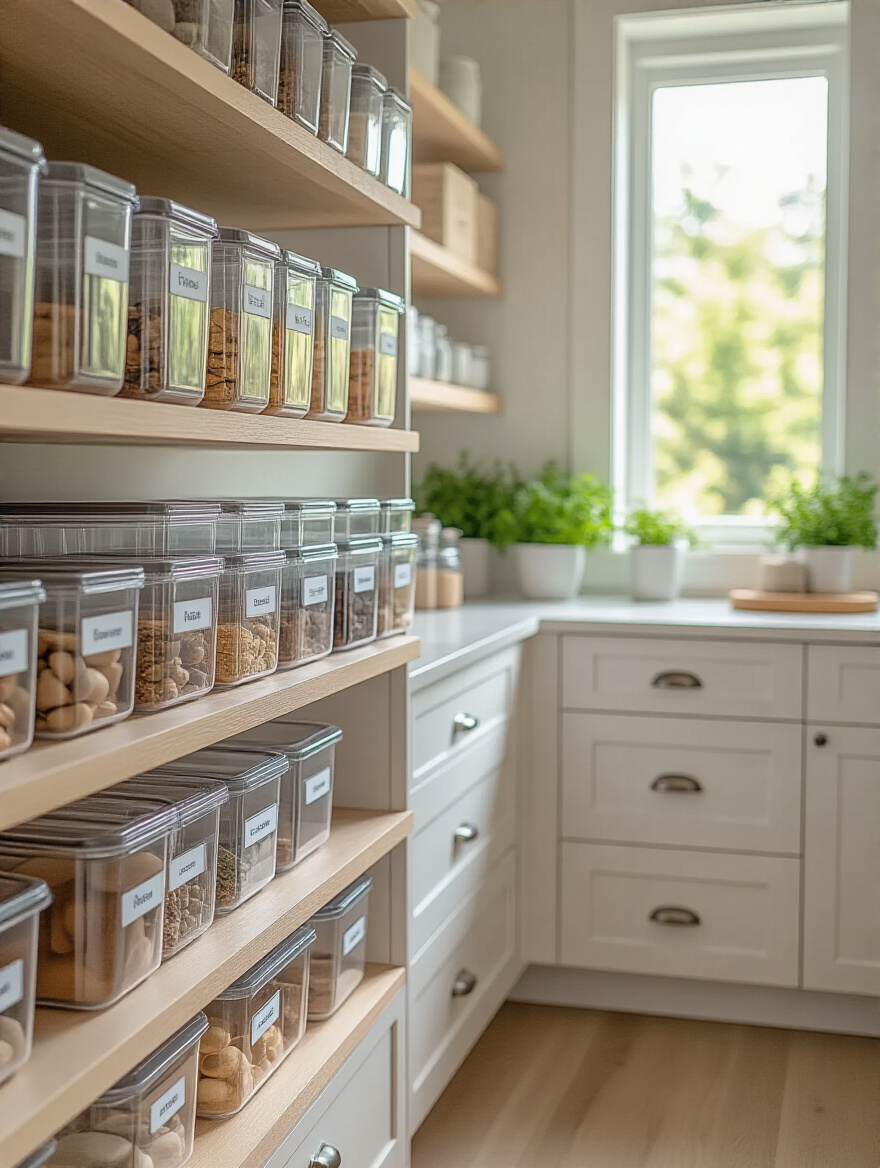
A simple label maker is your best friend here. Label the outside of bins, the front of shelves, and even the inside of drawers. It might feel a little obsessive at first, but the payoff in reduced frustration and a system that actually sticks is enormous. I once worked with a family whose kids were constantly leaving things out. We spent an hour labeling everything at their eye level. The “Snacks,” “Cereal,” and “Cups” bins were now crystal clear. The result? The kids started putting their own stuff away because there was zero guesswork. It was a massive win for household peace.
This all comes back to one core, non-negotiable principle.
This is the golden rule, the foundational principle of all organization. Every single item you own must have a designated home. The can opener doesn’t just “live in that drawer”; it lives in the second compartment of the bamboo divider in the drawer to the left of the sink. That level of specificity is key. When an item has a clear, defined home, putting it away is an automatic, thoughtless action. When it doesn’t, it becomes clutter. It gets left on the counter or shoved in a random spot.
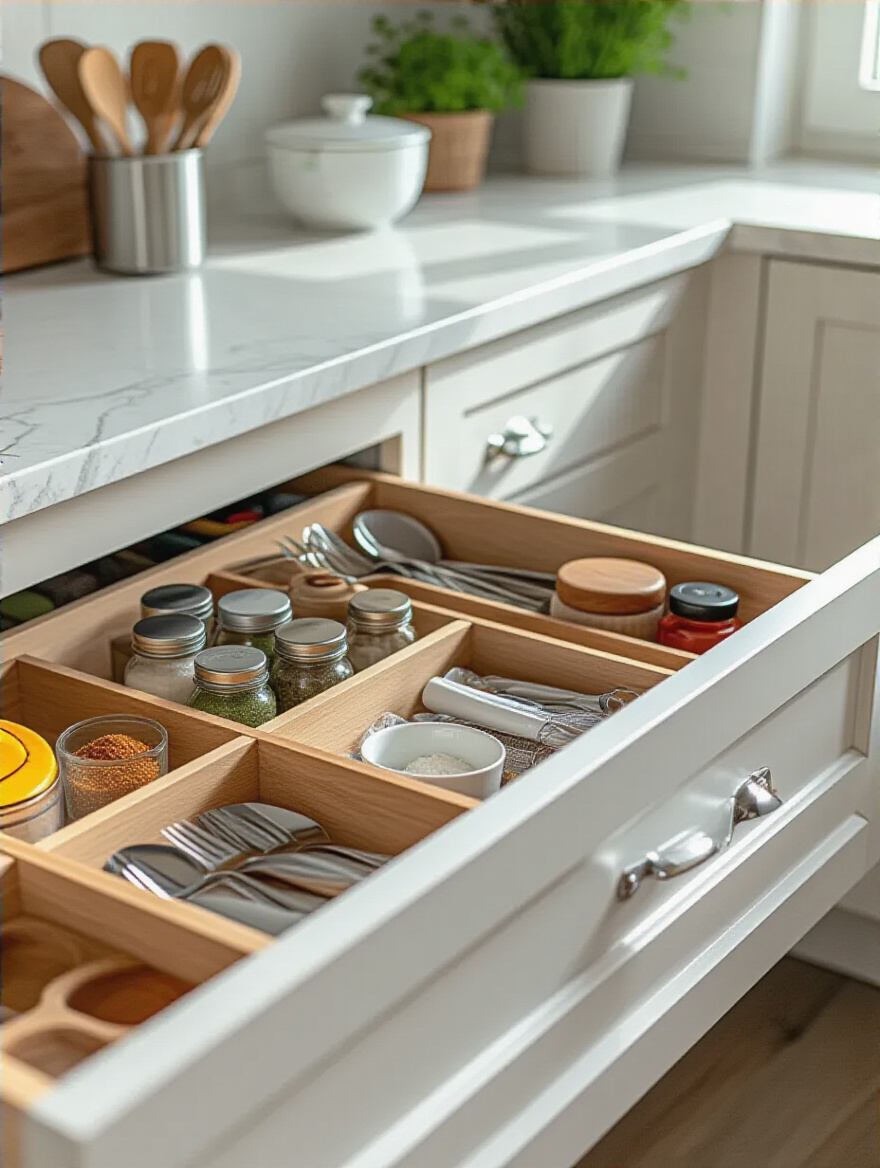
I tell my clients, “Just like you re-rack your weights after a set, you re-home your tools after you cook.” It’s about respecting your space and your system. When you’re decluttering, don’t keep anything unless you can assign it a specific home. If you can’t find a logical place for it to live, you probably don’t need it. This single rule, when followed consistently, is the most powerful weapon you have against clutter. It’s the habit that makes everything else work.
Part of creating homes for items is being ruthless about what deserves to live on your most valuable real estate.
Your countertop is your primary workspace. It’s the gym floor, the platform, the place where the action happens. It should not be a storage unit. Any appliance that you do not use every single day does not deserve to live on your counter. That stand mixer you use once a month for cookies? The toaster you use on weekends? The air fryer for occasional treats? They need to be stored away in a cabinet, pantry, or appliance garage.
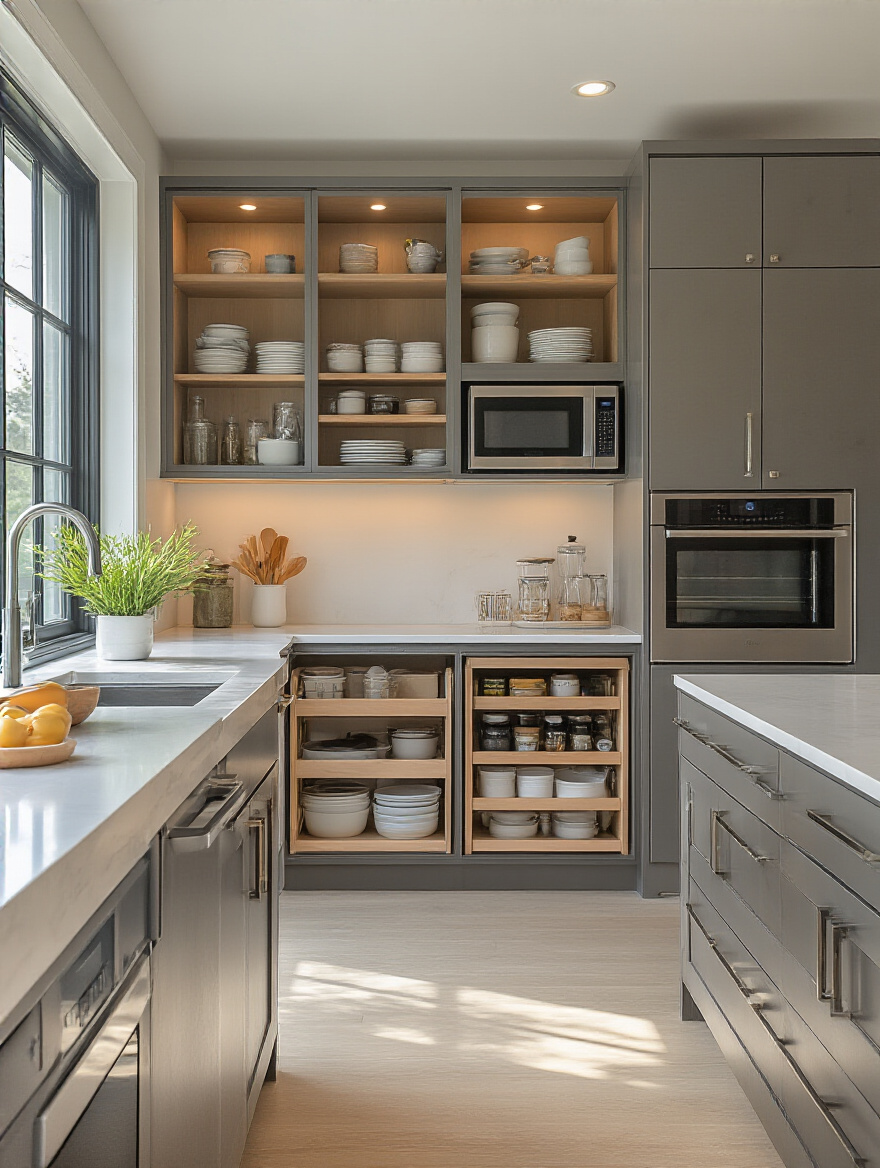
Getting these bulky items off the counter instantly makes your kitchen feel larger, cleaner, and more professional. It gives you the clear space you need for effective meal prep. I once visited a client who had so many appliances on her counter that she was doing all her chopping on a tiny, 12-inch cutting board. We moved three rarely-used appliances into a lower cabinet and instantly tripled her usable prep space. The psychological benefit of a clear workspace is huge—it reduces stress and makes you want to cook.
To keep your inventory lean and mean, you need to review it regularly.
Your cooking habits change with the seasons, and your kitchen inventory should too. A seasonal audit is your chance to do a quick check-up on your pantry, fridge, and tool collection. In the spring, you can rotate your grilling tools and picnic supplies to the front. In the fall, you can bring out the slow cooker and the Dutch oven for heartier meals. It’s also the perfect time to purge any expired goods and take stock of what you actually have.
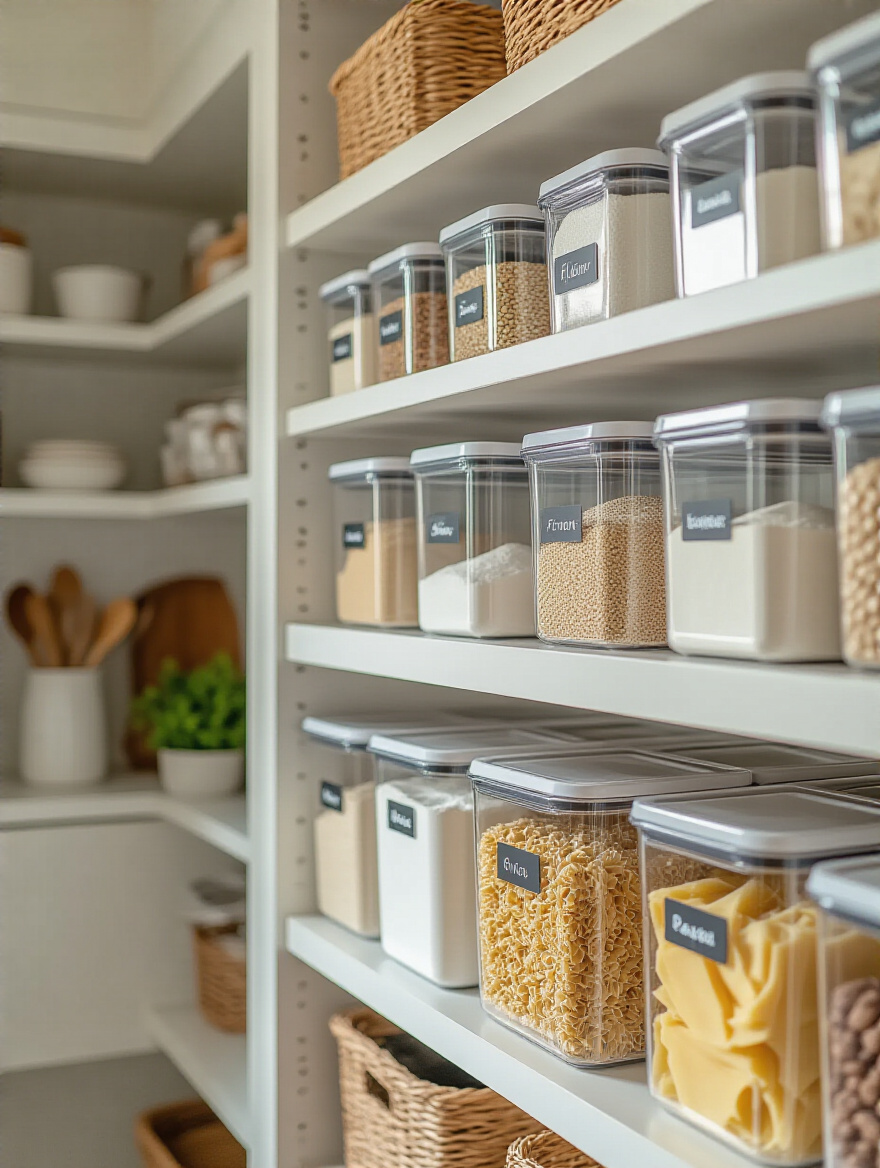
This practice is a powerful defense against food waste and duplicate purchases. You’d be amazed at what you find. In my last “winter-to-spring” audit, I found two unopened jars of pumpkin pie spice and a holiday-themed cookie cutter set. Those went into a “seasonal” box in the top of my pantry, making room for more relevant items. This isn’t about creating more work; it’s about keeping your kitchen optimized for how you live right now.
Finally, the most powerful organizing hack of all is a mindset shift you make before you even buy anything.
In a world of cheap gadgets and endless consumerism, the most radical act of organization is to simply buy less, but buy better. Investing in high-quality, durable, and often multi-functional kitchen tools is the ultimate hack for lasting order. One great chef’s knife is better than a block of ten flimsy, dull ones. One solid, versatile cast iron skillet can do the job of three cheap, specialized pans. Quality items last longer, perform better, and bring you more satisfaction in their use.
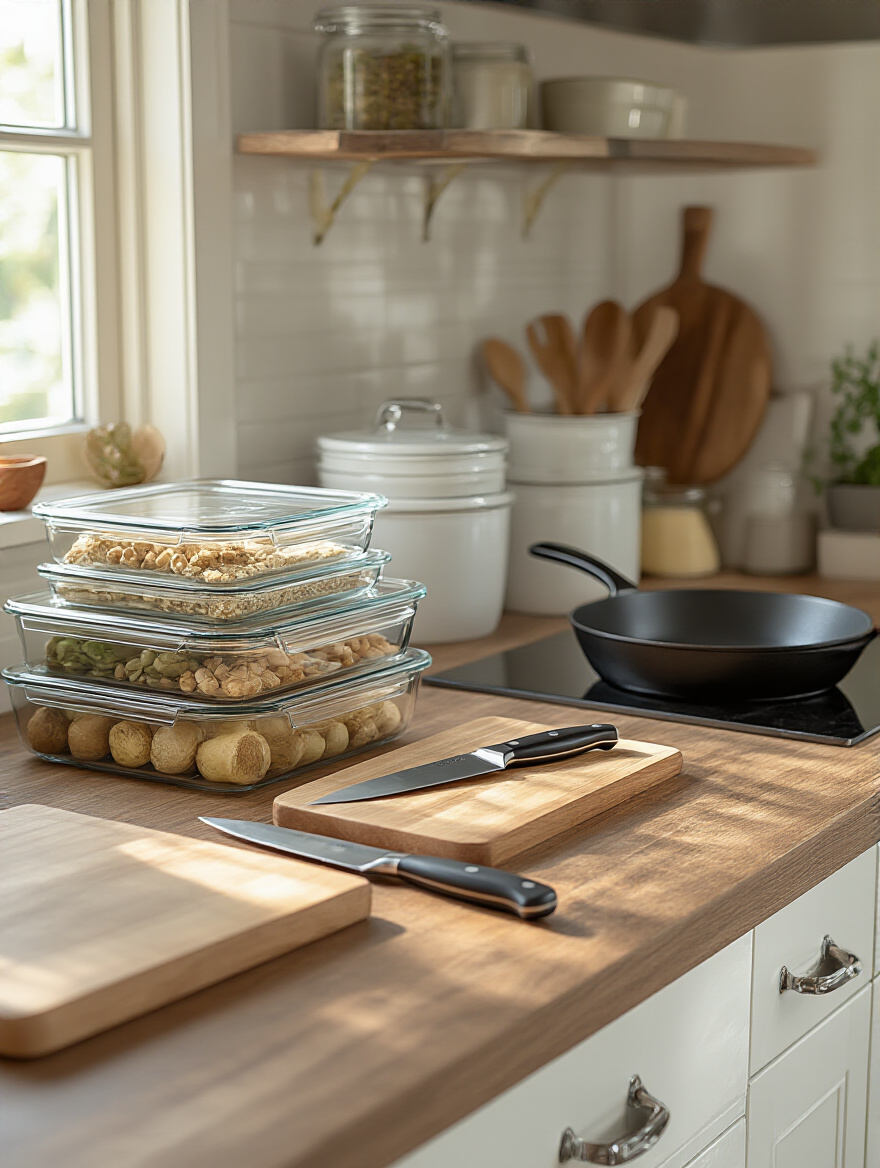
This approach naturally reduces clutter. When you own fewer, better things, your kitchen is inherently easier to organize and maintain. I have a “buy once, cry once” policy for essential gear. Yes, that high-end blender or that durable set of glass food storage containers might cost more upfront, but it will save you money and frustration in the long run by not needing constant replacement. It’s a shift from a disposable mindset to an investment mindset. Your kitchen deserves quality fuel, and it also deserves quality tools.
Look, transforming your kitchen isn’t just about making it look nice for Instagram. It’s about building a system that actively supports your health, your goals, and your sanity. It’s about removing friction and making it easier to do the things you know you need to do, like prepping healthy meals and fueling your body right. This isn’t a passive space; it’s a dynamic, high-performance environment.
Don’t get overwhelmed. You don’t have to do all 23 of these things tomorrow. Pick one. Just one. Maybe you start by ditching that knife block, or installing a simple rack for your pot lids. Small, consistent wins build momentum. Before you know it, you’ll have a kitchen that doesn’t just hold your food, but one that actively helps you crush your goals.
Stop letting your kitchen work against you. Start building your system today. Your high-performance fueling station is waiting.